
That favorite lounge chair gathering dust in the corner? The one with the suspicious coffee ring on the armrest or the mysterious game-night spill? You don’t need expensive professional services to revive it. Whether you own plush fabric recliners, supple leather sectionals, or weathered outdoor teak loungers, this guide delivers proven techniques for every material. Skip the guesswork—discover exactly how to clean lounge chairs using household items, prevent permanent damage, and extend your furniture’s lifespan. You’ll master stain-specific protocols, seasonal maintenance schedules, and emergency spill responses that keep chairs looking showroom-fresh for years.
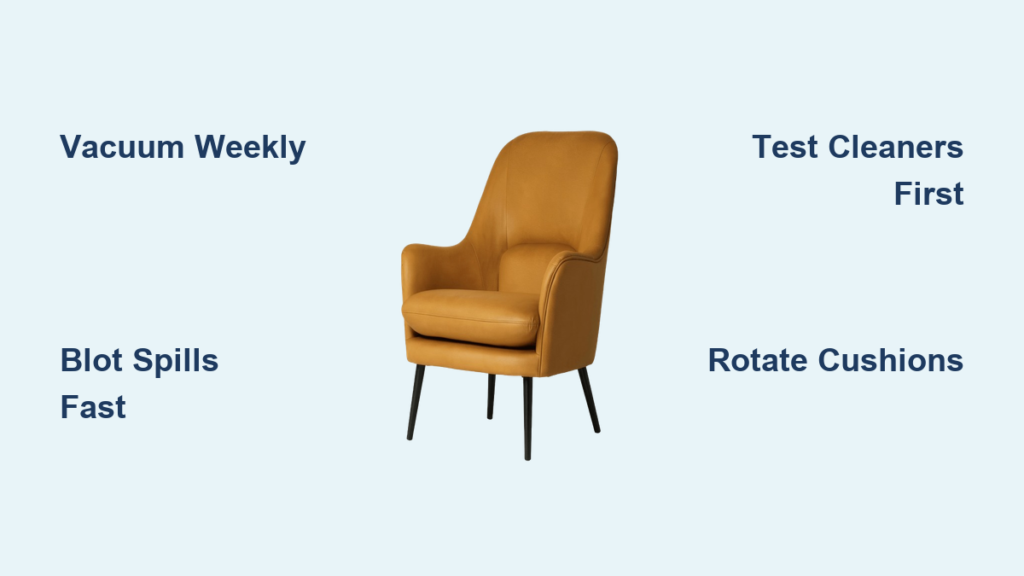
Fabric Lounge Chair Revival Techniques
Weekly Fabric Maintenance That Prevents Permanent Damage
Vacuuming isn’t just about crumbs—it’s your first defense against embedded dirt that grinds fibers down. Use your upholstery attachment to glide over every inch of fabric, paying special attention to crevices where pet hair and food debris hide. For tight seams, switch to the crevice tool and work slowly to lift trapped particles. Rotate removable cushions weekly while fluffing them upward (never sideways) to maintain even density. This simple habit prevents permanent indentations and doubles cushion longevity. Skip this step, and you’ll face lumpy, misshapen seating within months.
Deep Cleaning Fabric Upholstery Without Water Stains

Your chair’s hidden care label holds the key—those cryptic codes (W, S, WS, X) dictate your entire cleaning approach. Code W fabrics tolerate water-based solutions, while Code S demands solvent-only methods. Never assume: test any cleaner on a hidden seam first. For water-safe fabrics, mix 1 teaspoon clear dish soap with 1 cup lukewarm water in a spray bottle. Mist lightly onto stained areas (never soak!), then use a soft toothbrush in gentle circular motions. Blot immediately with a white microfiber towel—the moment you see color transfer on the cloth, stop scrubbing. Air-dry for 4-6 hours with fans circulating air; rushing this causes mildew.
Solvent Cleaning for Delicate or Code S Fabrics
When water is forbidden, solvent cleaning becomes essential—but one misstep can spread stains. Pour dry-cleaning solvent onto a clean white cloth (never directly onto fabric), then blot stains from the outer edge inward. Work in 10-minute intervals with fresh cloth sections to avoid reapplying grime. For velvet or silk Code S fabrics, place a dry towel beneath the stain to absorb lifted residue. Always ventilate the room during and after cleaning—solvent fumes linger for hours. Never sit on the chair until it smells completely neutral; trapped vapors accelerate fabric breakdown.
Leather Lounge Chair Protection System
Daily Leather Care to Avoid Cracking and Fading
Sunlight is leather’s silent killer—position chairs at least 3 feet from windows and heating vents. Wipe surfaces daily with a dry microfiber cloth, always following the leather’s natural grain direction (check near the seat base for orientation). In dry climates, place a humidifier nearby to maintain 40-50% humidity; leather dries out below 35%, causing irreversible cracks. Never use furniture polish—it leaves a sticky residue that attracts dust. Instead, immediately wipe away spills with a barely damp cloth, then dry with a second towel. Skipping this invites moisture into the leather’s core, warping the structure.
Conditioning Leather Chairs Without Over-Saturation
Monthly conditioning prevents leather from becoming stiff and brittle, but too much product causes buildup. Mix 2 drops of pH-neutral soap (like Castile) with 1 cup distilled water. Dampen a microfiber cloth until it’s barely moist—wring it out over a sink until no drips form. Wipe the entire chair in palm-sized sections, applying even pressure. Dry immediately with a second cloth; any pooling water creates permanent white rings. For conditioning, rub a nickel-sized amount of leather balm onto a soft cloth. Work it into the surface using dime-sized circular motions, waiting 30 minutes before buffing off excess. Over-conditioning attracts dirt—stick to this 3-6 month schedule.
Vinyl and Outdoor Lounge Chair Rescue
Metal Frame Care for Rust-Prone Outdoor Chairs
Outdoor chairs with aluminum or steel frames demand metal-specific TLC. After each use, wipe frames with a vinegar-water solution (1:3 ratio) to neutralize chlorine and salt residue. For aluminum, apply car wax annually—it creates a protective barrier against oxidation. Steel frames require vigilance: check weld points monthly for rust specks. Sand affected spots gently with 400-grit paper, then dab on rust-inhibiting spray. Never use abrasive pads—they scratch protective coatings. For wrought iron, vacuum crevices first with a brush attachment before washing; trapped dirt accelerates corrosion.
Mold Removal on Poolside Lounge Chairs
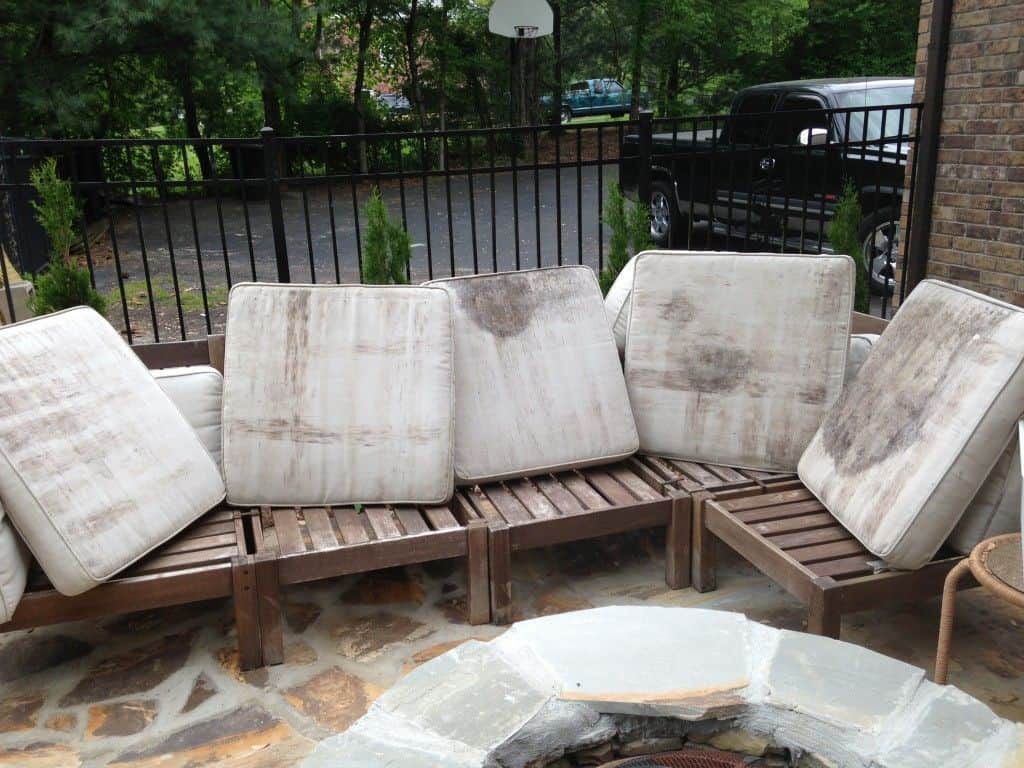
Green mold thrives in damp outdoor cushions—attack it before it penetrates fibers. Mix 1 cup bleach with 1 gallon water in a plastic tub (never a metal container). Dip a soft-bristled brush into the solution and scrub affected areas for 2 minutes. Let it sit for exactly 10 minutes—longer bleaches fabric color. Rinse thoroughly with a garden hose, ensuring no suds remain. Dry chairs upright in direct sunlight for 48 hours; flipping them halfway prevents moisture pockets. For stubborn mold, repeat once—but never use bleach more than twice, as it weakens fabric threads.
Stain-Specific Emergency Protocols
Grease Stain Eradication for Food Oil and Makeup
Grease soaks deep within minutes—act fast with this two-phase method. First, cover the stain with cornstarch or baking soda, pressing gently to absorb surface oil. Wait 15 minutes, then vacuum thoroughly using the brush attachment on low suction. Next, apply dry-cleaning solvent to a cotton pad and blot the area until no color transfers. For makeup stains, scrape excess product with a butter knife edge (never the blade!), then dab with makeup remover on a cotton ball. Always work from the stain’s perimeter toward the center to avoid spreading.
Blood Stain Removal Using Cold Water Only
Hot water sets blood proteins permanently—this is non-negotiable. Flush the area immediately with cold tap water from the backside of the fabric. Mix 2 teaspoons salt into 1 cup cold water and apply with a clean cloth, blotting (never rubbing) toward a dry section. Rinse with cold water and repeat until the stain lightens. For leather chairs, skip salt—use cold water only, then condition the area afterward. Blood stains reappear when humidity rises if not fully removed, so verify removal by checking after 24 hours.
Preventive Maintenance That Saves $200+ Annually
Cushion Rotation Schedule for Even Wear
Cushions develop permanent dips when neglected—rotate them weekly using this pattern:
1. Lift the cushion straight up (don’t drag)
2. Flip it front-to-back on odd-numbered weeks
3. Rotate 180 degrees on even-numbered weeks
4. Fluff foam inserts by hand before repositioning
This distributes weight evenly, preventing lumps that require costly re-stuffing. For down-filled cushions, add a daily shake-up: grasp opposite corners and snap the cushion outward to redistribute feathers.
DIY Fabric Protector Application Guide
Commercial protectors like Scotchgard extend stain resistance but wear off after 6 months. Reapply annually using this foolproof method:
– Vacuum fabric first to remove loose particles
– Shake protector can vigorously for 30 seconds
– Hold 6 inches from fabric, spraying in steady side-to-side motions
– Apply two light coats (not one heavy coat)
– Wait 24 hours before using the chair
Test on a hidden area first—some protectors darken light fabrics. For velvet, skip sprays entirely; use a protectant designed for napped fabrics to avoid shine spots.
When to Call Professionals vs. DIY
Cost-Saving Thresholds for Professional Cleaning
Skip the $150 service call unless you face these scenarios:
– Antique chairs (pre-1980s) with fragile frames
– Structural repairs like loose joints or torn webbing
– Delicate fabrics including silk, mohair, or embroidered sections
– Urine or vomit accidents older than 48 hours (bacteria embed deeply)
For standard fabric chairs with fresh stains, DIY saves 70% versus professional cleaning. But for leather restoration involving dye matching, expect $200–$500—worth it only if the chair’s value exceeds $1,000. Always get written quotes; some companies charge per cushion rather than per chair.
Instant Spill Response Cheat Sheet
30-Second Action Plan for Fresh Spills
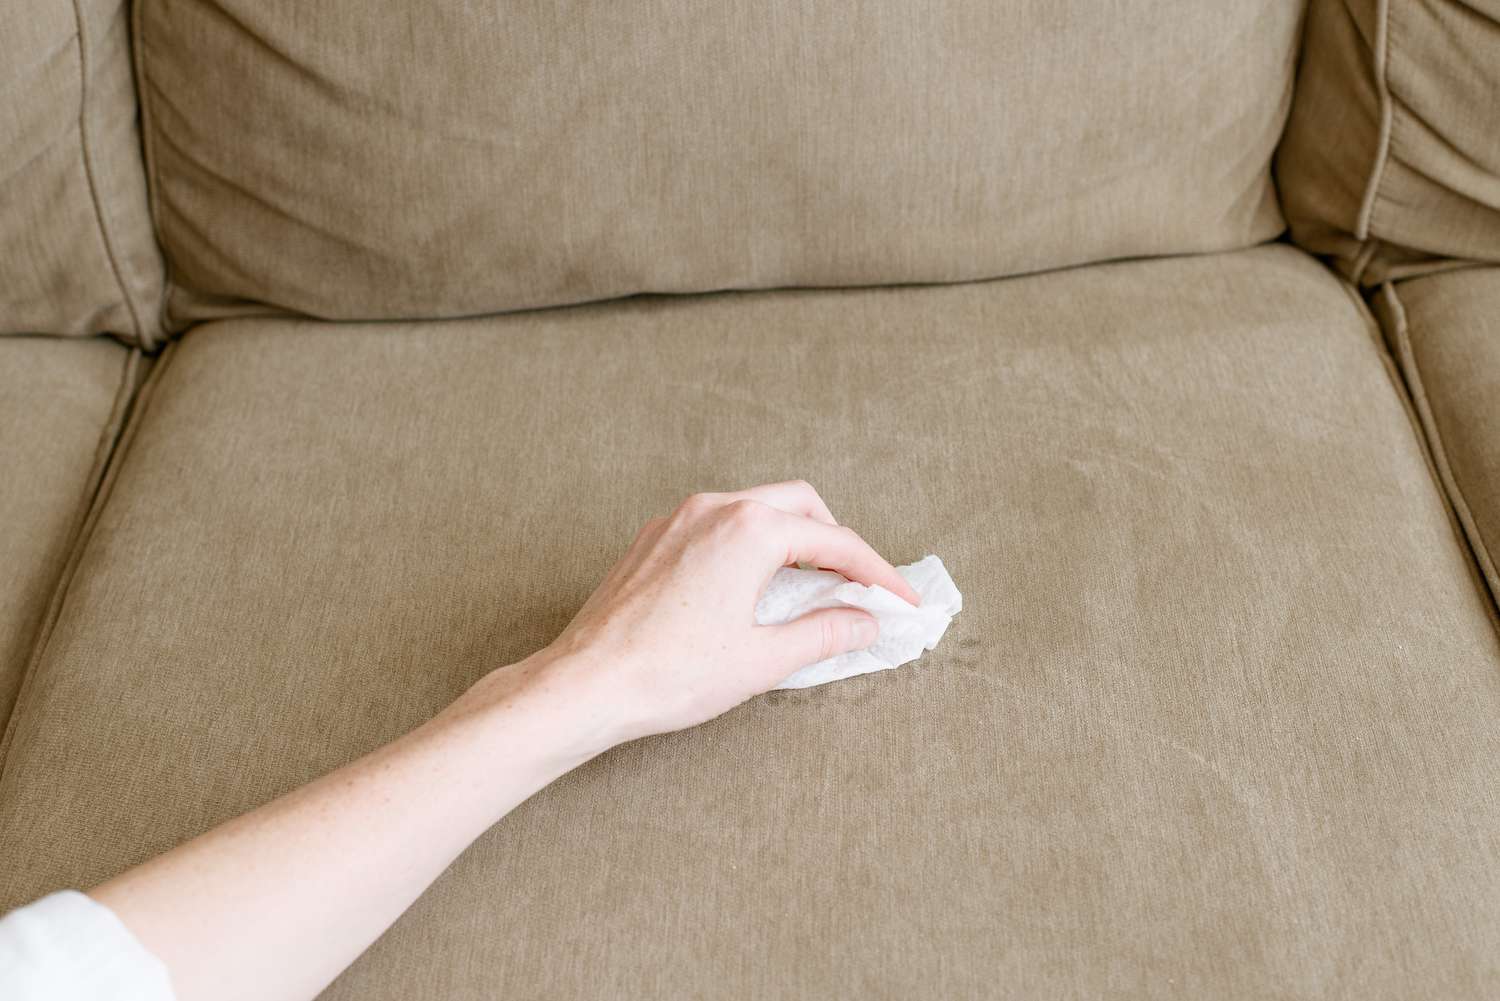
- Blot immediately with a white microfiber cloth—press straight down 10 times
- Identify the spill type:
– Clear liquids (water, wine): Salt absorption
– Oily substances (salad dressing): Cornstarch soak
– Colored liquids (soda, juice): Vinegar solution - Apply material-specific treatment from your pre-made emergency kit
- Document with a photo for warranty claims if needed
Never rub—this grinds particles deeper. Keep stain-specific kits labeled in your cleaning caddy: one for fabric (vinegar, salt, cornstarch), one for leather (rubbing alcohol, conditioner), and one for outdoor chairs (vinegar, baking soda).
Reviving your lounge chairs isn’t about perfection—it’s consistent care that prevents small issues from becoming costly disasters. Start with weekly vacuuming and immediate spill response, then schedule seasonal deep cleans based on your chair’s material. Within 30 days, you’ll notice brighter colors, fresher fabrics, and seating that feels like new. Remember: the most effective cleaning happens before stains set in. Implement one preventive habit today—like rotating cushions or applying fabric protector—and your chairs will repay you with years of comfort.


