

That morning coffee spill on your favorite armchair. The mysterious mystery stain on your dining chair after last night’s dinner party. Cloth chairs silently absorb life’s messes, transforming from cozy retreats into grimy eyesores that drag down your entire living space. But here’s the liberating truth: you don’t need expensive professional services to revive most fabric furniture. With the right approach, you can safely clean cloth chairs at home—saving hundreds while extending your furniture’s life. This guide reveals precisely how to clean cloth chairs based on your specific fabric type, stain severity, and care tags, avoiding the costly mistakes that ruin upholstery.
Decode Your Chair’s Care Tag Before Cleaning
Find Hidden Cleaning Codes Under Seat Cushions
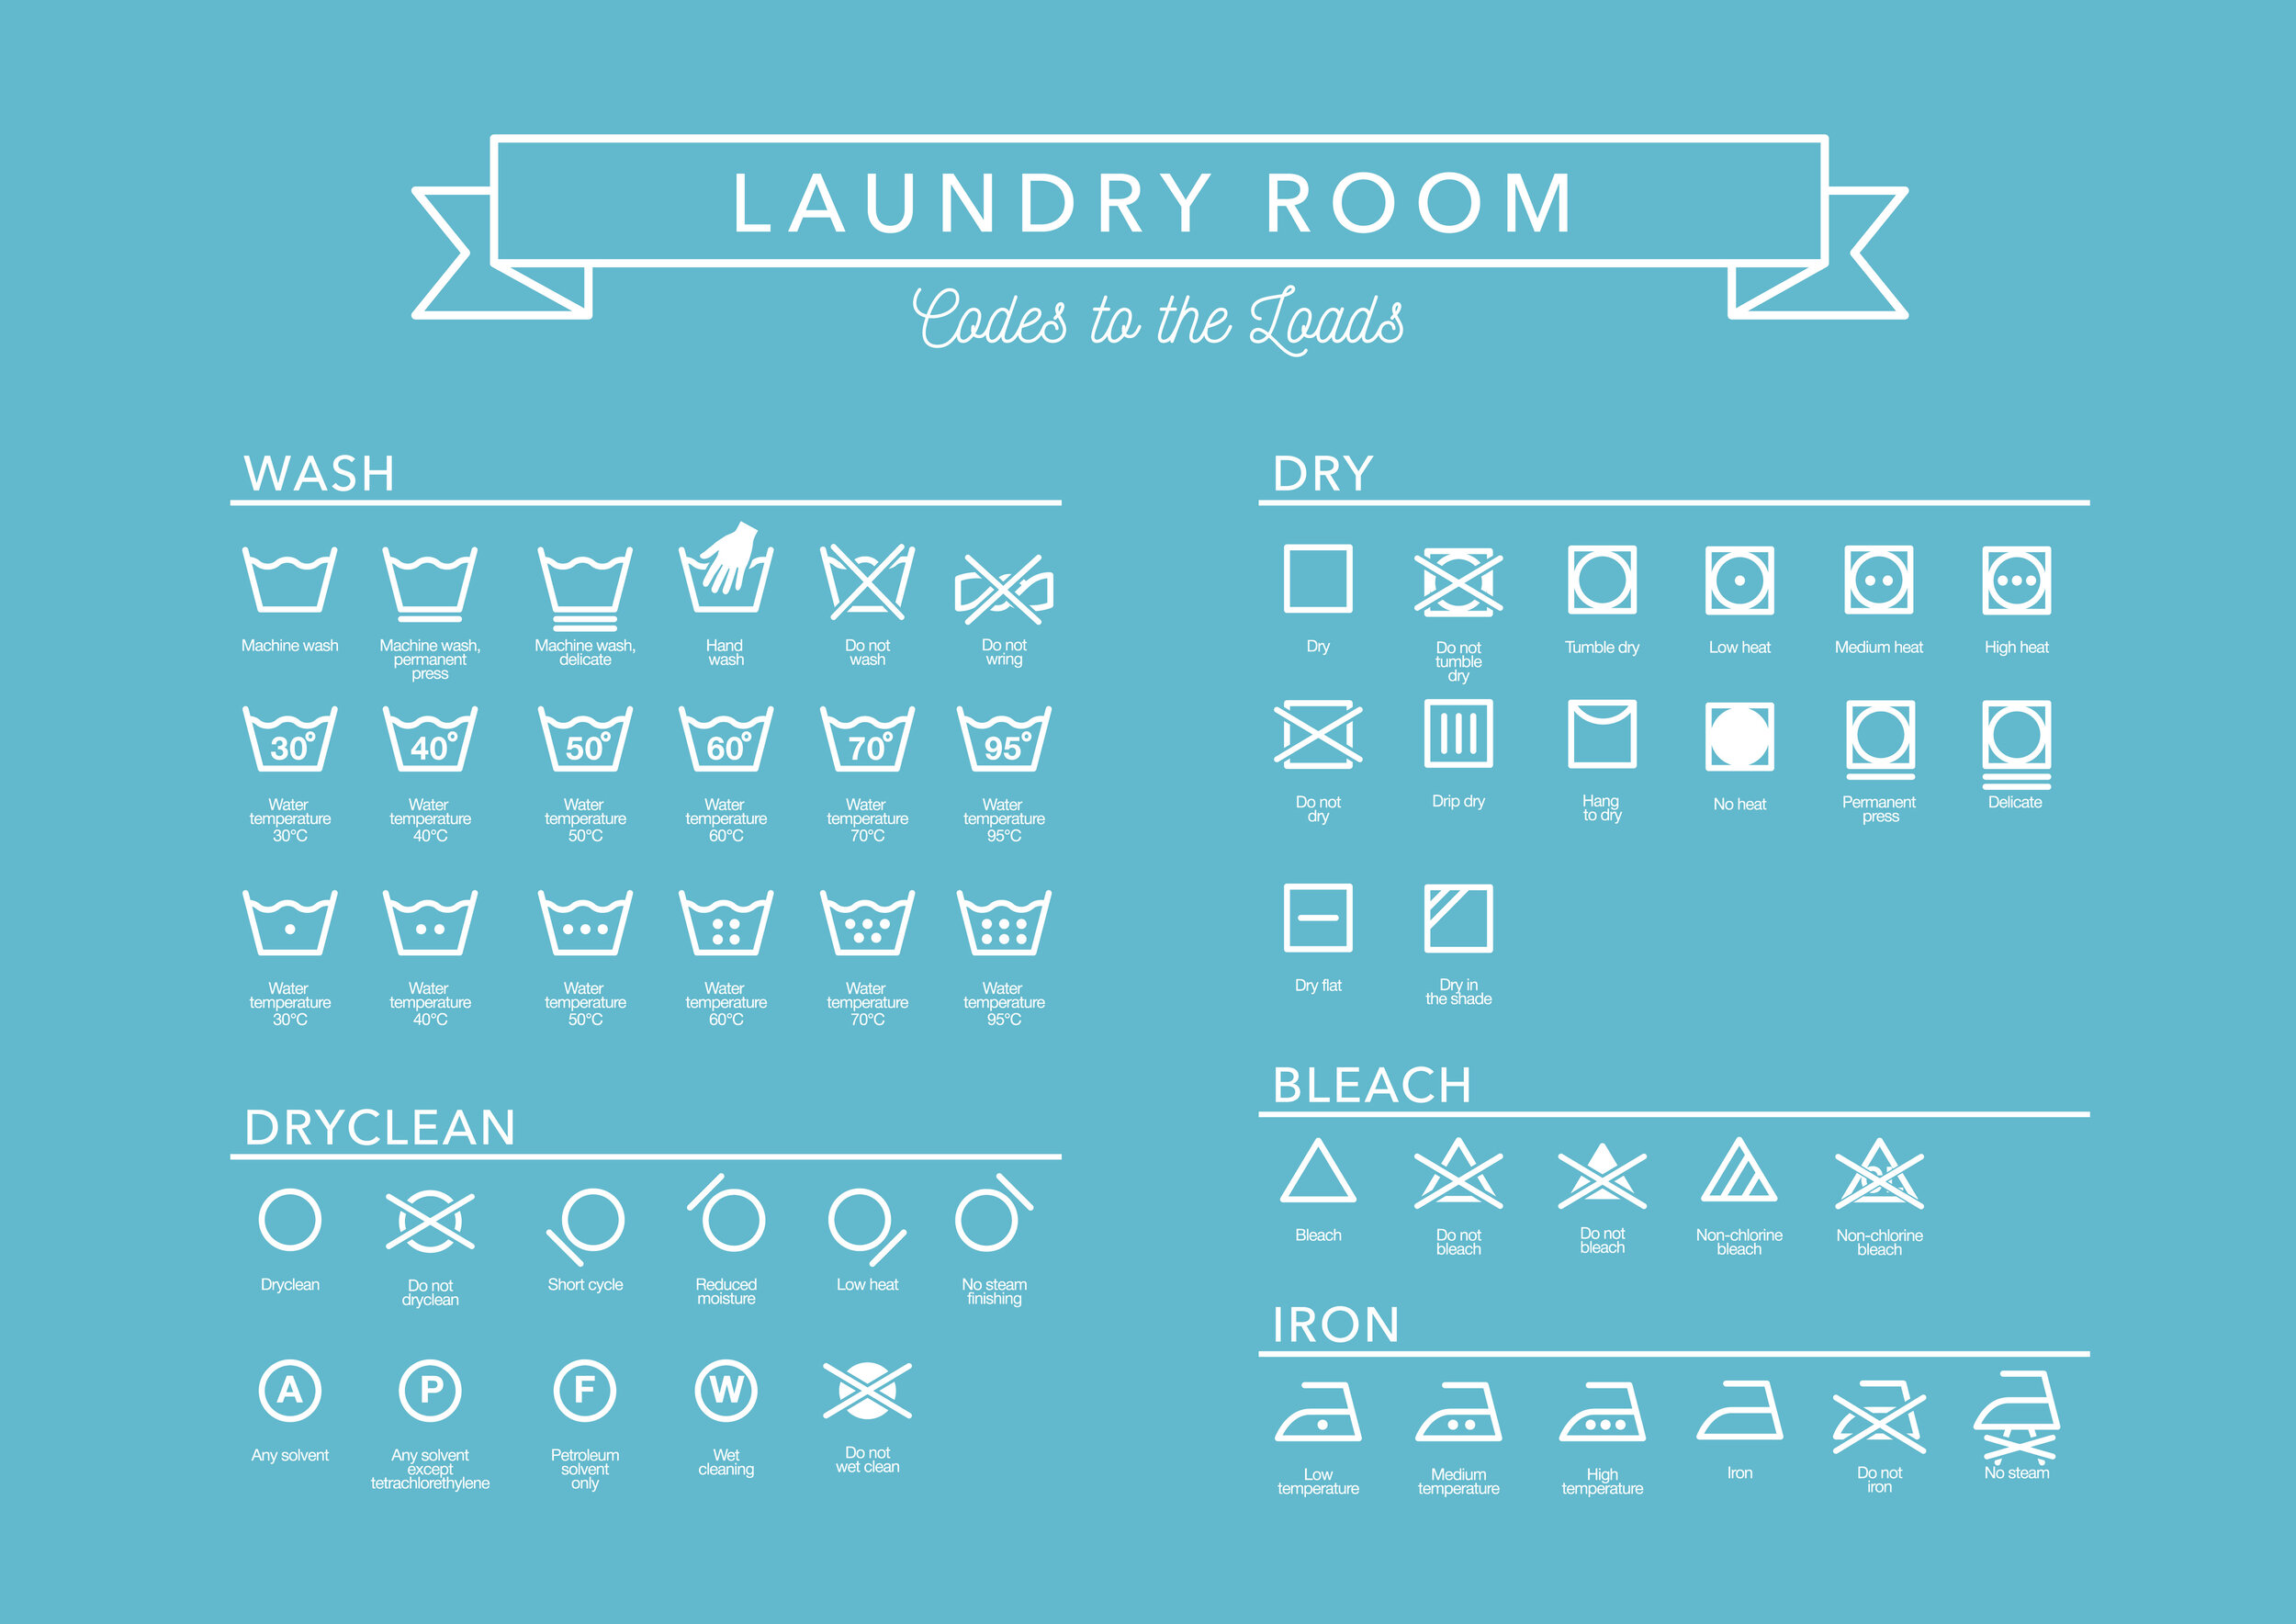
Flip over your chair and feel along the bottom edges for the manufacturer’s tag—usually stitched near the back or under seat cushions. This tiny label holds critical cleaning codes written as single letters: W means water-based cleaners are safe, S requires solvent-only solutions, WS accepts both, and X means professional cleaning only. Never skip this step. A microfiber chair with an “S” code will disintegrate if sprayed with water, while cotton blends with a “W” code can handle gentle scrubbing. I once saw a client destroy $1,200 velvet dining chairs by using vinegar on “X”-coded fabric—always trust the tag over internet hacks.
Inspect Stains and Fabric Damage Thoroughly
Run your hands over every surface, noting problem zones before cleaning. Check for:
– Stain types: Coffee rings on armrests, grease spots near dining chairs, or pet urine odors
– Wear patterns: Flattened fabric on seat cushions or frayed threads on high-contact areas
– Color bleeding: Test faded spots by dabbing with a damp white cloth—if color transfers, avoid water
– Structural issues: Loose seams or sagging fabric that could worsen during cleaning
This assessment prevents turning a small stain into a major disaster. If you spot moth holes or tears, stop immediately—cleaning could unravel the fabric.
Gather Exactly These Supplies (No Guesswork)

Mix Proven DIY Cleaning Solutions
Create these three essential formulas before touching your chair:
– Stain lifter: 1 tsp clear dish soap + 2 cups warm water (for “W” or “WS” fabrics)
– Odor neutralizer: Equal parts white vinegar and water in a spray bottle
– Grease buster: Baking soda paste (3 parts baking soda : 1 part water) for makeup or food spills
Skip commercial sprays if possible—many contain bleaching agents that fade colors. For pet accidents, buy an enzyme cleaner instead of DIY; it breaks down organic matter regular cleaners miss.
Essential Tools You Already Own
Grab these before starting:
– Upholstery vacuum attachment (crucial for deep-seated crumbs)
– White microfiber cloths (colored towels may transfer dye)
– Soft-bristled toothbrush for scrubbing seams
– Rubber gloves to protect hands from solvents
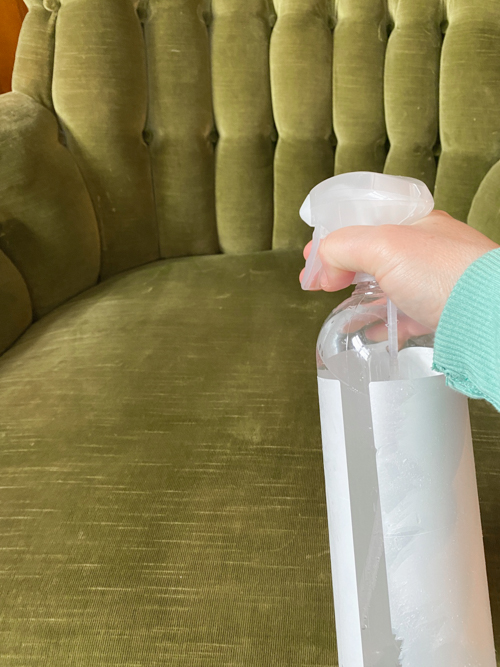
– Spray bottle with mist setting (not stream!)
Never use paper towels—they leave lint. And skip steam cleaners unless your tag says “W”; excessive moisture causes mold.
Vacuum Like a Detail-Obsessed Pro
Eliminate Dry Debris in One Pass
Start with dry vacuuming using the upholstery attachment—this removes 80% of dirt before liquids ever touch fabric. Work top-to-bottom in overlapping strokes:
1. Hold the attachment at a 45-degree angle against the fabric grain
2. Focus on crevices where crumbs hide (armrest seams, cushion corners)
3. Vacuum tufted buttons in circular motions
4. Empty your canister mid-process for strong suction
Critical mistake: Skipping this step pushes dry dirt deeper when you apply liquids. For stubborn pet hair, lightly dampen a rubber glove and run your hand over the fabric—the hair clings instantly.
Spot Test Secretly on Chair Underside
Avoid Color Bleeding With This 24-Hour Test
Apply your cleaning solution to a hidden spot (like the chair’s back bottom edge). Wait 24 hours before proceeding. Check for:
– Color transfer onto white cloth
– Texture changes (stiffness or fuzziness)
– Water rings after drying
If the test area looks different, stop. Water-safe fabrics like cotton blends rarely fail, but microfiber and velvet often react badly to DIY solutions. When in doubt, use the mildest solution possible.
Erase Stains Using These Fabric-Specific Methods
Kill Coffee Stains on Dining Chairs in 6 Steps
For red wine, juice, or coffee on “W” fabrics:
1. Blot immediately with dry microfiber cloth (never rub!)
2. Spray mild soap solution lightly—never soak fabric
3. Work from stain edges toward center with toothbrush
4. Blot with clean damp cloth to lift residue
5. Rinse by dabbing with water-only cloth
6. Dry by pressing towels firmly—no air-drying yet
Pro tip: Set a timer! Let solutions dwell no longer than 5 minutes to prevent water rings.
Remove Grease Stains From Armrests Without Spreading
For makeup, butter, or oil on “S” fabrics:
1. Cover stain with baking soda for 15 minutes (absorbs oil)
2. Vacuum powder thoroughly—no residue left behind
3. Dab area with dry cleaning solvent on white cloth (never pour directly)
4. Blot with clean cloth every 2 minutes until gone
5. Air dry 2+ hours before sitting
Warning: Scrubbing grease stains spreads them. Use only gentle tapping motions.
Deep Clean Entire Chairs Without Over-Wetting
Refresh Microfiber Chairs With Alcohol (Not Water!)
Most guides wrongly recommend water for microfiber—it causes permanent water spots. Instead:
1. Spray 90% isopropyl alcohol into palm (not directly on chair)
2. Rub hands together then gently wipe fabric
3. Brush with dry nylon brush while damp to restore nap
4. Dry with fan for 30 minutes
Never use: Vinegar, baking soda, or steam cleaners—they destroy microfiber’s texture.
Clean Velvet Upholstery Without Crushing the Pile
Velvet requires extreme care:
1. Vacuum only with soft brush attachment held parallel to fabric
2. Blot spills immediately with dry cloth—never apply liquids
3. Use specialty velvet cleaner if stain persists
4. Brush gently with nap direction once dry
Critical: Never rub velvet—it creates shiny patches that ruin the look.
Banish Lingering Odors in 24 Hours
Eliminate Pet Smells With Baking Soda Overnight
For urine or general odors:
1. Sprinkle 1 cup baking soda evenly over entire chair
2. Work in with dry brush to reach deep fibers
3. Let sit 12+ hours (overnight for strong smells)
4. Vacuum thoroughly with brush attachment
Boost power: Add 10 drops lavender oil to baking soda first—it neutralizes odors while freshening.
Dry Properly to Prevent Mold and Water Rings
Speed Up Drying Without Sun Damage
Position your chair facing a fan 3 feet away (not directly blowing on it). Open windows for cross-ventilation but never place in direct sunlight—UV rays fade colors in hours. Rotate the chair every hour for even drying. Most chairs dry in 4-6 hours; thick cushions may take 12. To test dryness, press palm firmly—if coolness remains, wait longer.
Maintain Clean Chairs With These 3 Habits
Prevent Stains Before They Happen
- Armrest shields: Slip washable cotton covers on high-wear areas
- 30-second rule: Blot spills instantly before they set
- Monthly refresh: Vacuum crevices with upholstery attachment
- Quarterly deep clean: Refresh dining chairs every 3 months
Game-changer: Apply fabric protector spray after cleaning (test first!). It creates an invisible shield against stains.
When to Call Professionals Immediately
Save Heirloom Chairs From DIY Disasters
Stop cleaning and call experts if your chair has:
– “X” care tag (common on silk or antique pieces)
– Structural damage like loose springs or torn webbing
– Multiple failed attempts at stain removal
– Severe soiling covering 30%+ of fabric
When choosing cleaners, demand IICRC certification and ask for fabric-specific experience—upholstery cleaning requires different skills than carpets.
Fix Common Cleaning Mistakes Now
Repair Water Rings From Over-Wetting
If you see light rings after drying:
1. Dampen entire affected area with distilled water
2. Blot evenly with dry towels
3. Dry with fan while rotating chair
Prevent next time: Use spray bottle on “mist” setting only—fabric should feel damp, not wet.
Restore Flattened Fabric Texture
For matted microfiber or crushed velvet:
1. Hold steam iron 6 inches above fabric for 5 seconds
2. Brush gently with soft toothbrush while warm
3. Air dry 30 minutes before use
Never iron directly—heat melts synthetic fibers.
Cloth chairs don’t have to be stain magnets. By decoding your care tag first and matching methods to fabric type, you’ll clean cloth chairs safely while adding years to their life. Start with the gentlest solution possible, dry thoroughly, and maintain with monthly vacuuming. Your living room will look revitalized overnight—and you’ll keep $300+ in your pocket that would’ve gone to professional cleaners. The real secret? Treating spills within 30 seconds transforms impossible stains into easy fixes. Your chairs are worth the few minutes it takes to do it right.


