
Your dining room chairs look tired and worn, but replacing them costs hundreds. What if you could transform those sad wooden chairs into showstoppers for under $50? Painting wooden chairs breathes new life into old furniture without breaking the bank. This guide reveals professional techniques that deliver flawless results—no fancy tools or expensive classes required.
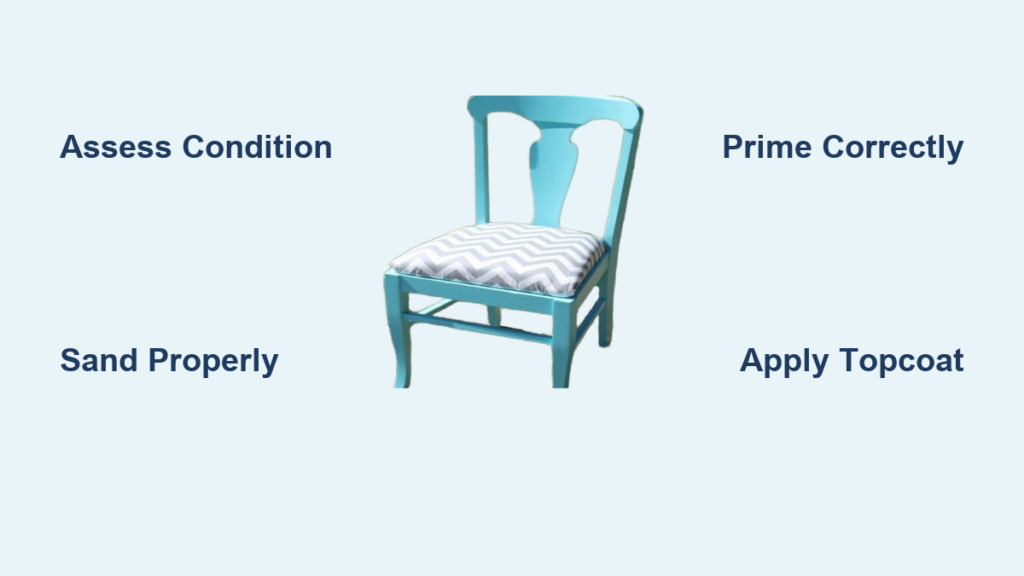
Skip the prep work, and your paint job will peel within months. Do it right, and your chairs will look stunning for years. You’ll discover exactly how to assess, prep, prime, and paint your wooden chairs for a finish that rivals custom furniture. Whether you’re updating a thrift store find or refreshing your dining set, these proven methods work for beginners and DIY veterans alike.
Assess Chair Condition Before You Paint
Inspect Every Component Thoroughly
Wiggle each leg and backrest—any movement means loose joints need repair before painting. Check for cracks needing wood filler and splinters requiring sanding. Don’t skip this step; painting over structural issues guarantees future problems. Pay special attention to high-wear areas like seat edges where daily use causes the most damage.
Deep Clean All Surfaces Properly
Mix 1 tablespoon of mild dish soap with 1 quart of warm water in a bucket. Scrub every surface with a soft-bristle brush, focusing on grease buildup common on kitchen chairs. For stubborn grime, use a trisodium phosphate (TSP) solution following package directions. Rinse thoroughly with clean water and let dry 24-48 hours—never paint damp wood as moisture causes peeling and bubbling.
Remove or Mask Hardware Completely
Pop off seat cushions and unscrew all hardware, storing screws in labeled bags. For permanent fixtures like decorative nails, apply painter’s tape followed by plastic sheeting for crisp lines. This protects hardware from accidental paint drips and ensures you don’t lose critical components during your project.
Sand Like a Professional Painter
Start with Coarse Grit Sandpaper
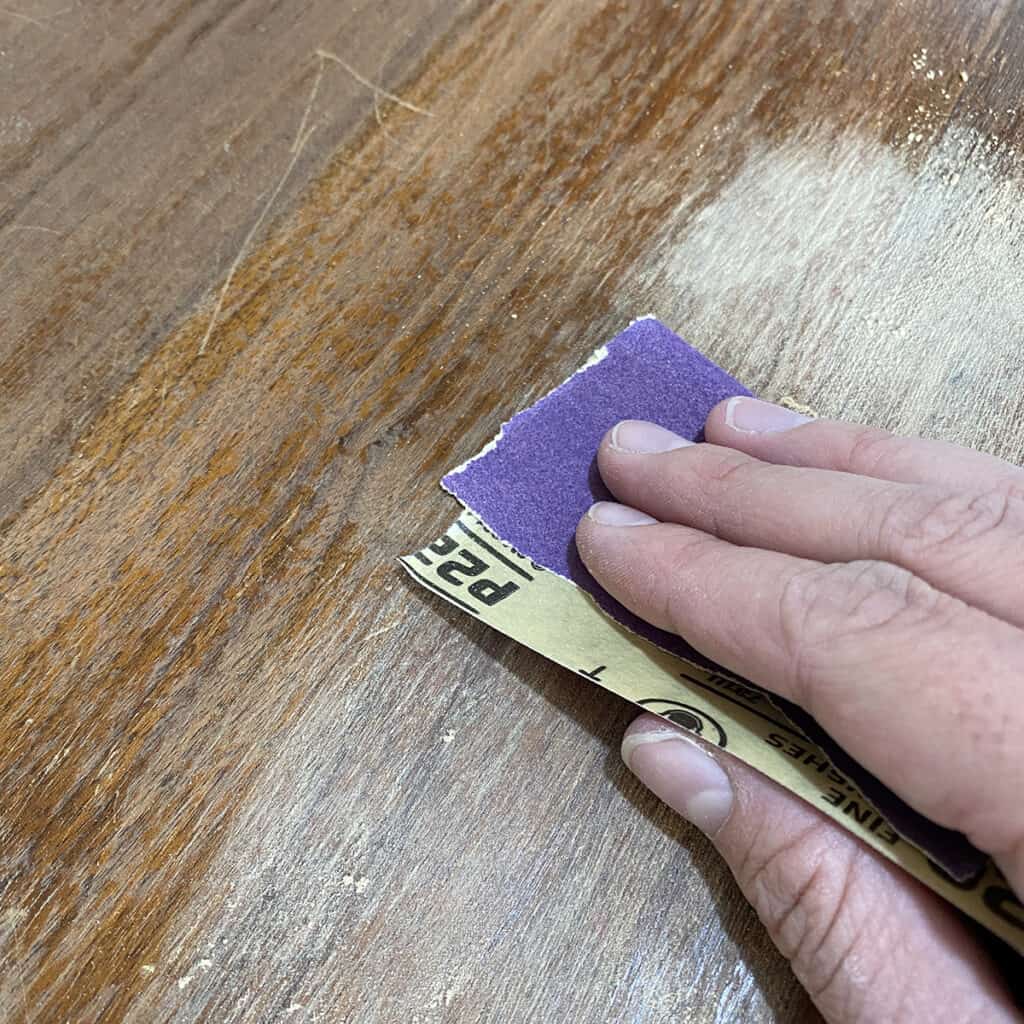
Begin with 80-120 grit sandpaper to remove old finishes and smooth rough spots. Sand in the direction of the wood grain—never against it—to prevent visible scratches. Focus on glossy areas where paint won’t adhere; shiny surfaces repel new paint. Replace paper when it clogs or loses effectiveness for consistent results.
Progress Through Finer Grits Systematically
Move to 150-180 grit for general smoothing, then finish with 220 grit for a silky surface ready for paint. Use sanding sponges on curved spindles and detailed carvings where flat sandpaper won’t reach. Your fingers should glide smoothly over every surface with zero rough spots when you’re done.
Eliminate Every Dust Particle
Vacuum all surfaces with a brush attachment, then wipe with a tack cloth. Even microscopic dust creates bumps in your final finish. Don’t skip this—dust removal takes 5 minutes but prevents hours of sanding later to fix imperfections.
Select the Right Paint for Your Project
Match Paint Type to Your Needs
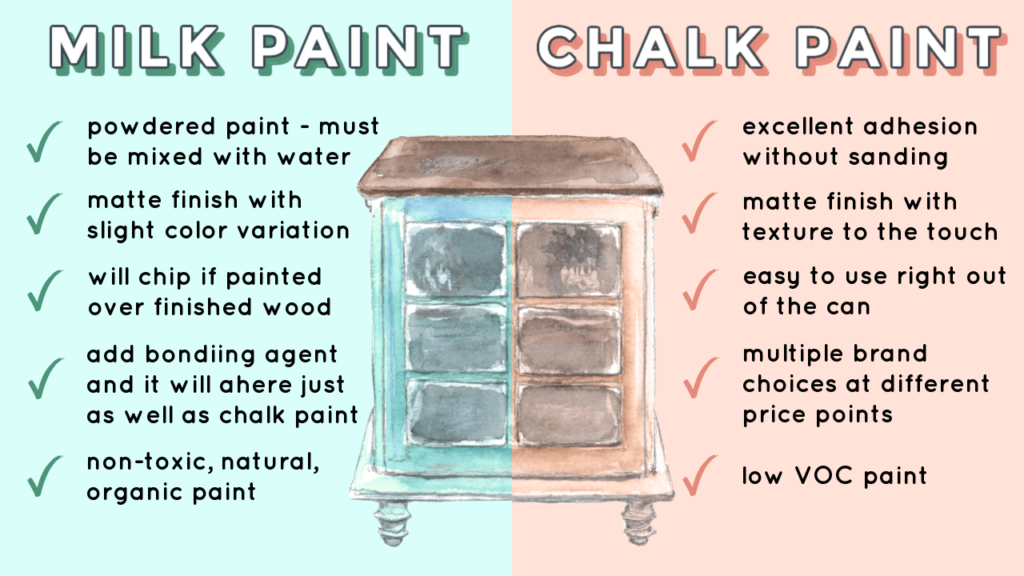
Chalk paint sticks to most surfaces without priming, perfect for quick vintage transformations. It dries matte and distresses beautifully but requires wax or polyurethane protection. Latex paint offers easy cleanup and low odor with various sheens from flat to high-gloss—ideal for dining chairs needing frequent cleaning. Oil-based paint creates the toughest finish for kitchen chairs but requires 8-24 hours between coats and mineral spirits cleanup.
Choose the Perfect Sheen Level
- Flat/Matte: Hides imperfections for vintage styles but shows stains easily
- Satin: Subtle sheen with good cleanability—best all-around choice
- Semi-Gloss: Noticeable shine with excellent durability for daily use
- High-Gloss: Dramatic reflective finish that highlights every flaw
Prime for Flawless Results
Apply Primer Correctly
Use wood-specific primer with a high-quality synthetic brush. Work the primer into every crevice and corner—you’ll see it disappear on raw wood. Apply one thin, even coat rather than one thick, gloopy layer. Thick primer creates brush marks that show through your topcoat.
Sand Between Primer and Paint
After primer dries 1-4 hours, lightly sand with 220-grit paper to remove raised grain. Vacuum and wipe with tack cloth again—dust always returns. This extra step creates the ultra-smooth finish professionals achieve.
Perfect Paint Application Techniques
Load Your Brush Properly
Dip only one-third of the bristles into paint, then tap against the can’s side—never wipe on the rim. Overloading causes drips; underloading creates streaks. Proper loading ensures even coverage without wasted paint.
Paint in Logical Sections
Complete one chair leg or back section before moving on. Maintain a wet edge by working continuously—stopping mid-section creates visible lap marks. Apply thin coats; two thin layers always beat one thick coat for durability and appearance.
Calculate Exact Paint Needs
Plan for 8-16 ounces per standard dining chair. Dark colors over light wood require extra coats. Buy 25% more than calculated—you’ll need it for touch-ups and future repairs. Running out mid-project risks color mismatches.
Create Professional Finishes
Distress for Authentic Vintage Appeal
After final paint dries, use 120-150 grit sandpaper on natural wear areas: seat edges, armrest tops, front stretchers. Focus where hands and bodies would naturally rub over years of use. Wipe away dust and apply dark wax to enhance the aged effect.
Apply Protective Topcoats
Wait 72 hours for water-based paint or 7 days for oil-based before sealing. Apply 2-3 thin coats of water-based polyurethane (clear, non-yellowing) or oil-based polyurethane (amber tone, ultra-durable). Sand lightly between coats with 220-grit paper for perfect adhesion.
Fix Common Painting Problems
Stop Paint Peeling Immediately
Peeling means poor prep or surface contamination. Remove all loose paint, degrease thoroughly with TSP, and re-sand. Apply bonding primer before repainting—prevention beats correction every time. Proper prep prevents 90% of peeling issues.
Eliminate Visible Brush Marks
Use high-quality brushes designed for your paint type. Thin thick paint slightly with water (latex) or mineral spirits (oil). Work in optimal temperature (65-85°F) and humidity (below 70%)—extreme conditions ruin finishes. For ultra-smooth results, consider foam rollers on flat surfaces.
Maintain Your Painted Chairs
Implement Weekly Care Routine
Dust with soft cloth or microfiber duster—never feather dusters that just move dust around. For spills, use damp cloth with mild soap, avoiding abrasive cleaners. Dry immediately to prevent water damage; moisture is paint’s worst enemy.
Master Touch-Up Techniques
Store leftover paint properly sealed in original container. For small nicks, clean area thoroughly, lightly sand if needed, and apply thin coats matching original technique. Keep a small artist’s brush dedicated to touch-ups for precision work.
Safety Essentials for Successful Projects
Ventilate Your Workspace Properly
Work outdoors when possible. Indoors, position box fans to exhaust fumes through windows—never seal yourself in a room. Oil-based products require extra ventilation due to strong fumes. If you smell paint strongly, your ventilation is inadequate.
Wear Complete Protective Gear
- Safety glasses prevent dangerous paint splatter in eyes
- Nitrile gloves protect skin from chemicals and stains
- Respirator mask essential for sanding and oil-based products
- Long sleeves and pants minimize skin exposure to fumes
Final Tip: Paint one chair as your test piece before tackling the entire set. You’ll refine your technique, discover paint coverage quirks, and gain confidence—resulting in better-looking chairs overall. This single chair becomes your reference for color matching and application methods throughout the project. With proper preparation and technique, painting wooden chairs transforms tired furniture into conversation-starting pieces that showcase your DIY skills.


