
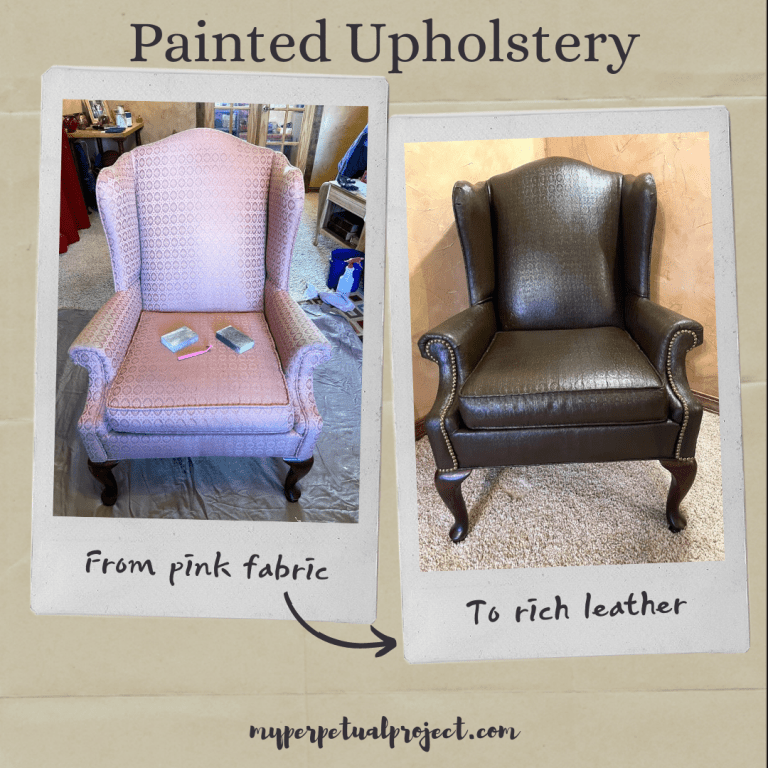
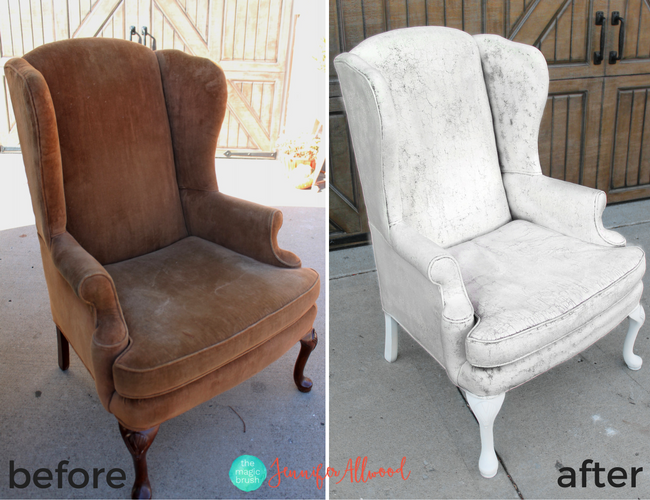
You’ve found your dream chair—solid frame, perfect shape—but the fabric is faded beyond cleaning or the color clashes with your new decor. Reupholstering costs $200+ per chair, and cheap slipcovers never stay put. What if you could refresh that worn upholstery with professional-looking results for under $25? Painting fabric chairs with the right technique and product delivers stunning transformations while preserving comfort. This guide reveals exactly how to achieve vibrant, lasting color without sacrificing softness—using a specialized fabric paint that soaks deep into fibers rather than sitting on top like traditional paints.
Why Standard Paints Ruin Fabric Chairs
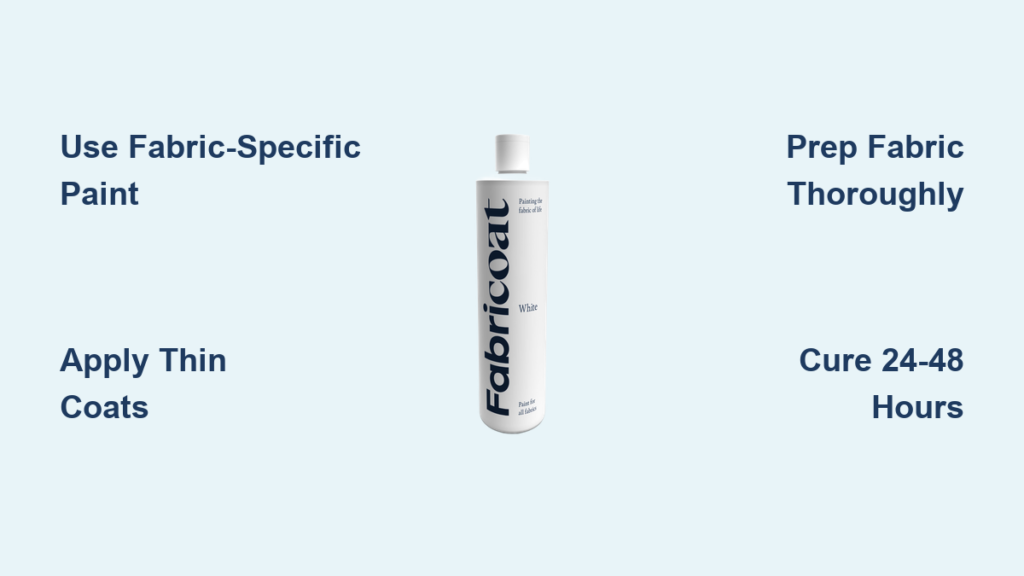
Most DIYers reach for acrylic craft paint when attempting painting fabric chairs, not realizing these formulas create stiff, crack-prone surfaces. When applied to upholstery, acrylics form a plastic-like layer that flakes under pressure and feels unpleasant to sit on. The critical difference lies in formulation: standard paints sit on top of fabric, while proper fabric paint soaks into fibers. Fabricoat’s non-acrylic formula penetrates completely without creating a hardened surface, maintaining the original softness you love in your favorite chair.
How Fabric Paint Actually Works
Unlike conventional paints that coat surfaces, specialized fabric paint chemically bonds with textile fibers. The liquid formula wicks deep into the material’s structure, restoring color at the fiber level rather than adding a surface layer. This process works equally well for refreshing faded fabric or executing a complete color change—without altering texture. On dining chairs, sofas, or automotive upholstery, the result feels indistinguishable from untreated fabric once cured.
Velvet and Microfiber Require Special Approach
High-pile fabrics like velvet demand extra attention during painting fabric chairs projects. Their dense, porous structure absorbs significantly more product than standard upholstery. When working with these materials, plan for 30-50% more paint than standard fabrics. Apply thinner initial coats to prevent saturation that could lead to stiffness, building color gradually with additional layers as needed.
Essential Supplies for Flawless Chair Painting

Skip the guesswork with this precise shopping list—everything you need to successfully paint fabric chairs while avoiding common pitfalls. The FurnitureClinic bundle (Fabricoat 250ml + angled brush for $22.95) offers the most cost-effective starting point at 8% savings over purchasing separately.
Must-Have Painting Tools
- Fabricoat 250ml bottle ($14.95 retail): One bottle covers one standard dining chair
- Angled paint brush (1-2″ width): Essential for precise application along seams
- High-quality sponge: Alternative application method for curved surfaces
- Painter’s tape: Protects wood legs and non-fabric elements
- Lint roller: Critical for pre-paint surface preparation
Cost-Saving Strategies
Subscribe to automatic delivery (every 3 months is most popular) for 10-15% savings per bottle. For multi-chair projects, eight bottles transform an entire dining set for under $120—compared to $800+ for professional reupholstering. Amazon Prime members enjoy free shipping and returns, making experimentation risk-free with the 30-day refund policy.
Perfect Preparation: The Secret to Professional Results
Skipping preparation guarantees disappointing results in painting fabric chairs. This critical phase separates DIY disasters from professional-looking transformations. Invest 20 minutes here to save hours of correcting mistakes later.
Deep Cleaning Protocol
Vacuum every inch using a brush attachment to lift embedded dirt from fabric weave. Roll over surfaces with a lint roller to capture pet hair and dust particles invisible to the eye. For stained areas, use a damp cloth with mild soap—never saturate the fabric. Allow 24 hours for complete drying; moisture trapped beneath paint causes bubbling and poor adhesion.
Strategic Surface Protection
Tape off wooden legs, metal accents, and any non-fabric elements with painter’s tape. Place plastic sheeting beneath the chair to catch drips—this prevents permanent stains on flooring. Remove cushions if possible; painting them separately ensures even coverage without awkward contortions. For tufted chairs, loosen buttons slightly to access hidden fabric areas without damaging stitching.
Master Brush Technique for Seamless Coverage
How you apply paint determines whether your chair looks professionally finished or amateurish. The cross-hatch method delivers complete saturation while maintaining fabric flexibility—critical for painting fabric chairs that get regular use.
Step-by-Step Application Process
Pour a small amount of paint into a disposable container—never apply directly from the bottle. Dip your angled brush lightly, removing excess against the container rim. Apply paint in thin, even strokes following the fabric’s natural grain direction. After completing the first pass, go over the same area perpendicular to your initial strokes (cross-hatching) to ensure full penetration without oversaturation.
Handling Problem Areas
For piping details and seam lines, use the brush tip to gently work paint into crevices. Rounded chair backs respond better to sponge application—dab rather than stroke to avoid streaks. When painting buttons, lift gently to access hidden fabric underneath, then press back into place before paint dries. Velvet chairs require extra attention: apply thinner coats and allow 45 minutes between layers for proper absorption.
Troubleshooting Common Painting Problems
Even with perfect preparation, issues can arise during painting fabric chairs. Knowing how to fix these problems immediately saves wasted time and materials.
Fixing Stiff or Cracked Texture
Over-application creates rigid fabric that cracks when sat upon. If you notice stiffness while paint is still slightly damp, gently massage the area with your fingers to restore flexibility. For severe cases, lightly mist with water and work the fabric between your palms. Prevention is better: always apply thin coats and avoid saturating the material.
Correcting Uneven Color
Patchiness typically indicates inconsistent coverage or fabric porosity variations. Dilute paint with water (10 parts paint to 1 part water) for better flow. Work in smaller sections, maintaining a “wet edge” by overlapping each stroke with the previous one. For stubborn areas, apply additional thin coats rather than one heavy layer—color builds gradually without compromising fabric softness.
Complete Drying and Curing Timeline
Rushing this phase ruins otherwise perfect projects. Understanding the difference between “touch-dry” and “fully cured” prevents permanent damage to your newly painted chair.
Optimal Drying Environment
Position chairs in a well-ventilated area away from direct sunlight, which can cause uneven curing. Maintain 65-75°F temperature for consistent results. Use ceiling fans on low speed to circulate air without introducing dust particles that stick to wet paint.
Critical Cure Period
While paint feels dry to the touch in 45 minutes, complete chemical curing takes 24-48 hours. During this time, avoid sitting on the chair or placing objects on painted surfaces. Test readiness by pressing a white cloth firmly against the fabric—if no color transfers, the piece is ready for regular use. Full hardness develops over 7-10 days, so handle gently during this period.
Long-Term Care for Painted Upholstery
Your newly painted chair will maintain its fresh appearance for years with proper maintenance. Unlike regular fabric, painted upholstery requires specific cleaning techniques to preserve the finish.
Daily Maintenance Routine
Vacuum weekly using an upholstery attachment to prevent dirt buildup. Address spills immediately by blotting (never rubbing) with a dry cloth—painted fabric resists stains better than untreated material but isn’t waterproof. For stubborn marks, use a slightly damp cloth with mild soap, testing in an inconspicuous area first.
Annual Refresh Protocol
Rotate chair position monthly to prevent uneven fading from sunlight exposure. Every 12 months, inspect high-wear areas like armrests and seat edges. Touch up thin spots with a single thin coat of paint, feathering edges into existing finish. This annual maintenance keeps your chair looking professionally painted for years.
Transforming tired fabric chairs through professional painting fabric chairs techniques delivers dramatic results at a fraction of replacement costs. Fabricoat’s unique non-acrylic formula ensures your seats maintain their original softness while sporting vibrant, lasting color. With proper preparation, application technique, and maintenance, your DIY chair makeover will withstand daily use while impressing guests with its custom finish. Start with one chair this weekend—you’ll gain confidence with each stroke and likely find yourself revitalizing every upholstered piece in your home. The $22.95 investment (paint plus brush) could save you hundreds while giving your space a designer look that reflects your personal style.


