
Your dining chairs take daily abuse from spills, crumbs, and constant use yet rarely get the attention they deserve. Wobbly legs, faded fabric, or dated finishes can make your entire dining space feel tired—no matter how stunning your table looks. The good news? You don’t need to replace them. With strategic updates costing under $100 and fitting into a weekend schedule, you can transform worn-out chairs into conversation-starting showpieces. Whether you’re reviving inherited antiques or upgrading thrift store finds, this guide delivers field-tested methods to make your chairs look professionally refreshed while standing up to real-world wear.
Most homeowners waste money replacing structurally sound chairs when simple fixes would suffice. Before buying paint or fabric, you must diagnose your chairs’ true condition. Press down firmly on each seat and rock the chair side-to-side. Listen for creaks and watch for movement at critical junctions: where legs meet the seat frame, back supports connect, and stretchers join legs. This 2-minute assessment prevents wasted effort on chairs needing replacement rather than renovation.
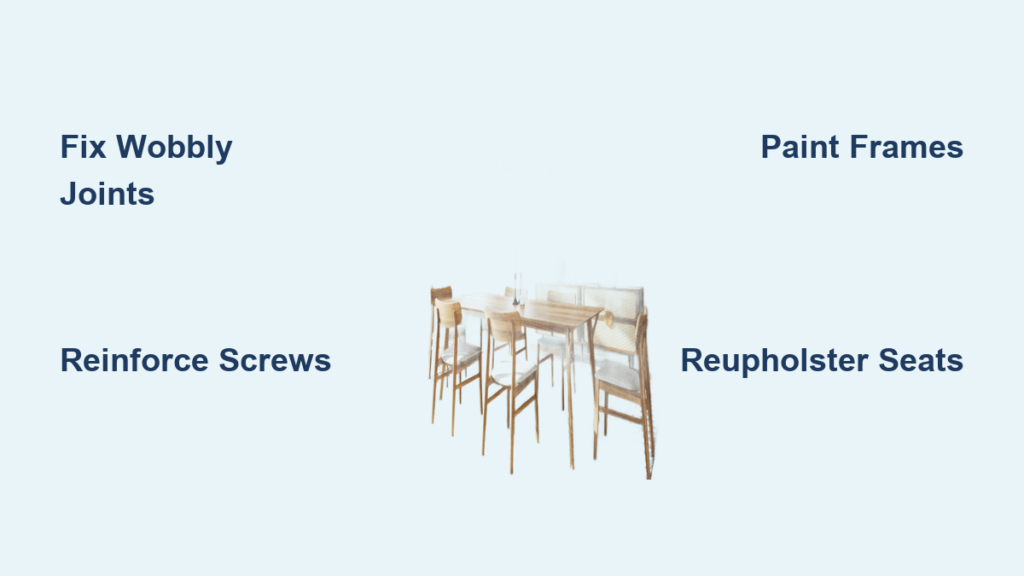
Diagnose Chair Problems Before Starting
Skip this critical step and you’ll end up with beautiful chairs that collapse under weight. Structural integrity must come before cosmetic updates—always.
Spot These 3 Dealbreaker Issues
Wobbly joints signal failing glue connections. Grab the chair back and apply gentle rocking pressure. Visible movement means joints need reinforcement before you touch a paintbrush. Disintegrating seats plague budget pressed-wood chairs. Press your thumb into the seat surface—if it leaves dents or crumbles, plan for full replacement. Stripped screw holes often hide under hardware. Remove seat screws to check if threads grip wood; if screws spin freely, you’ll need wood filler or epoxy patches during reassembly.
Match Fabric to Your Real-Life Needs
Don’t choose upholstery based on Pinterest dreams alone. Dining chairs endure spaghetti sauce, craft glue, and daily wear. Prioritize:
– Stain-resistant performance fabrics like Schumacher’s Crypton line
– Medium-weight weaves (linen-cotton blends) that resist pilling
– Small-scale patterns that hide crumbs better than solids
– Colorfast materials if your space gets direct sunlight
One documented transformation used green Schumacher fabric as the room’s anchor, influencing wall colors and accessories. For family-heavy spaces, try Ikea’s budget-friendly typographic prints—they’re surprisingly durable when treated with Scotchgard.
Fix Wobbly Chairs in 20 Minutes Flat
Weak joints compromise safety and ruin your cosmetic work. Address these first using methods proven in real restoration projects.
Reinforce Loose Connections
Wood glue injection works for 90% of wobbly chairs without full disassembly:
1. Locate the loose joint (e.g., where backrest meets seat)
2. Inject Titebond II glue into gaps using a syringe
3. Clamp tightly for 2 hours minimum
4. Wipe excess glue immediately with damp cloth
Screw reinforcement provides instant stability for chairs with stripped holes:
– Drill pilot holes at 45-degree angles into joint corners
– Insert 1.5-inch wood screws beneath the seat frame
– Counterbore holes slightly and fill with matching wood putty
Pro Tip: Test stability by standing on the chair seat (carefully!) before reupholstering. If it flexes, add cross-bracing stretchers between legs.
Paint Chair Frames for Instant Transformation
Paint delivers the highest visual impact per dollar spent. A single can of quality spray paint can make 1980s oak chairs feel modern.
Spray Painting Secrets for Flawless Results
Weather matters: Only paint when temperatures hit 50-90°F with low humidity. Prep is non-negotiable: Sand glossy surfaces with 120-grit paper, then wipe with mineral spirits. Apply like a pro:
1. Prime first with Rust-Oleum Universal
2. Hold can 10-12 inches from surface for even coverage
3. Spray in quick side-to-side motions (no stopping mid-pass)
4. Apply 3 thin coats instead of 2 heavy ones
5. Finish with polyurethane topcoat for wipe-clean durability
Color strategy: High-gloss Benjamin Moore Linen White creates timeless elegance that coordinates with changing wall colors. For bold statements, pair red chairs with charcoal walls—documented projects show this contrast instantly elevates dining spaces.
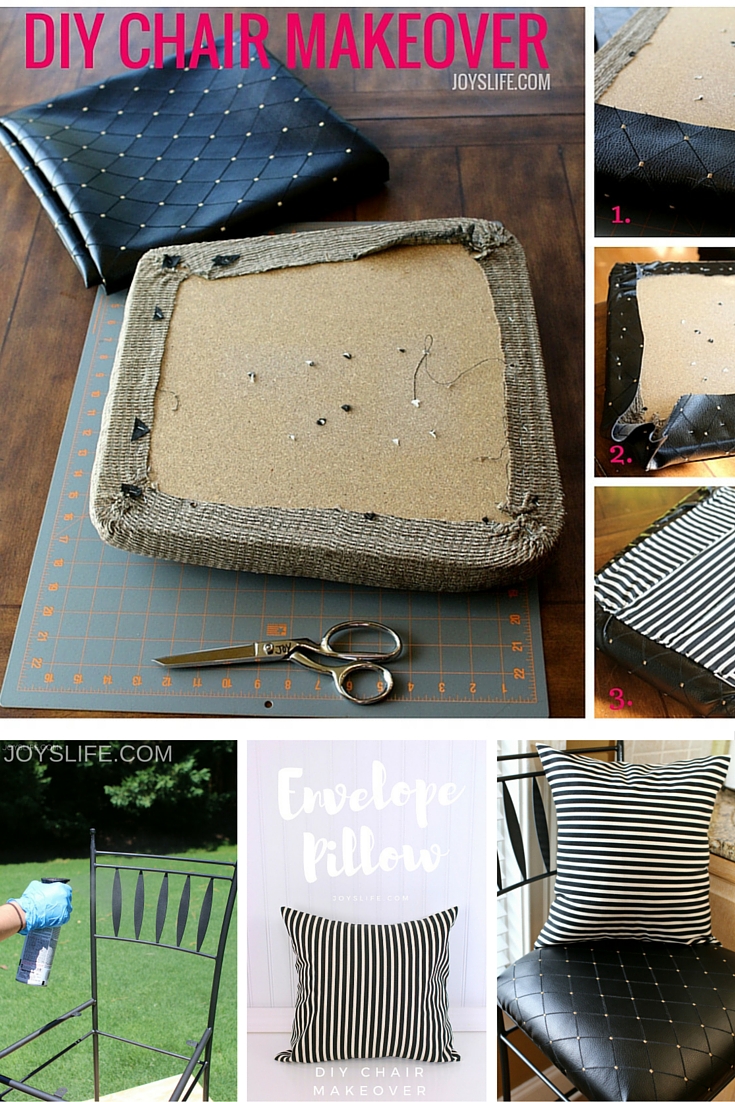
Reupholster Seats Like a Seasoned Pro

New fabric transforms both looks and comfort. Avoid common mistakes that lead to puckered seams or misaligned patterns.
Cut Fabric Using This Foolproof Method
Template creation prevents costly errors:
– Place old seat upside-down on fabric wrong-side up
– Trace outline adding 5-6 inches extra on all sides
– For directional patterns (stripes/script), mark “UP” arrows
– Cut batting ½ inch smaller than fabric to prevent bulk
Hospital corner technique creates crisp edges:
1. Staple center front/back first
2. Pull fabric taut toward sides
3. Fold side fabric into 45-degree triangle
4. Staple triangle base to seat underside
5. Tuck remaining flap neatly over triangle
Critical Warning: Never skip batting—it fills staple holes and creates smooth transitions from fabric to frame. Use ¼-inch polyester batting for dining chairs.
Style-Specific Fixes That Actually Work
Generic advice fails when updating chairs with distinct design personalities. Apply these targeted techniques.
Farmhouse Chair Revival
Authentic distressing: After painting with Amy Howard’s One Step Paint in Easy Street, sand only:
– Outer edges of legs
– Top corners of backrests
– Areas where natural wear occurs
Textile pairing: Pair white-painted frames with Decor Steals’ French Grain Sack fabric—its subtle texture hides crumbs while evoking rustic charm. Avoid over-distressing; limit wear to 20% of surfaces.
Vintage Queen Anne Restoration
Preserve sentimental value while modernizing:
– Paint frames creamy white but retain original cane backs
– Use tea-staining for vintage-softened fabric:
• Steep 10 black tea bags in 4 cups boiling water
• Soak fabric 90 minutes, stirring every 15 minutes
• Rinse in cold water until tea stops bleeding
– Reupholster only seats, leaving carved details exposed
Final Assembly and Maintenance Hacks
Rushing reassembly undoes all your careful work. Follow these pro steps to ensure longevity.
Reattach Seats Without Stripping Screws
Dryness check: Press thumb on frame—if it leaves indentation, wait 24 hours. Hardware strategy:
– Use original screws in original holes whenever possible
– If holes are stripped, fill with toothpicks + wood glue
– Drive screws slowly with drill on lowest torque setting
Stability test: Place chair on flat surface and apply downward pressure on each corner. Any rocking means joints need additional glue reinforcement.
Extend Your Update’s Lifespan
Quarterly maintenance prevents major repairs:
– Tighten all screws before holiday gatherings
– Spot-clean spills immediately with microfiber cloth
– Apply fabric protector spray every 6 months
– Store off-season cushions in vacuum-sealed bags
Documented projects show chairs with polyurethane topcoats withstand 5+ years of weekly wipe-downs. For light fabrics, keep touch-up paint in labeled jars for quick chip repairs.
Your dining chairs deserve more than being shoved into the garage when they show wear. By fixing structural issues first, choosing practical fabrics, and applying professional painting techniques, you’ll create seating that looks custom-designed for your space. The $65 investment for a full set update pays off every time guests admire your “new” chairs—especially when you reveal they’ve been in your family for decades. Start with one chair as a test piece this weekend, then tackle the full set. Within 48 hours, you’ll have a dining space that feels completely renewed without the guilt of landfill waste or the sticker shock of replacement. Remember: the most beautiful dining rooms aren’t built with new furniture, but with pieces that tell your story through thoughtful updates.


