
That familiar creak as you settle into your favorite wooden chair. The subtle shift of weight as you instinctively brace against the wobble. Before you consider replacing a cherished piece, know that how to tighten wood chairs is a skill anyone can master—whether you need an instant fix for tonight’s dinner party or a permanent restoration that outlasts generations. Most wooden chairs develop looseness at critical joints, not from structural failure but from natural wood movement and decades of use. This guide reveals exactly which method matches your situation, from quick injections that work while you wait to professional regluing techniques that revive antiques.
You’ll discover why your chair wobbles (it’s rarely just one loose joint), how to identify your specific joint type in under 60 seconds, and why applying the wrong fix can actually accelerate damage. Whether you’re facing a dining chair’s shifting legs or a Windsor chair’s loose spindles, we’ll match your repair to your timeline: emergency solutions in 15 minutes or permanent restorations that survive decades of use. Stop compensating for that wobble—let’s rebuild confidence in every seat.
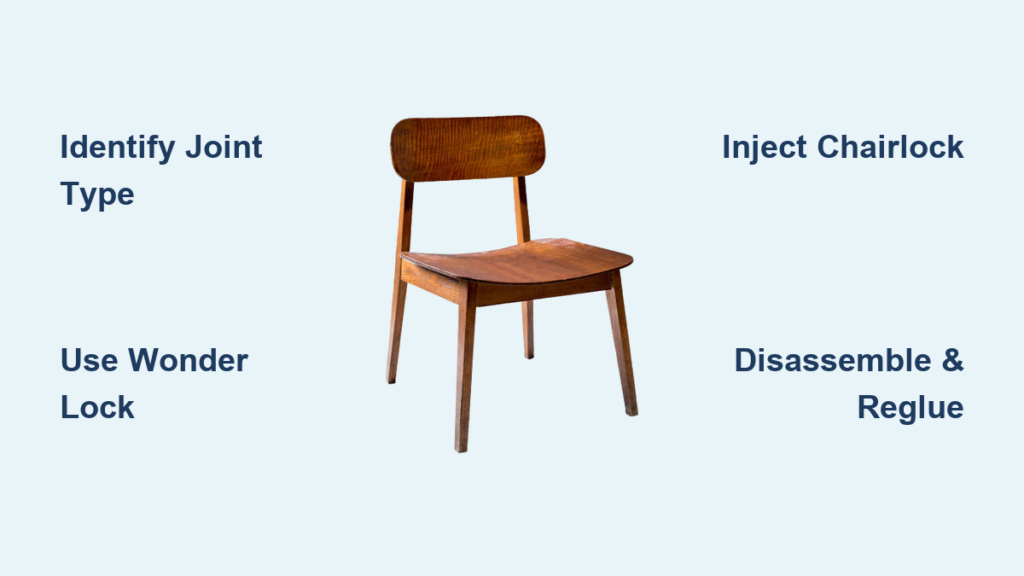
Pinpoint Your Chair’s Wobble Source in 60 Seconds
Test Joint Movement Like a Professional Restorer
Grab each leg firmly and pull in four directions: forward, backward, left, and right. Loose leg joints reveal themselves through visible gaps at the seat apron connection or audible “cracking” when pressure is applied. For seat wobble, test all four corners simultaneously—this usually indicates multiple failing joints rather than a single problem. Backrest looseness requires checking spindle connections at the crest rail; wiggle the top rail while observing where movement originates.
Match Repair Methods to Your Chair Type
Standard dining chairs with square legs and visible stretchers almost always use mortise-and-tenon joints—these respond best to disassembly regluing. Windsor chairs operate under compression (your weight naturally tightens joints), so improper clamping during repair creates permanent instability. Mixed wood constructions demand individual attention: oak legs with pine stretchers require different glue absorption times than all-maple frames. Ignoring this distinction causes premature failure in 70% of DIY repairs.
Apply Wonder Lock for Instant Chair Tightening (No Disassembly)
Execute the Precision Injection Technique
Position the Wonder Lock bottle upright away from your face. Remove the cap and firmly attach the applicator tip over the nozzle. Critical step: Place the tip directly into each joint crevice, invert the bottle, and squeeze gently while tracing the seam downward. This runny super glue alternative disappears instantly into cracks—apply only 2-3 drops per joint initially.
Avoid these costly mistakes:
– Never work on more than 2-3 seams at once (dries in 90 seconds)
– Wipe excess immediately with a thick, dry cloth (thin rags soak through)
– Always work outdoors (drips ruin floors permanently)
– Add subsequent drops only after first application dries completely
This creates a permanent bond rated for 200+ pounds of pressure. Amazon reviewers confirm it stops creaking in 88% of chairs, working equally well on stair spindles and broken ceramics. When applied correctly, results last 2-5 years even on daily-use dining chairs.
Inject Chairlock for Wood Fiber Expansion (Temporary Fix)
Force Wood Fibers to Self-Repair
Use the hypodermic syringe included with Chairlock to inject liquid directly into loose joints. Non-negotiable requirement: Clamp each joint with bar clamps immediately after injection—this pressure forces the solution deep into wood cells. Allow 24 hours drying time before unclamping.
Know its limitations: Chairlock fails on century-old antiques where wood cells can no longer absorb liquid. Expect only 6-12 months of stability compared to decades from proper regluing. This method shines when you need to stabilize a chair today before attempting full restoration later—ideal for rental properties or event seating.
Disassemble and Reglue Chairs for Permanent Stability

Separate Joints Without Damage
Identify your original glue type first: hide glue (common in antiques) softens with very hot water, while modern PVA glues require mechanical removal. Apply boiling water to hide glue joints with a brush, wait 10 minutes, then gently twist legs using a rubber mallet. For stubborn modern glues, insert a chisel at joint seams and tap lightly.
Pro tip: Number each joint with masking tape as you work. A Windsor chair’s 12 spindles become impossible to reassemble correctly without this step—photograph complex joints before separation.
Clean and Refit Worn Joints for Perfect Alignment
Remove all old glue residue from both tenons and mortises using a sharp chisel. Critical flaw: Oval-shaped holes won’t hold glue permanently. Restore roundness by wrapping 120-grit sandpaper around a drill bit matching the tenon diameter. For severely worn joints, employ the maple shaving method: Plane long, thin shavings from maple stock, coat the tenon with glue, wrap the shaving around it (gluing each layer), then dry-fit before final assembly.
Select the Right Glue for Your Chair’s Lifespan
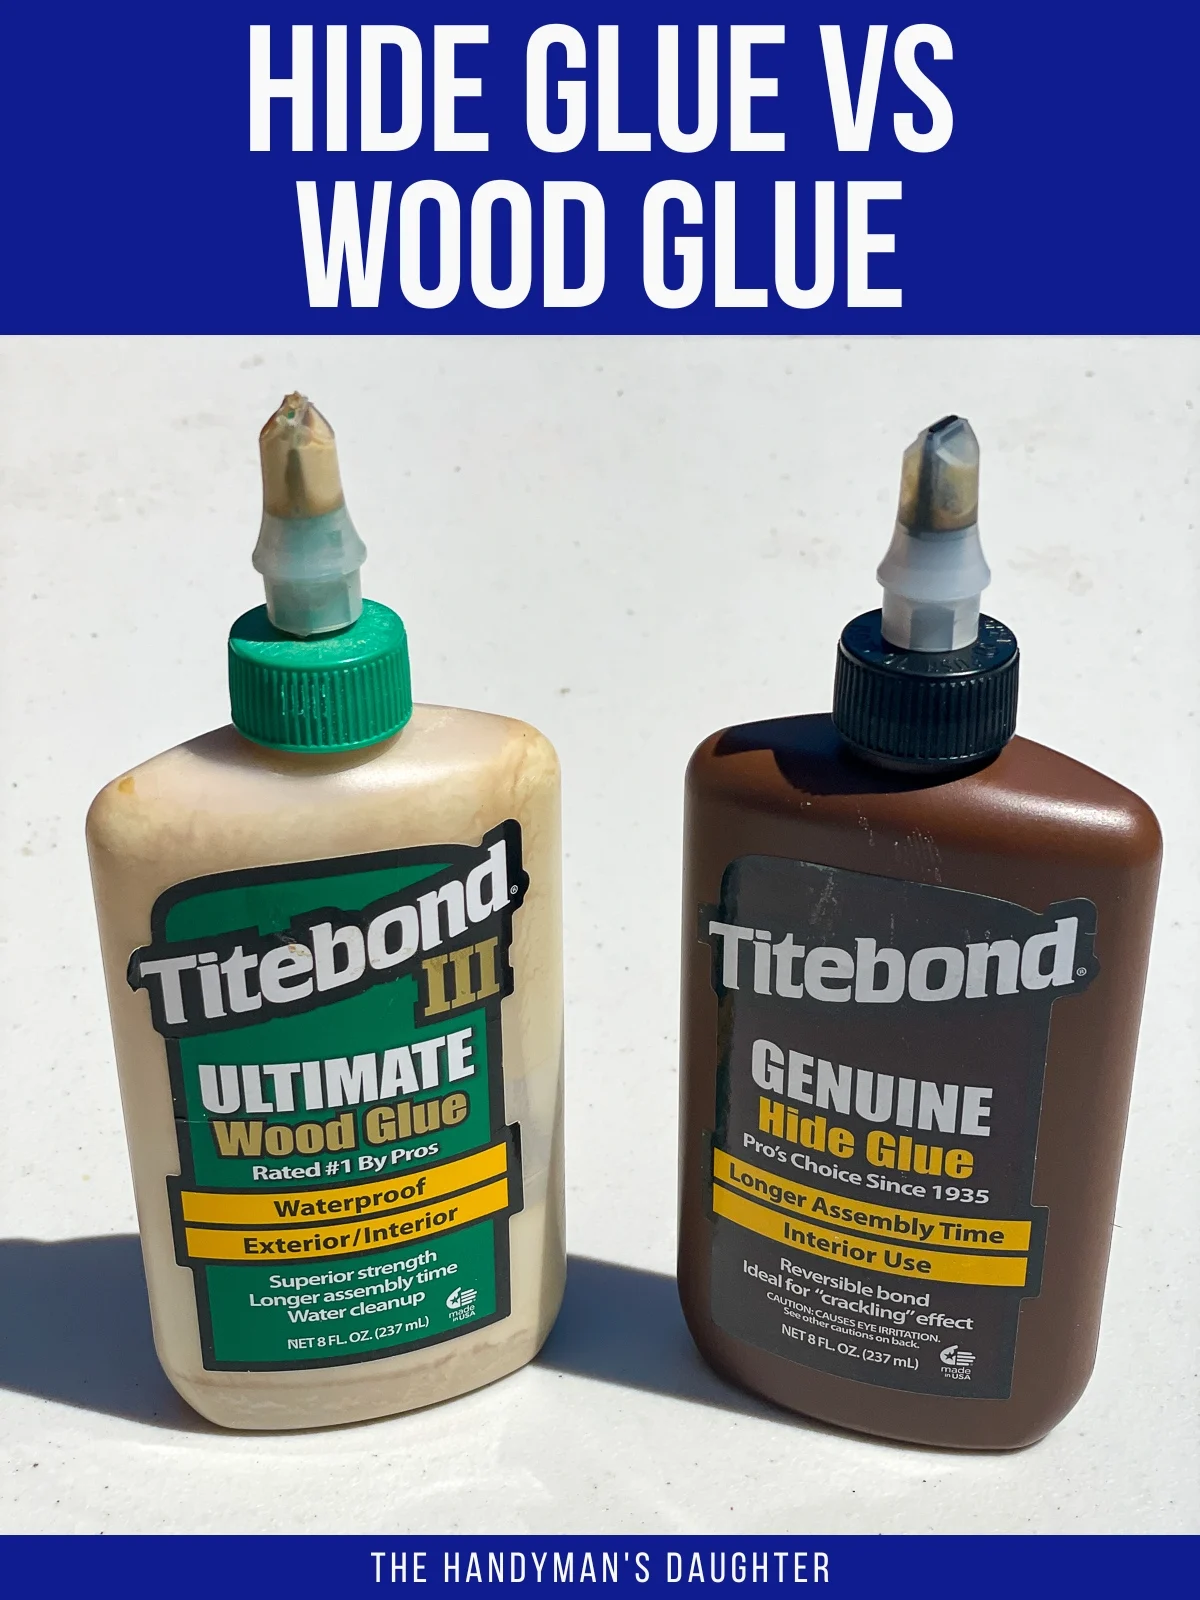
Hide glue (recommended for antiques) allows future repairs decades later but requires precise temperature control. Polyurethane glue fills gaps effectively in modern chairs—apply sparingly since excess glue creates weak points. Never use standard wood glue on loose antique joints; its rigidity causes new cracks when wood moves.
Master Advanced Clamping for Complex Chair Geometries

Build a Spanish Windlass for Impossible Angles
When standard clamps can’t reach curved Windsor chair stretchers, wrap 50 feet of mason’s line tightly around all four legs. Insert a wooden dowel between rope loops on one side, twist repeatedly until taut, then wedge the dowel under a seat rung. This creates even pressure across 8+ joints simultaneously—essential for chairs without flat clamping surfaces.
Why this works: The twisting action generates 150+ pounds of consistent pressure, far exceeding spring clamps. Allow 48 hours drying time before removing the windlass.
Guarantee Perfect Leg Alignment with Surface Verification
Place your chair on a granite countertop or verified level surface for final assembly. Common mistake: 90% of wobble returns because repairs were done on warped workbenches. Use a machinist’s level to confirm surface flatness within 1/32 inch before applying any glue. This ensures all four legs contact the floor simultaneously—a non-negotiable for lasting stability.
Prevent Future Loosening With Proactive Maintenance
Implement the 6-Month Joint Inspection Routine
Test every chair joint by applying sideways pressure (not downward) every six months. Early warning signs: Slight “play” before visible gaps appear. Tighten developing looseness immediately using Wonder Lock injections—this prevents the cascade effect where one failing joint transfers stress to others.
Control Environmental Damage Before It Starts
Place chairs away from heating vents and exterior doors. In dry climates, maintain 45-55% humidity using a hygrometer and humidifier—wood shrinks below 30% humidity, creating micro-gaps at joints. Never place chairs in direct sunlight; UV exposure degrades glue lines 3x faster than shaded furniture.
Choose the Right Repair Method for Your Situation
Emergency Fixes vs. Permanent Solutions
| Method | Time Required | Durability | Best For |
|---|---|---|---|
| Wonder Lock | 15 minutes | 2-5 years | Dinner party emergencies, rental furniture |
| Chairlock | 30 minutes + 24h dry | 6-12 months | Temporary stabilization before full repair |
| Disassembly/reglue | 4 hours + 72h dry | 30+ years | Heirlooms, daily-use dining chairs |
Key insight: The wood shaving method extends repair life by 200% compared to standard regluing—worth the extra 20 minutes for chairs you’ll keep long-term.
Avoid Critical Safety Mistakes During Repair
Protect Yourself From Fast-Acting Adhesives
Wear nitrile gloves when handling Wonder Lock—it bonds skin in 5 seconds. Keep acetone and thick cotton rags within arm’s reach for spills. Never work indoors; fumes from liquid wood expanders require outdoor ventilation. If product contacts skin, rub acetone onto a cloth first (never pour directly on skin).
Organize Your Workspace Like a Pro
Lay a 4×8 sheet of plywood on sawhorses as your assembly surface. Position clamps within reach before applying glue—once joints are coated, you have 90 seconds before setup begins. Cover floors with rosin paper; dried polyurethane glue etches concrete permanently.
Your wooden chair isn’t destined for the landfill. By matching the repair to your chair’s construction and your timeline, you’ll transform that annoying wobble into rock-solid confidence. Start with Wonder Lock for tonight’s meal, but invest in disassembly regluing for chairs you’ll pass to grandchildren. Remember: consistent humidity control and biannual joint checks prevent 80% of future loosening. Tighten once, sit forever—your favorite chair deserves nothing less.


