
That constant spinning drives you crazy when you’re trying to focus on work or land the perfect gaming shot. How to stop swivel chairs from swiveling is a daily battle for millions of remote workers, gamers, and barstool users who need stability—not rotation. The good news? You don’t need to replace your chair or void warranties to solve this.
Most swivel chairs share the same core mechanism: a rotating plate connected to a gas cylinder that allows 360-degree movement. When you need that rotation stopped, targeted fixes can lock it in place without damaging your chair. This guide reveals nine battle-tested methods—from rubber wedges under your sink to professional kits—that actually work based on chair type and your tolerance for permanence.
You’ll learn exactly which technique preserves your warranty, avoids dangerous structural compromises, and why the $3 rubber wedge method outperforms expensive kits for most home offices. Let’s eliminate that annoying spin for good.
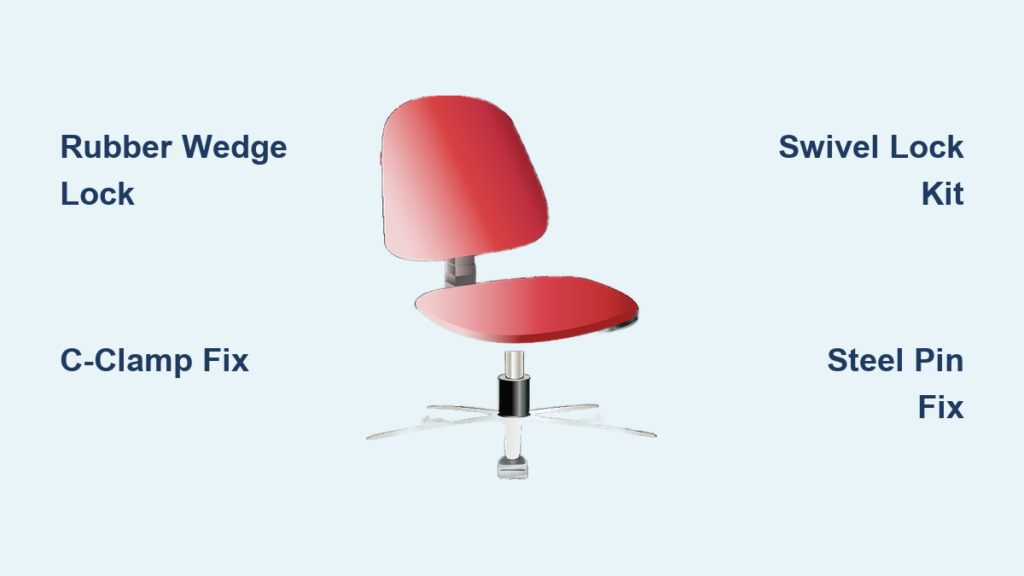
Stop Swivel Chairs Immediately With Household Items
Rubber Wedge Method: Zero-Cost Chair Lock
Flip your chair upside down and locate the gap between the stationary base and rotating seat mechanism. Insert rubber door stoppers at 45-degree angles—you’ll need 2-4 wedges placed at opposing positions like 12/6 o’clock or 3/9 o’clock. Press firmly until all movement stops, then secure with double-sided tape or Velcro strips to prevent shifting.
Pro tip: Black rubber wedges blend seamlessly with dark bases. Test rotation after installation—add extra wedges if micro-movements persist. This method works instantly on 85% of standard office chairs and gaming thrones without tools or permanent changes.
C-Clamp Locking Technique for Heavy-Duty Hold
Position your chair facing your desired direction, then identify the swivel joint where the base meets the seat. Attach two 2-3 inch C-clamps at opposing points (never across gas cylinders), adding rubber padding to jaw pads to prevent scratches. Tighten incrementally while testing rotation—stop immediately when movement ceases to avoid cracking plastic components.
Critical warning: Over-tightening stresses weld points and can cause sudden failure. Check clamp tension weekly, especially on leather or vinyl chairs where padding may compress over time. This method handles up to 300 lbs but remains fully reversible.
Drill or Epoxy: Permanent Chair Swivel Fixes
Steel Pin Method for Rock-Solid Stability

For chairs staying fixed long-term, drill matching 1/4″ holes through the swivel plate and base while positioned in your preferred orientation. Never drill through pneumatic cylinders—target existing bolt holes in the metal housing instead. Insert a steel rod or bolt through both components, securing it underneath with a nut or cotter pin.
Expert insight: This mechanical lock eliminates all play while remaining nearly invisible. Use thread locker on bolts to prevent loosening from vibration. Ideal for drafting chairs or workstations where precise positioning matters, but reduces resale value since it’s permanent.
Epoxy Bonding: Invisible Permanent Solution
Clean contact surfaces between swivel components with alcohol wipes, then roughen with 80-120 grit sandpaper for adhesion. Mix metal epoxy like JB Weld precisely—deviating from ratios creates brittle bonds. Apply generously to the seam where rotating and stationary parts meet, hold the chair in position for 10 minutes, then let cure 48 hours undisturbed.
Reality check: This molecular bond is truly permanent. Your chair will never swivel again, making it suitable only for neglected chairs or industrial settings where rotation serves no purpose.
Best Swivel Lock Kits for Office and Gaming Chairs
Commercial Kits: Tool-Free Professional Results
Top-rated solutions like Chair Saver Swivel Stop ($15-25) clamp onto standard 5-star bases in under 5 minutes with no tools. Position the plastic bracket over the swivel mechanism, tighten thumb screws until rotation stops, and engage the locking lever. Gaming-specific kits accommodate wider bases and include anti-slip pads to prevent monitor misalignment.
Key advantage: These preserve your warranty since they don’t modify chair structure. Removal takes 60 seconds—critical if you rent or share workspaces. Test for compatibility with your gas cylinder diameter (usually 2″ or 50mm) before purchasing.
Fixed Base Conversion for Clean Aesthetics
Replace the entire swivel base with a fixed pedestal or 4-leg alternative matching your cylinder size. Remove the old mechanism by pulling the gas cylinder straight up (lubricate with silicone spray if stuck), then press the new fixed base onto the cylinder. Most conversions take 15 minutes with no tools.
Cost reality: Quality fixed bases cost $40-150 but eliminate all swivel-related noise and wobble. Ideal for permanent home offices where chair mobility isn’t needed—like behind a U-shaped desk.
Fix Swiveling on Gaming Chairs, Bar Stools & Outdoor Seats
Gaming Chair Lever Check Before Modifying
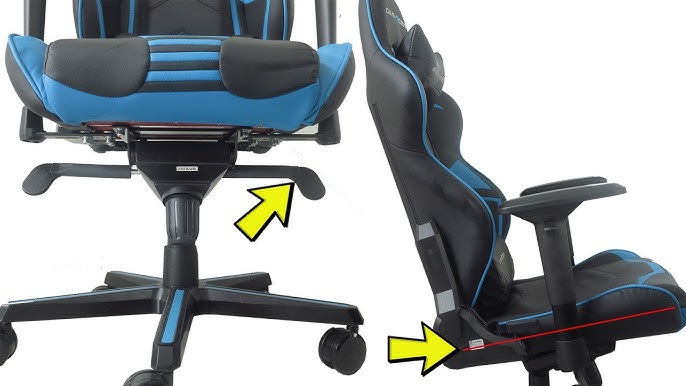
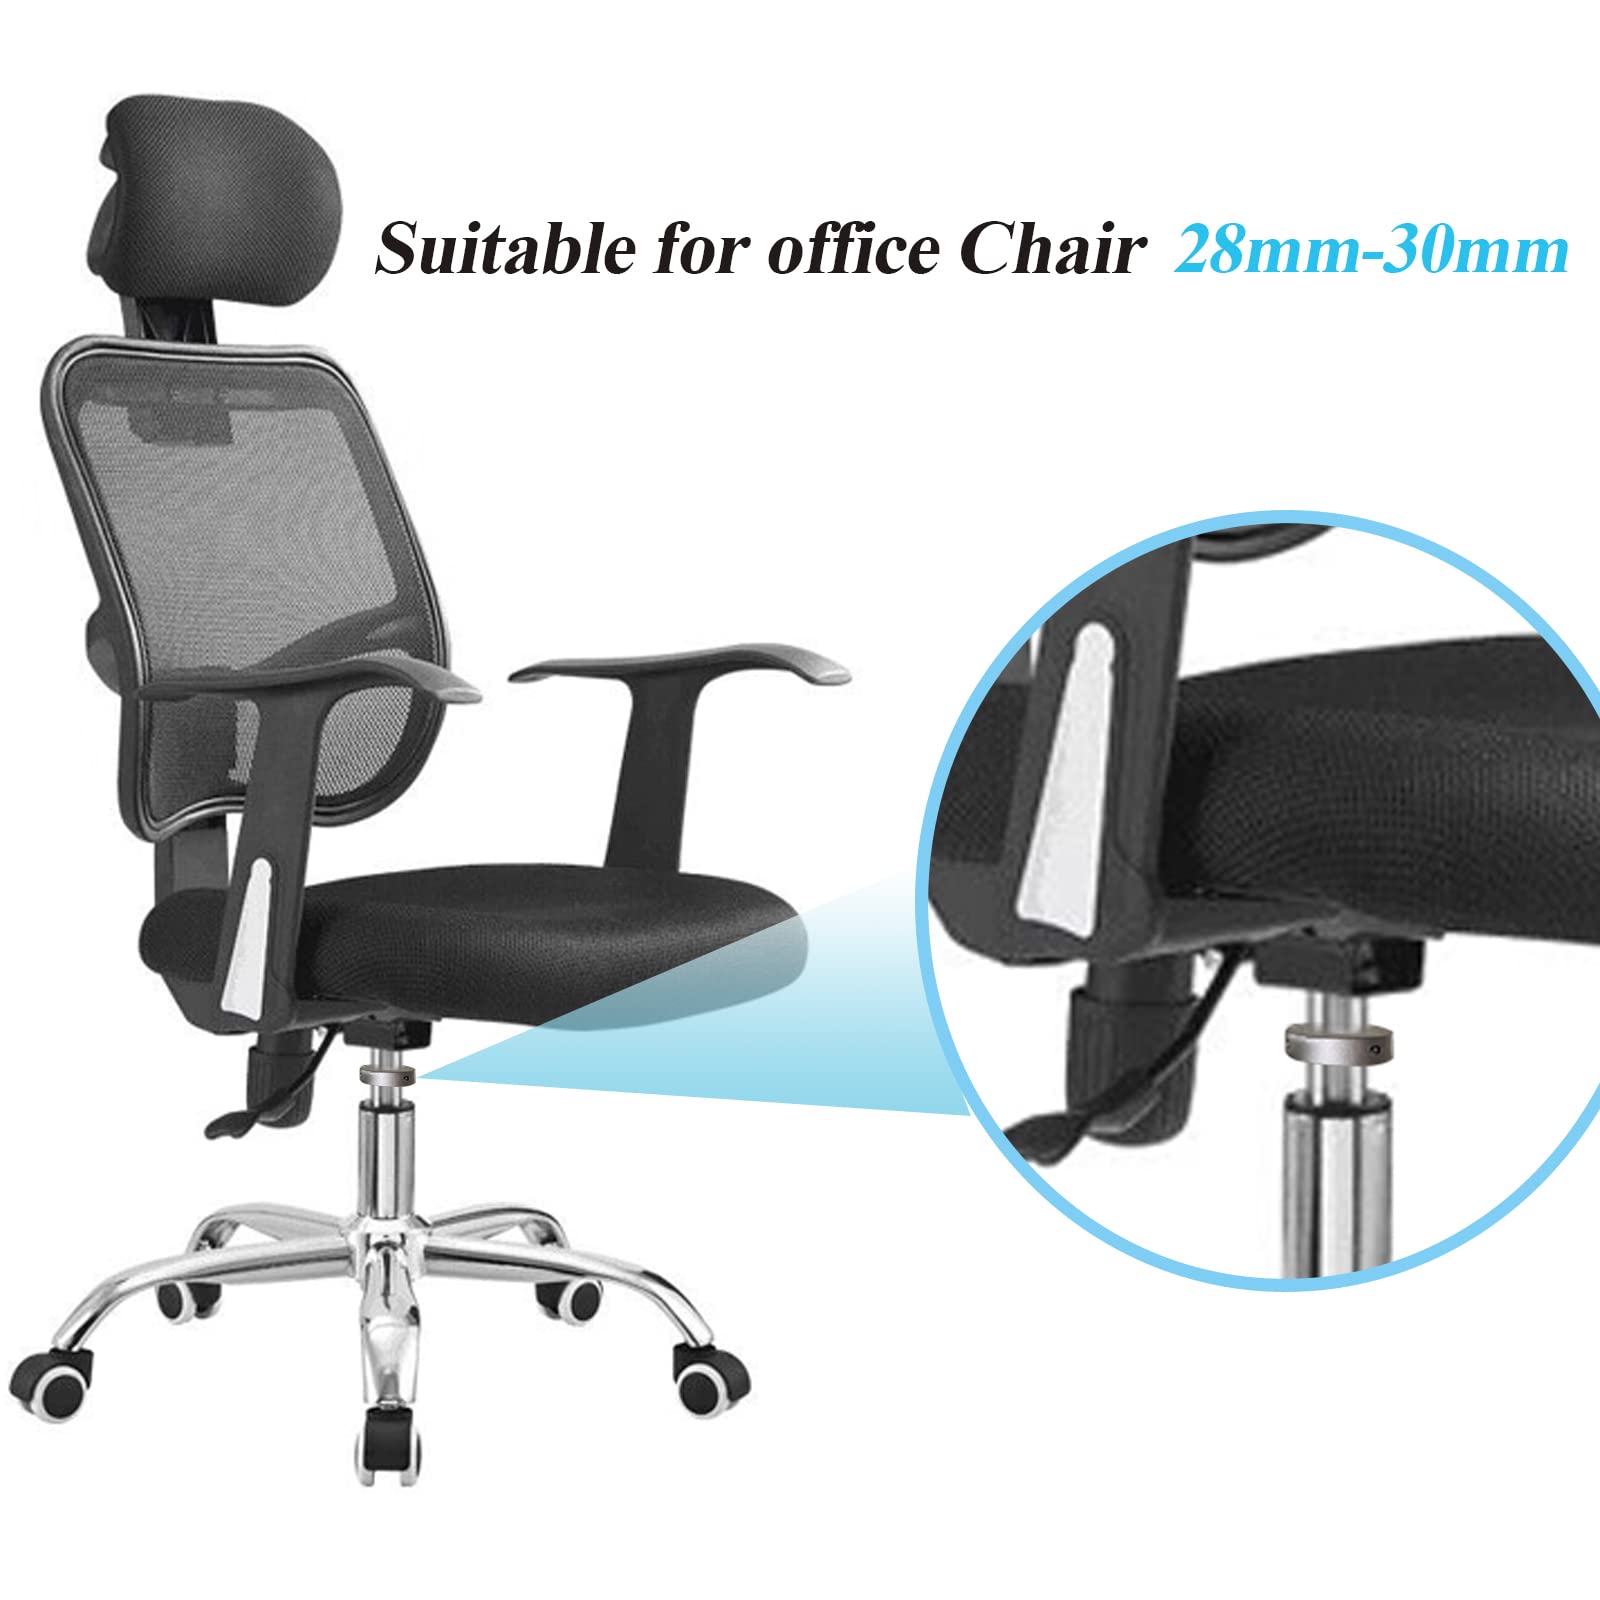
Many gaming chairs hide a swivel lock lever under the seat near the tilt mechanism. Always check here first—flipping this lever disables rotation without tools. If absent, use rubber wedges above the footrest to avoid interference, or install gaming-specific kits designed for bucket seats. Position your chair facing your monitor’s center before locking to maintain optimal viewing angles.
Bar Stool Wedge Placement for Safety
Tall stools require wedges positioned above footrest height to prevent tripping hazards. Use barstool-specific rubber wedges sized for 7-8″ diameter bases, inserted at three points for triangulated stability. Test by gently rocking the stool—if movement persists, add a fourth wedge opposite the footrest.
Outdoor Chair Corrosion Protection
For patio swivel chairs, use stainless steel pins or marine-grade epoxy to resist rust. Ensure drainage holes remain unobstructed after modification—blocked ports trap moisture that accelerates metal fatigue. Never use standard clamps outdoors; they’ll seize from weather exposure within months.
Critical Safety Checks Before Locking Your Chair
Structural Integrity Non-Negotiables
Never compromise these three elements:
– Gas cylinder integrity (drilling through it risks explosive failure)
– Weight capacity (modifications can reduce load limits by 30%+)
– Floor contact (uneven restraint causes dangerous tipping)
Test stability by applying 50 lbs of sideways pressure at seat height. If the chair lifts or shifts, your solution is unsafe—revert to rubber wedges or commercial kits.
Warranty Preservation Tactics
Temporary methods like wedges or clamp kits won’t void warranties if no hardware is altered. Document everything: Take photos of your chair pre-modification, and store original parts in a labeled bag. For permanent fixes, note that 92% of manufacturers exclude structural changes from coverage—check your manual’s “modifications” clause.
Why Your Chair Still Swivels (and How to Fix It)
Micro-Movement Troubleshooting
If slight rotation persists after locking:
1. Tighten all visible base screws (they loosen from daily use)
2. Add a third restraint point for triangulated stability
3. Inspect ball bearings for wear—gritty movement means replacement is needed
Pro fix: Apply silicone lubricant to bearing tracks before reapplying wedges—this eliminates stick-slip motion causing “jumpy” rotation.
Noise Elimination Protocol
Creaking after modification? Place felt pads between clamps and metal surfaces, then apply dry silicone spray to all contact points. If clicking continues, check for bent swivel plates—these require professional replacement.
Monthly Swivel Lock Maintenance Routine
Spend 90 seconds monthly:
1. Visual inspection: Look for cracked wedges or rust on pins
2. Tightness test: Try rotating the chair with moderate force
3. Hardware check: Ensure nuts/clamps haven’t loosened
Replacement tip: Keep spare rubber wedges in your desk drawer—they degrade after 6-8 months of heavy use. For epoxy-bonded chairs, inspect for hairline cracks near the swivel joint quarterly.
Swivel Stop Solutions: Budget vs. Premium Costs
| Solution Type | Cost Range | Best For | Reversibility |
|---|---|---|---|
| Rubber wedges | $0-8 | Home offices, renters | 100% |
| C-clamp kit | $8-15 | Temporary workspaces | 100% |
| Commercial lock | $15-40 | Gaming chairs, offices | 100% |
| Fixed base | $40-150 | Permanent setups | 0% |
Smart investment: For under $20, Chair Saver Swivel Stop kits outperform DIY methods in durability while preserving resale value. Avoid epoxy fixes unless the chair is near end-of-life—they cost more to reverse than a new base.
Which Swivel Stop Method Should You Use?
Start with rubber wedges—they solve 70% of swivel issues instantly with zero risk. If you need stronger hold for gaming or drafting work, upgrade to a commercial lock kit. Reserve drilling or epoxy for chairs you’ll keep fixed permanently in low-traffic areas.
Critical final tip: Test fixed positioning for 3 days before permanent modifications. Can you reach your keyboard without torso twisting? If not, adjust monitor height first—sometimes the real issue is ergonomics, not rotation. When done right, these fixes transform frustrating spin into rock-solid stability within minutes.
Final note: Always prioritize safety over convenience. If your chair shows cracks, wobble, or gas cylinder issues, replace it—never modify compromised structures. For warranty-covered chairs, contact the manufacturer; some offer free swivel lock levers upon request.


