
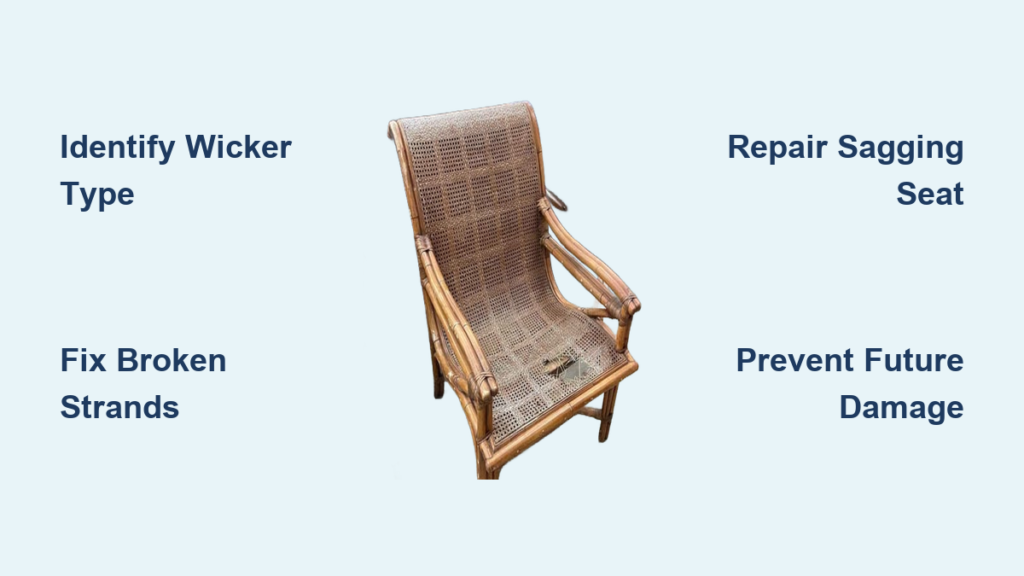
That sinking feeling when your favorite wicker chair gives way beneath you—loose strands poking through, a seat that sags like a hammock, or worse, a strand that snaps mid-conversation. Whether it’s your grandmother’s heirloom rattan rocker or last summer’s patio set, wicker furniture always finds a way to fray, unravel, or collapse exactly when you need it most. The good news? Most wicker chair repairs are surprisingly manageable once you know what you’re looking at and have the right approach. This guide walks you through every stage of wicker chair restoration, from identifying whether you’re dealing with natural rattan or synthetic resin to executing flawless strand replacements that disappear into the original weave. You’ll learn when a simple glue fix will suffice, when to replace entire sections, and most importantly, how to prevent the same damage from happening again.
Identify Your Wicker Type Fast
Before touching a single strand, you need to know exactly what material you’re working with. Natural and synthetic wicker might look similar from across the room, but they require completely different repair approaches and materials. Grab a magnifying glass and inspect a hidden section—this quick identification saves hours of frustration and prevents costly mistakes.
Natural Wicker Materials Breakdown
Rattan shows up as solid-core vines with a distinctive golden-brown sheen. You’ll see a glossy finish that catches light, and when you look closely, the grain runs straight and consistent. It’s the most common natural material in quality furniture. Willow appears as flexible branches, usually lighter in color with visible bark texture. If your chair has a more rustic, organic look with irregular thicknesses, you’re likely dealing with willow. Reed comes from the rattan palm’s inner core and presents as uniform cylindrical pieces. These strands feel smooth and consistent, lacking the natural irregularities of willow or bamboo. Bamboo gives itself away with hollow segments and distinctive jointed nodes. You’ll see these “knuckles” every few inches along each piece, making bamboo easy to spot.
Synthetic Wicker Recognition
Resin wicker mimics natural materials but feels slightly plastic to the touch. Look for uniform texture and color throughout—no natural variations. PVC or polyethylene fibers often have a subtle manufactured pattern if you examine them closely. Paper fiber wicker wraps twisted paper around a wire core. It’s noticeably lighter than resin and might show slight color variations where the paper overlaps. Plastic wicker appears as solid plastic strands with color running completely through the material. Scratch the surface lightly—if the color remains consistent, it’s plastic. This distinction is critical because natural wicker requires water-based adhesives while synthetics need heat fusion or epoxy.
Quick Damage Assessment Checklist
Every wicker chair tells a story through its damage patterns. Learning to read these signs saves hours of frustration and prevents you from fixing the wrong problem. Start by photographing all damaged areas from multiple angles—this reference prevents missteps during repair. Test stability by gently applying pressure to suspect zones while checking for:
- Broken strands showing clean snaps or frayed tears in individual pieces (typically need simple replacement)
- Loose weaving appearing as separated sections or gaps between strands (often indicates stretched support pieces)
- Sagging seats creating visible depressions when sat upon (usually caused by broken support straps)
- Frame separation at joints where wicker meets wooden/metal frame (look for gaps or wobbling)
- Unraveling ends with wicker strands working free from secured positions (creates sharp points)
Essential Repair Tools You’ll Need

Gather these tools before starting—nothing kills momentum like discovering you’re missing needle-nose pliers halfway through a repair. For natural wicker, prioritize wood glue (Titebond III), soaking basins for reed strands, and stain markers. Synthetic repairs demand a heat gun, epoxy adhesive, and color-matched resin patches. Your core toolkit must include:
- Needle-nose pliers for gripping tiny strands
- Wire cutters for clean synthetic cuts
- Small hammer for tapping pieces into place
- High-temp hot glue gun and wood glue
- Utility knife and sandpaper (120/220 grit)
- Spring clamps and soft-bristle brush
Pro tip: Soak natural reed strands in warm water for 30 minutes before weaving—they become pliable like fresh willow and won’t snap during installation.
Fix Broken Strands Step-by-Step
Natural Wicker Strand Replacement
Remove the damaged section by gripping the broken strand with needle-nose pliers and pulling gently. Work the strand free without disturbing surrounding weaves—think dental extraction, not demolition. Save the removed pieces for color matching. Prepare your replacement by cutting a new strand 2-3 inches longer than the removed section. For rattan or reed, soak in warm water for 30 minutes until flexible. Test-fit before applying any adhesive. Install the new strand by applying wood glue to both ends and insertion points. Weave following the original pattern exactly—when in doubt, photograph intact sections first. Use small clamps to hold everything in place while the glue sets (4-6 hours minimum). Trim excess with a sharp utility knife after drying.
Synthetic Wicker Heat Fusion
Clean the repair area with isopropyl alcohol to remove oils and dirt. This ensures proper fusion between old and new materials. Cut your replacement strand from the repair kit, ensuring exact color match. Most resin repair kits include various textures—choose the closest match to your chair’s pattern. Heat and fuse by warming both the existing strand end and replacement piece with a heat gun (250°F) or soldering iron. Press together firmly for 30 seconds, then blend the repair by lightly heating surrounding areas and smoothing with gloved fingers. Critical warning: Overheating melts synthetic fibers—test on scrap material first.
Repair Sagging Seats Properly
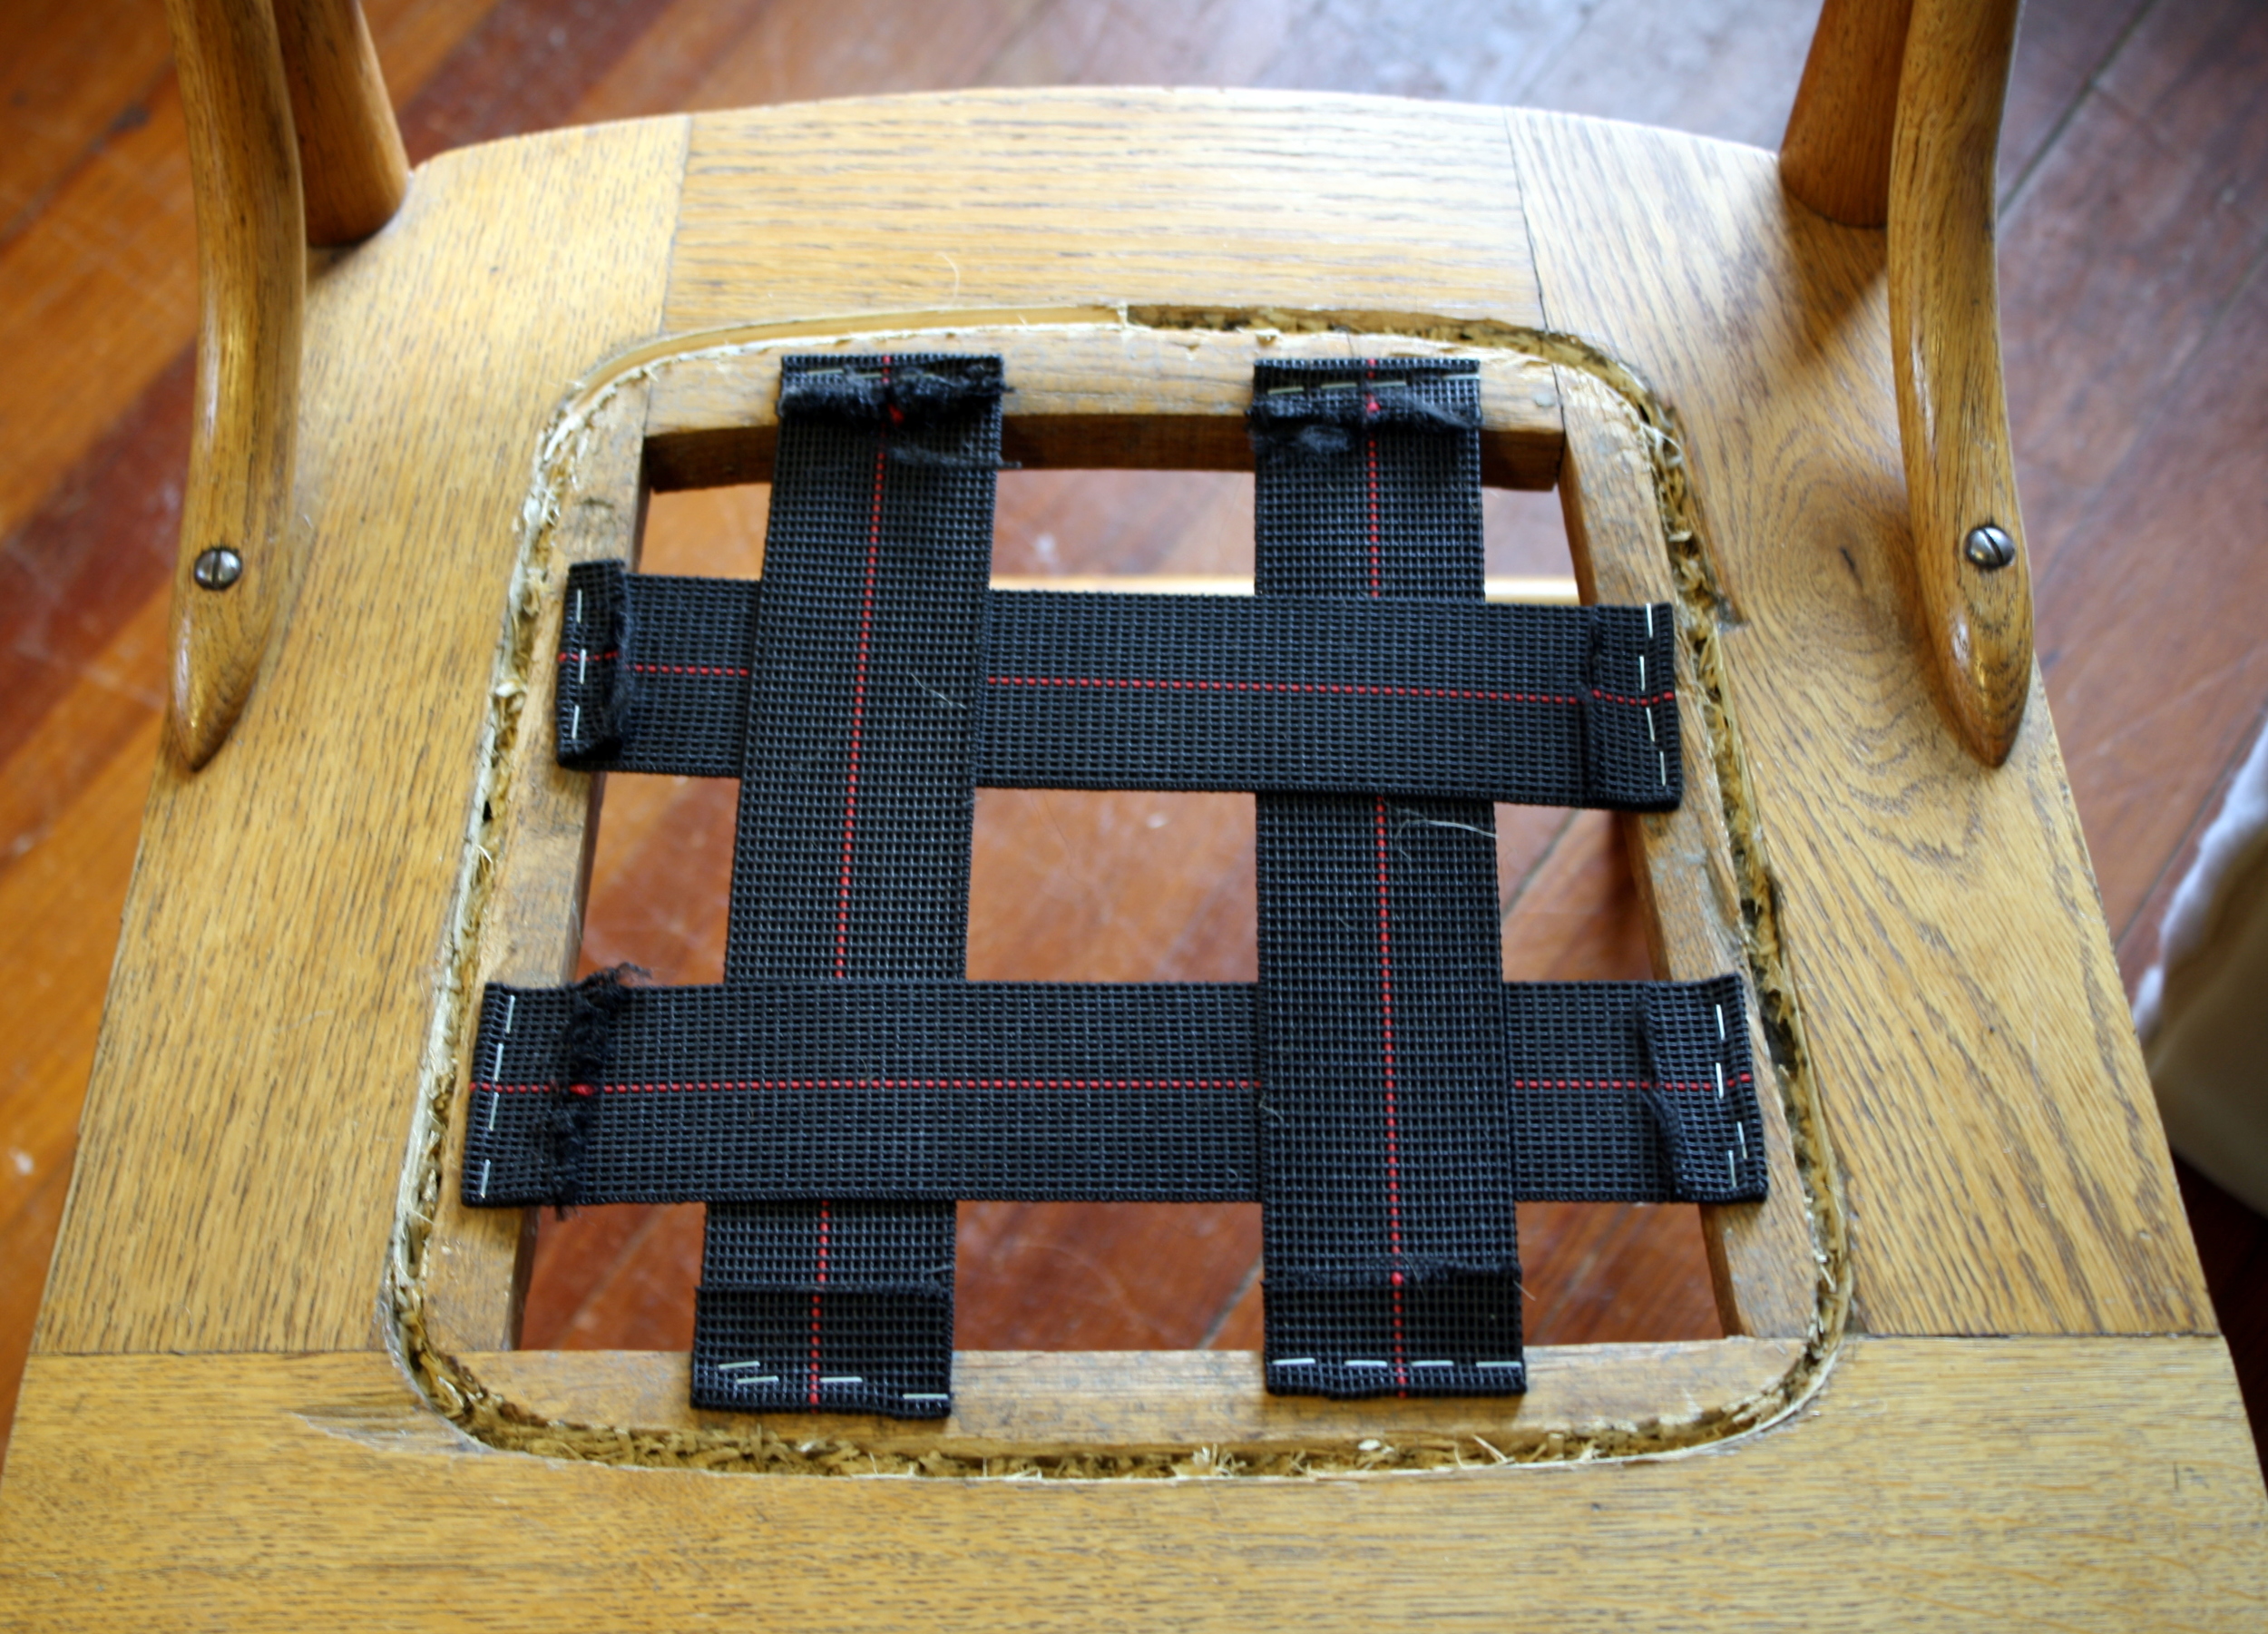
Re-tensioning Support Structure
Remove the seat from the chair frame if possible. Most lift out after removing screws underneath. Identify broken support straps by examining the seat from below—you’ll see jute or nylon webbing that provides actual support (the wicker is just decorative). Replace any broken straps with new jute webbing, weaving through the frame like a lawn chair. Re-weave missing sections using the same pattern as the original. Take photos before removing old cane to ensure proper pattern recreation. This moderate repair typically takes 2-3 hours and prevents full seat replacement.
Complete Seat Replacement Process
Remove old cane using a utility knife to cut through the spline (the rope-like material holding the cane in place). Pliers help pull out stubborn pieces. Clean the groove thoroughly—old glue and spline residue prevents proper seating of new cane. A flathead screwdriver works as an improvised scraper. Soak new cane in warm water for 30 minutes to make it pliable. This prevents cracking during installation. Install new cane by pressing it into the groove with a wooden wedge and small hammer. Work systematically from center to edges, maintaining even tension throughout. Allow 24 hours drying time before use.
Prevent Future Damage
Weekly Maintenance Routine
Dust your wicker chairs weekly using a soft brush or vacuum with brush attachment. This prevents dirt buildup that weakens strands over time. Check for loose pieces while dusting—catching problems early prevents major repairs later. Never use harsh chemicals; a damp cloth with mild soap suffices for surface cleaning. Address spills immediately to avoid moisture damage in natural wicker.
Seasonal Protection Strategy
For outdoor furniture, apply UV-resistant spray every six months. These sprays cost under $15 but prevent sun damage that leads to brittleness. Indoor pieces need consistent humidity (40-50%) to prevent cracking—avoid placing near heating vents. Storage wisdom: Elevate outdoor furniture off damp ground using furniture pads. During harsh weather, move pieces to a dry garage—even synthetic wicker suffers from freeze-thaw cycles. Applying these simple steps extends your chair’s life by years.
When Professional Help Makes Sense
Call the pros when dealing with antique pieces worth over $500, structural frame damage requiring woodworking skills, or complex patterns needing specialized tools. Professional re-caning typically runs $200-400 per seat but lasts decades. DIY confidently for minor strand replacements, surface cleaning, or simple re-weaving of small areas. These repairs cost under $50 in materials and take an afternoon. If you’re unsure whether your project qualifies as DIY, examine the damage: if the frame is intact and only surface weaving is affected, you can absolutely handle how to repair wicker chairs yourself.
Quick Troubleshooting Guide
Problem: New strand won’t stay put
Solution: Roughen the ends slightly with sandpaper to increase glue surface area. Add small nails as temporary holders until adhesive sets.
Problem: Repair looks obvious
Solution: Use wood stain markers for color touch-ups, then apply tinted furniture wax to blend the repair seamlessly.
Problem: Chair still wobbles after repair
Solution: Check ALL joints, not just the obvious ones. Add L-brackets to corners for extra stability.
Problem: Pattern looks distorted
Solution: Remove and re-weave the section, using dowel rods as spacers to maintain consistent gaps.
Final Quality Check
After completing repairs, run through this checklist:
– Sit in the chair and shift your weight—no creaking or wobbling
– Check under bright light for any gaps or uneven weaving
– Confirm all repairs blend naturally with original material
– Test moving parts (if applicable) for smooth operation
With these techniques, your wicker chairs will serve faithfully for years to come. Remember: the best repair is the one you can’t see, and the best maintenance prevents repairs entirely. Mastering how to repair wicker chairs transforms frustrating breakdowns into satisfying restoration projects—where every fixed strand preserves both function and heritage. For ongoing care, revisit the seasonal protection strategies every six months, and your chairs will reward you with decades of reliable comfort.


