
That familiar sinking feeling as your favorite lawn chair gives way beneath you means it’s time for vinyl strap repair. Before you consider replacing your entire patio set—which could cost hundreds—know that fixing these essential components is surprisingly straightforward. Most homeowners complete a full chair restoration in under an hour using basic tools and materials costing less than $20. Whether you’re dealing with cracked, stretched, or completely broken straps from sun exposure and regular use, this guide delivers the exact steps to restore your outdoor furniture to like-new condition without professional help.
Vinyl strap damage typically develops gradually, starting with small cracks that eventually lead to complete failure. The good news is that with the right approach, you can extend your lawn chair’s life by 5-7 years after repair. This comprehensive guide covers everything from identifying damage types to selecting proper replacement materials and executing professional-quality installations. By the end, you’ll have the confidence to tackle any vinyl strap issue and keep your patio seating comfortable and safe all season long.
Identify Your Specific Strap Damage Type
Proper diagnosis of your vinyl strap issue determines whether you need a temporary fix or complete replacement. Misidentifying the damage type leads to wasted time and materials, plus potential safety hazards when sitting.
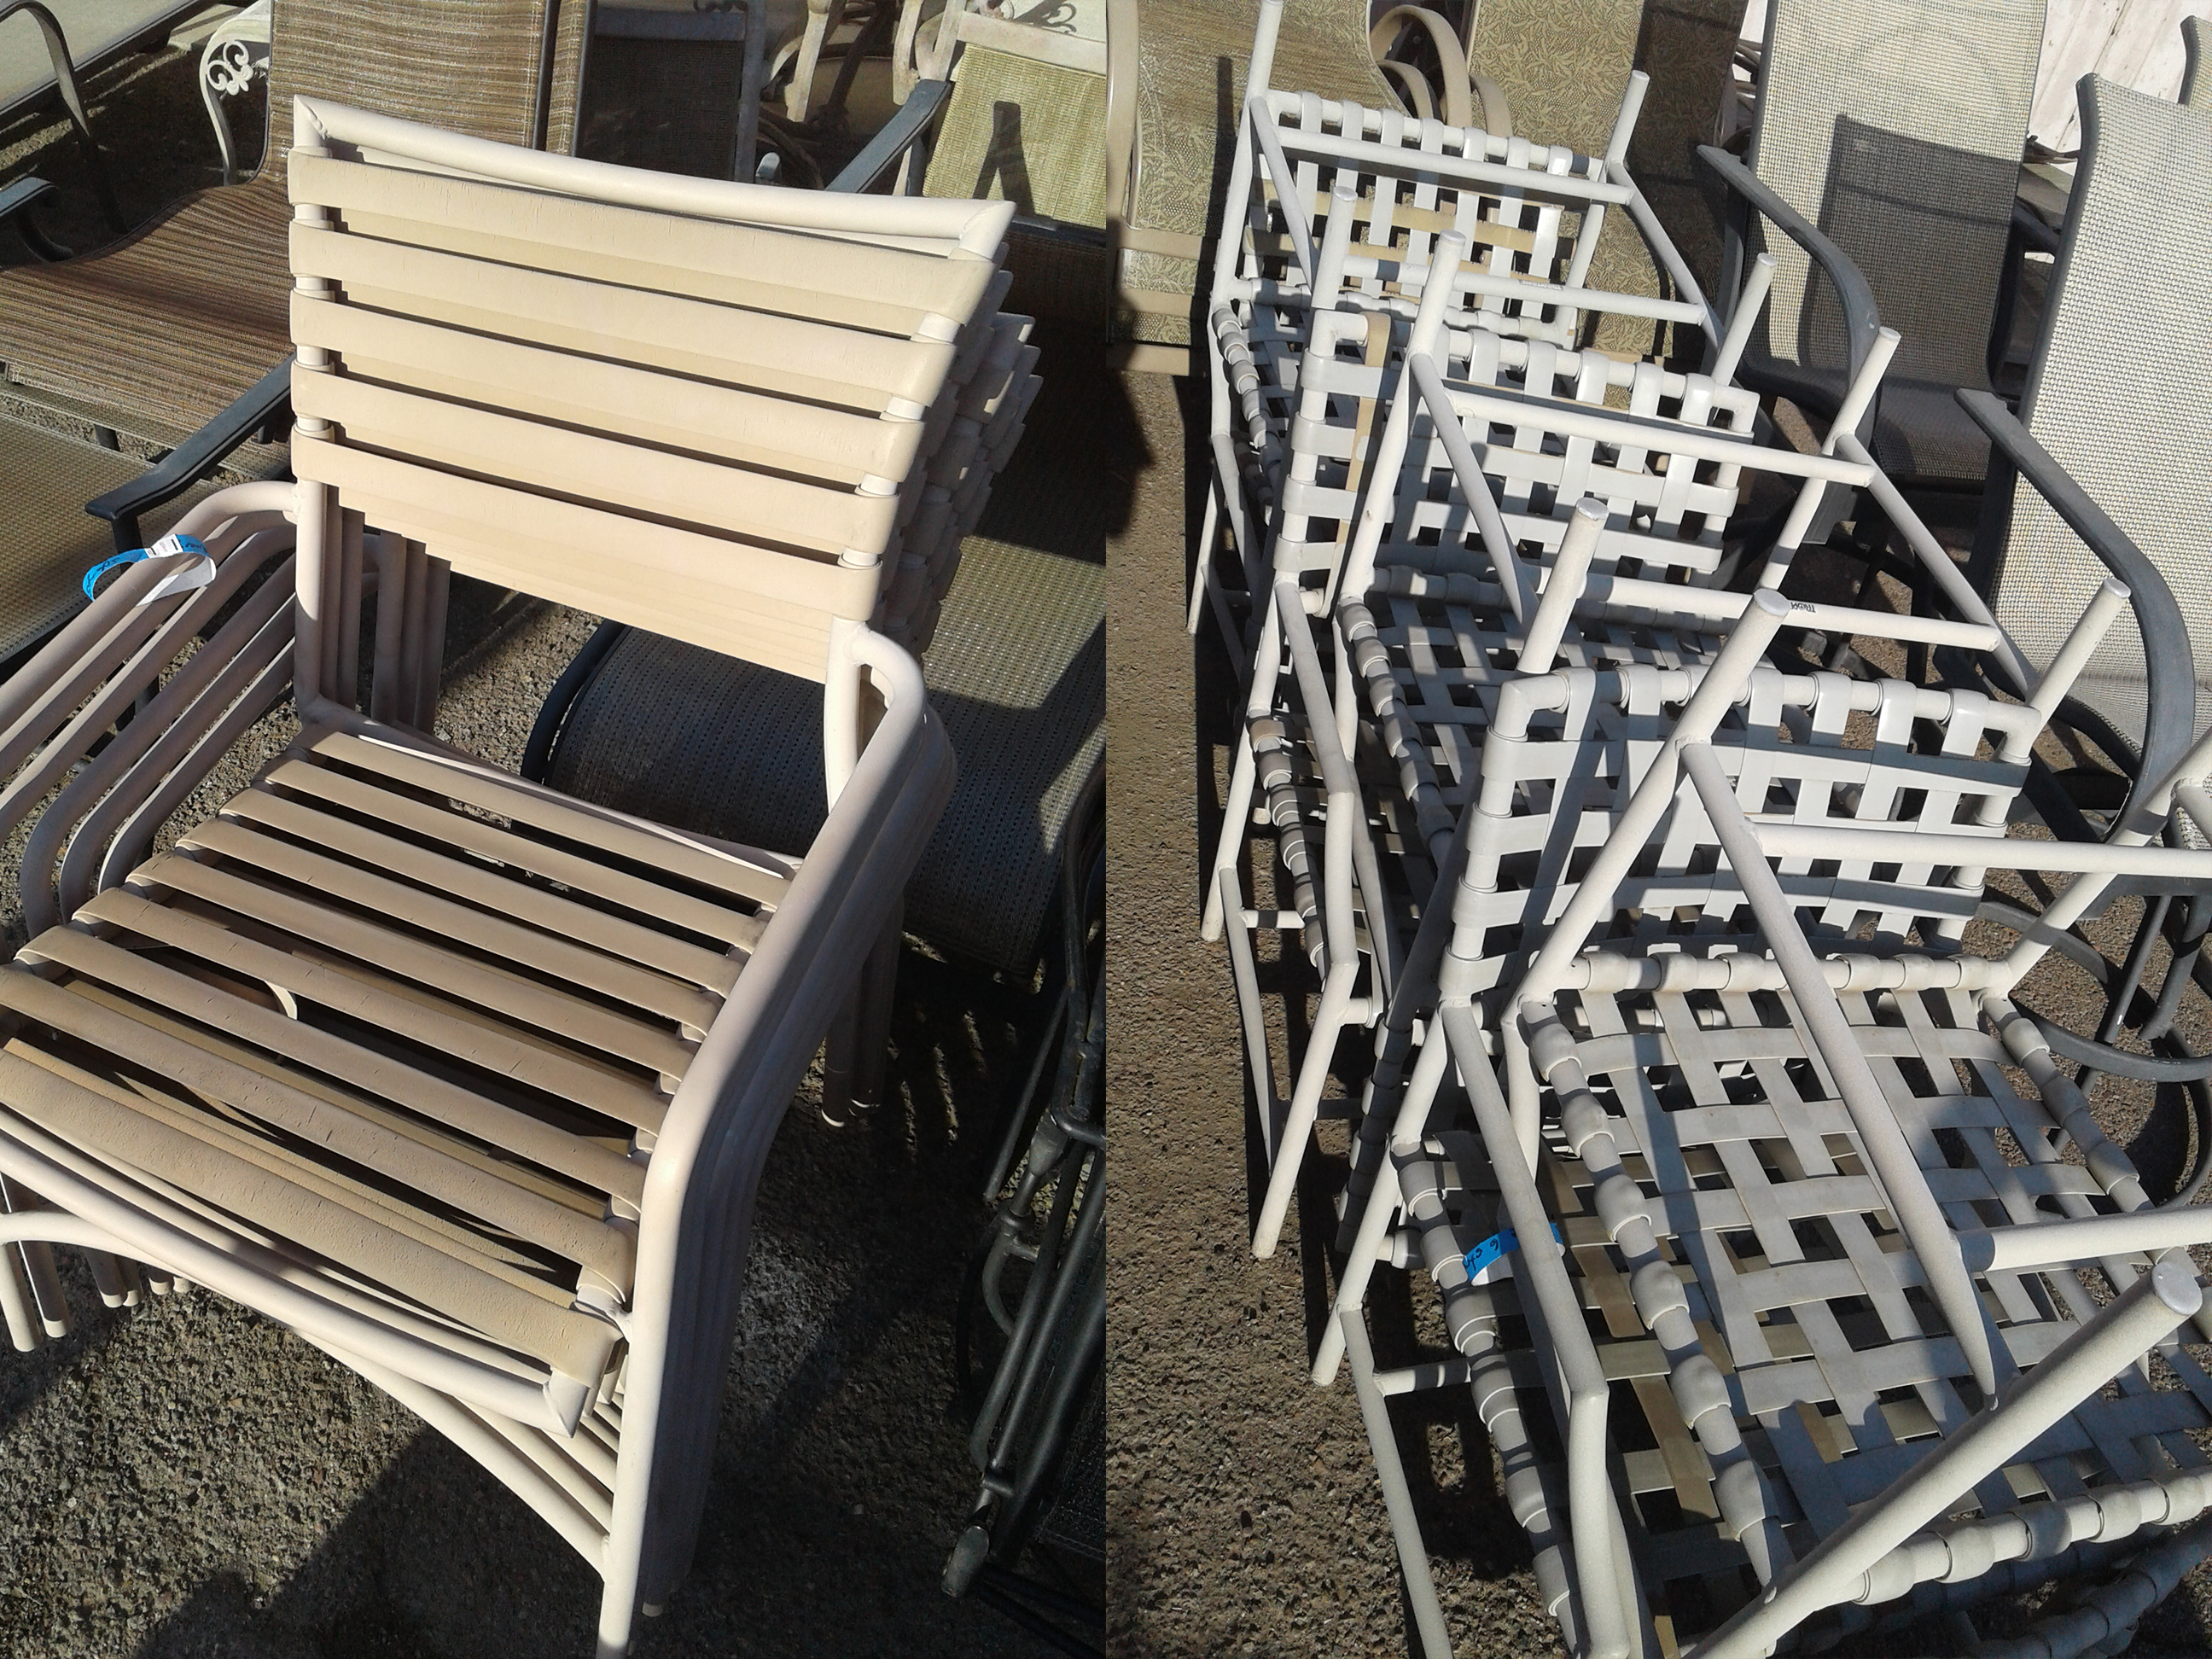
Cracked vs. Stretched Straps: What You’re Really Dealing With
Run your fingers along each strap’s surface to identify subtle damage. Hairline cracks feel like tiny ridges under your fingertips and often appear as white lines across the vinyl’s surface. These develop from UV exposure and temperature fluctuations that cause the material to become brittle. Straps with cracks near rivet holes are particularly dangerous—they’re one heavy sit away from complete failure. Stretched straps, on the other hand, appear visibly longer than their counterparts and create uncomfortable sagging. These have lost their elasticity from repeated weight stress and won’t provide proper support even if you attempt to tighten them.
Complete Break Assessment: Measuring for Success
When straps snap completely, take careful measurements before discarding the old pieces. Note the original weaving pattern—most chairs use either parallel (straight across) or basket-weave (over-under pattern) configurations. This detail is crucial for proper reinstallation. Photograph both sides of the chair from multiple angles before removing any remaining strap fragments. These images serve as your visual blueprint during reassembly, preventing costly mistakes that could require starting over. Measure the distance between attachment points while accounting for the chair’s natural curve—this measurement affects how much tension you’ll need during installation.
Temporary vs. Permanent Fixes: Making the Right Call
Small surface cracks respond well to vinyl repair compounds, buying you 1-2 additional seasons before full replacement becomes necessary. However, stretched or broken straps require complete replacement for safety reasons. Never attempt to glue broken straps together—that creates weak points that fail catastrophically when weight is applied. If more than 30% of your chair’s straps show damage, consider replacing all straps simultaneously. Mixing new and old straps creates uneven tension and support, leading to premature failure of the newer components.
Gather Essential Repair Tools Before Starting
Most required tools already live in your garage or utility drawer, saving you time and money. Having everything ready before you begin prevents frustrating mid-repair trips to the hardware store.
Basic Tool Checklist You Probably Already Own
Before heading to the store, check for these essentials: a medium Phillips screwdriver (for removing fasteners), needle-nose pliers (for gripping stubborn strap ends), sharp scissors or utility knife (for precise cutting), measuring tape (for accurate sizing), and a silver marker (for marking cut lines on dark vinyl). A hair dryer or small heat gun is crucial for making vinyl pliable during installation—this simple tool prevents cracking and ensures proper tension. Don’t skip the rubbing alcohol and clean rags for frame preparation; clean attachment points prevent premature strap failure.
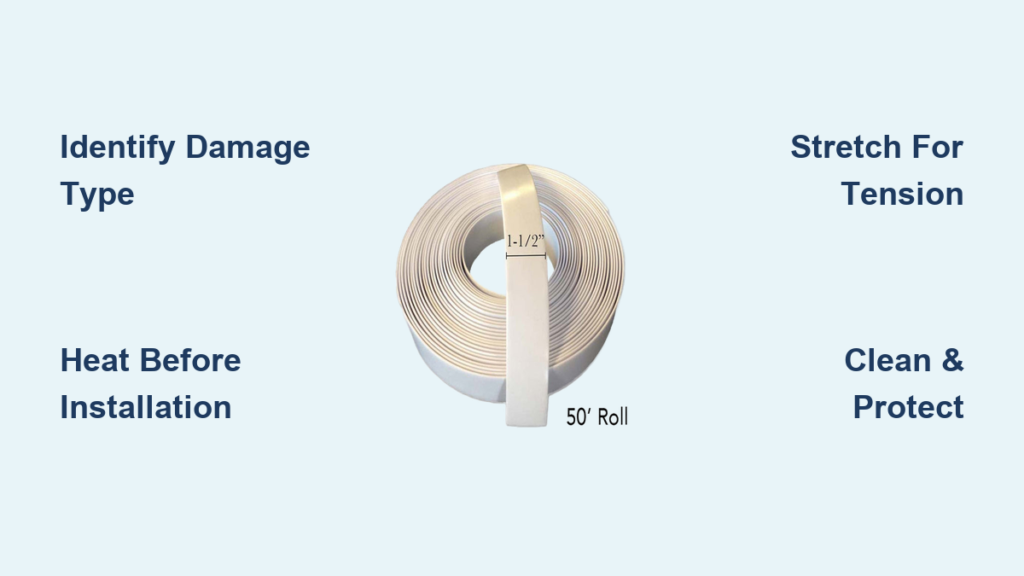
Vinyl Strap Selection Guide: Getting the Perfect Match
Measure existing strap width carefully—common sizes are 1.5″, 2″, or 3″—using a ruler placed under intact straps. Match your chair’s original color exactly; sunlight fades vinyl differently across brands, making perfect color matching difficult after significant exposure. Bring a damaged strap fragment to the hardware store for comparison under natural light. Purchase 10-15% extra length to account for stretching during installation—running short mid-project wastes time and materials. Quality replacement straps typically cost $1.50-$3.00 per foot depending on width and thickness.
Fastener Types and Replacement Strategies
Examine existing rivets or screws before shopping for replacements. Most chairs use either plastic rivets (which pop out easily with pliers) or metal screws requiring specific sizes. Remove one fastener completely and bring it to the store for perfect matching—don’t risk buying the wrong size. Consider upgrading to stainless steel screws if your original fasteners show rust, as they’ll outlast the vinyl straps themselves. Keep original fasteners if they’re in good condition; mixing old and new hardware can create uneven tension across the chair.
Remove Old Straps Without Damaging the Frame
Old straps often resist removal due to rusted fasteners and sun-hardened vinyl. Proper technique prevents costly frame damage that could make your chair unrepairable.
Unscrewing Techniques for Stubborn Fasteners
Begin working from the chair’s underside where fasteners are usually more accessible. Apply penetrating oil to rusted screws and wait 10 minutes before attempting removal—this loosens corrosion without stripping heads. Hold the strap end firmly with needle-nose pliers while turning screws counterclockwise to prevent spinning. If screw heads are damaged beyond recognition, use a screw extractor kit rather than risking further damage. Never force screws—this can strip frame threads, requiring more extensive repair.
Cutting Stubborn Straps: Last Resort Method
When fasteners refuse to budge, cut straps flush with the frame using sharp scissors. Work slowly to avoid slipping and scratching the metal frame. Remove remaining strap fragments by gripping them with pliers and twisting gently. This method works best when replacing all straps simultaneously, as it avoids the need to preserve any original pieces. Be careful not to cut into the frame material—vinyl straps often sit slightly recessed, providing a small margin for error.
Frame Cleaning and Preparation Steps
Old straps leave behind sticky residue and embedded dirt that prevents proper adhesion of new materials. Clean attachment points thoroughly with rubbing alcohol and a clean rag—this removes oils and contaminants that accelerate new strap deterioration. Smooth any rough metal edges with fine-grit sandpaper to prevent new strap damage during installation and use. Inspect the frame for rust spots and treat them with rust converter before proceeding—addressing frame issues now prevents bigger problems later.
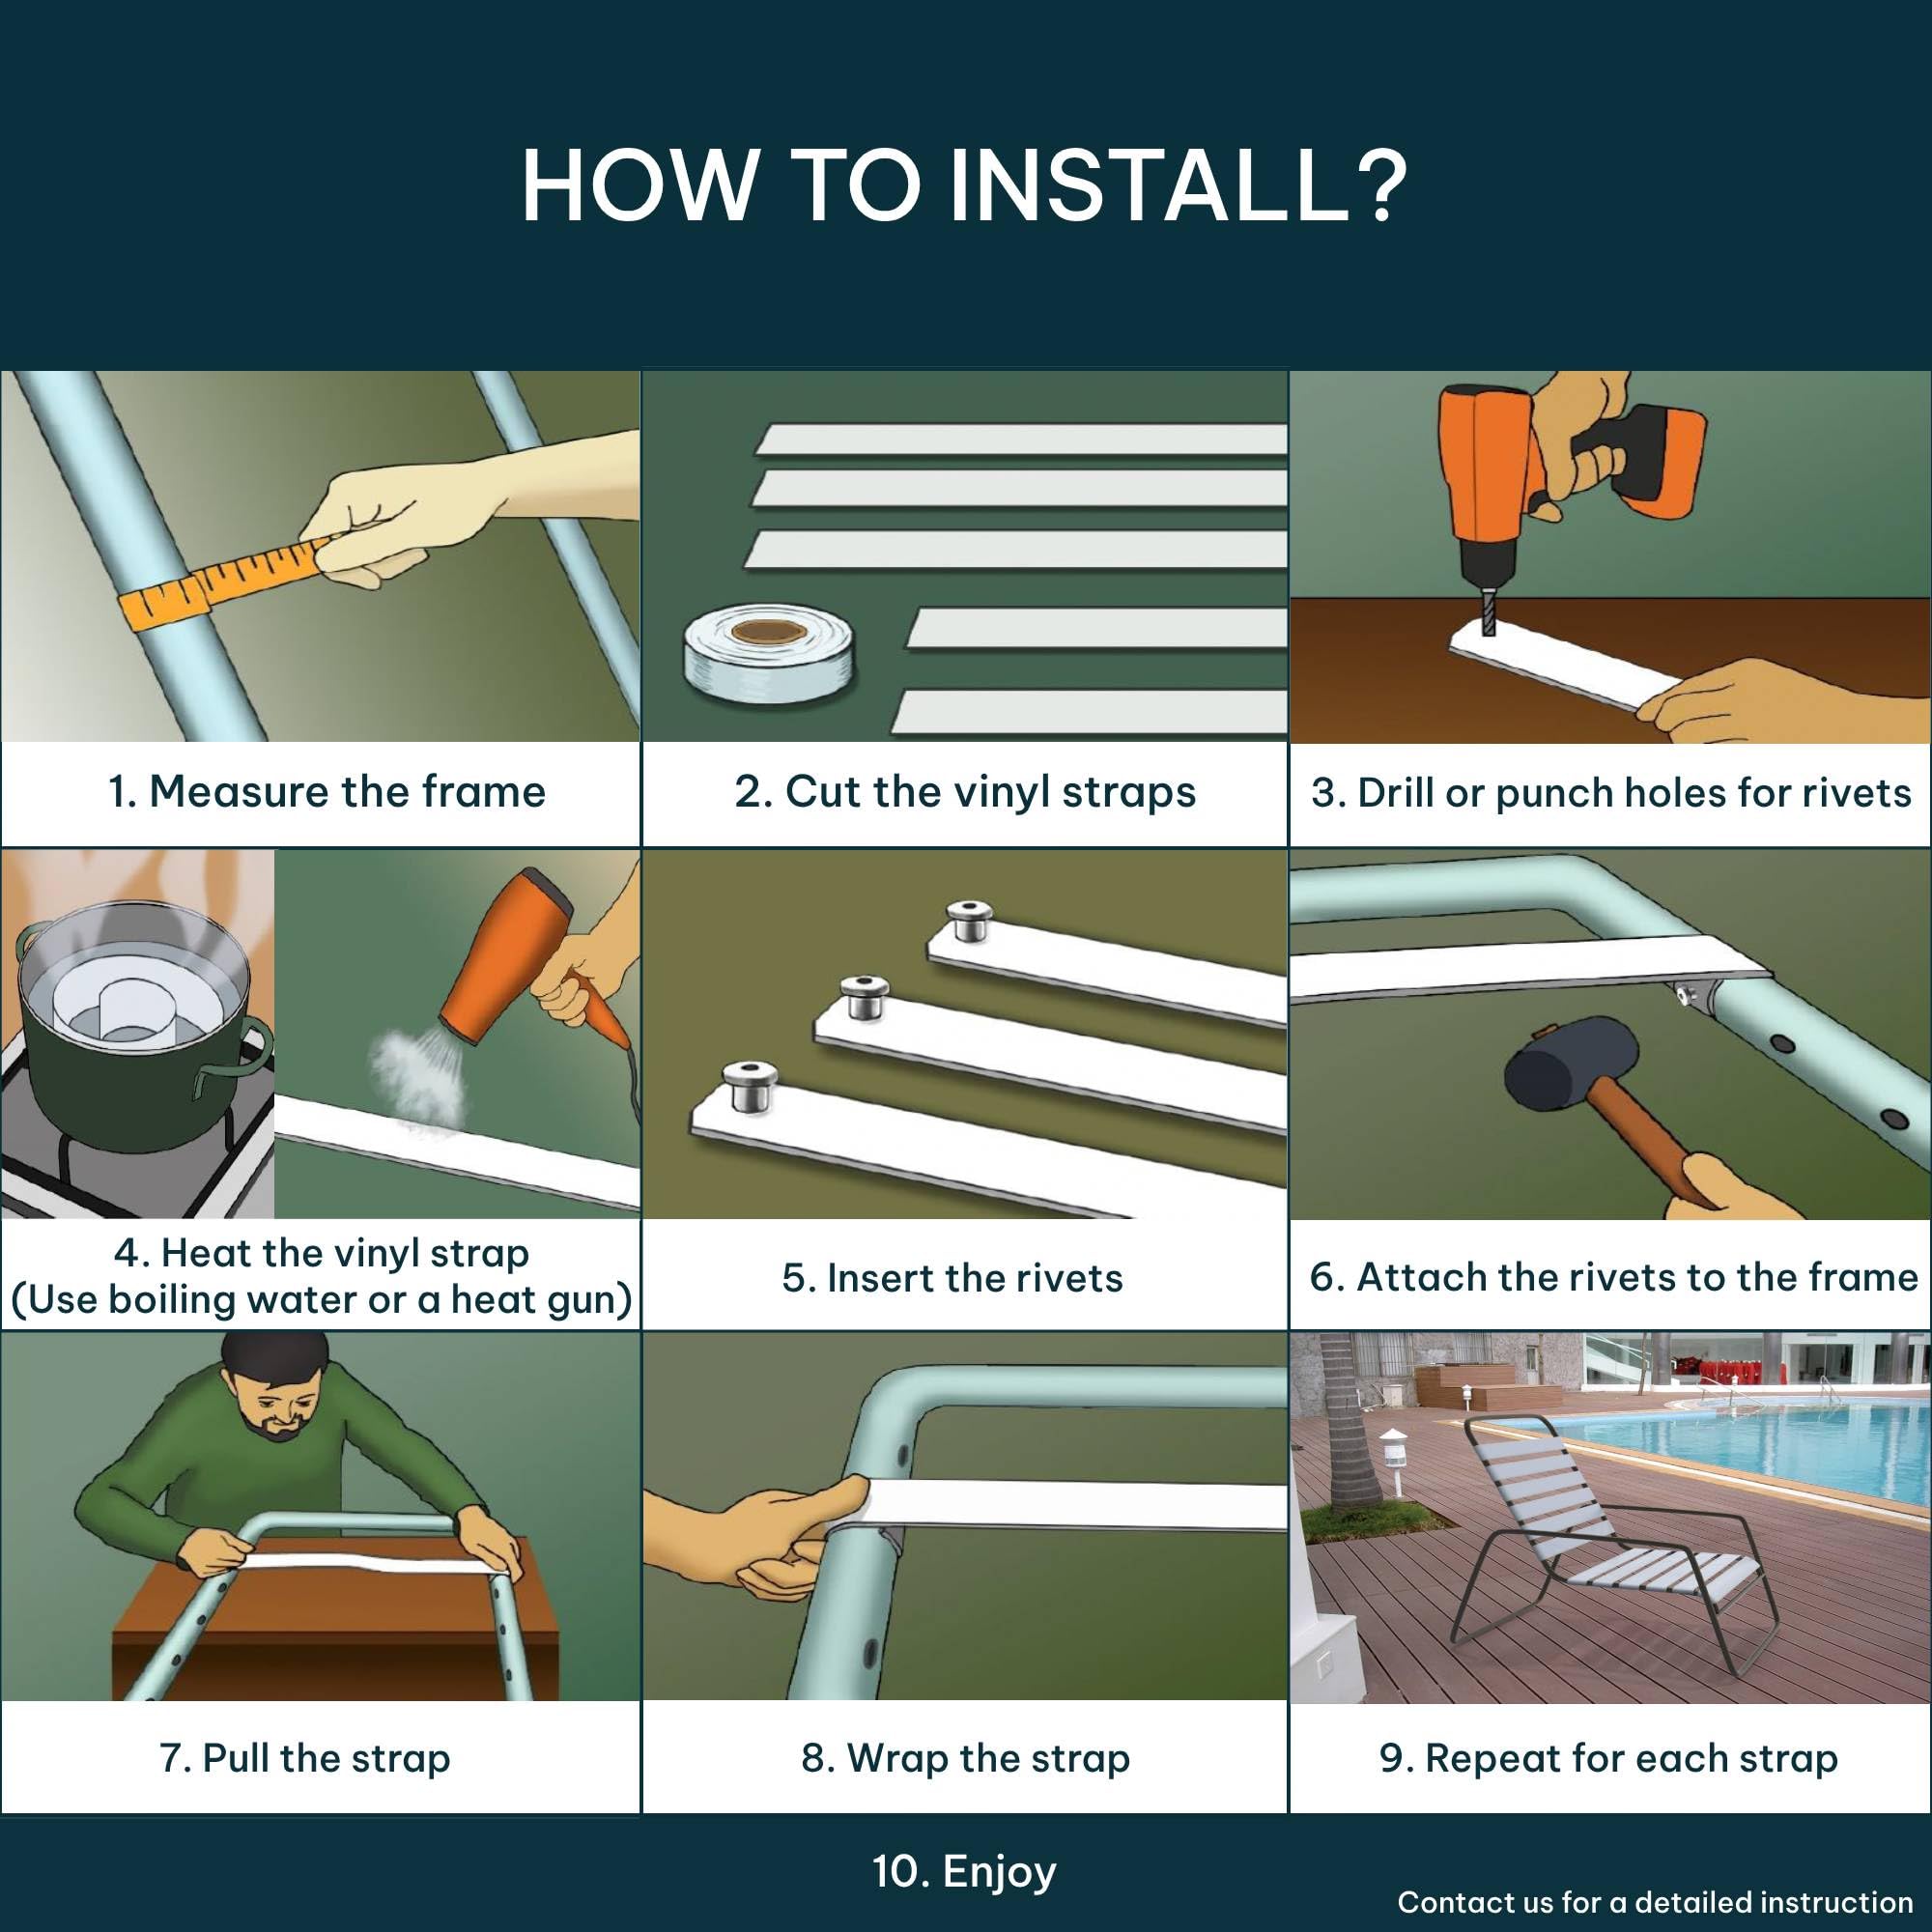
Install Replacement Straps Like a Professional
Proper installation technique makes the difference between straps that last years versus those that fail within months. Heating vinyl to the correct temperature is the secret to professional results.
Heating Vinyl to the Perfect Temperature
Warm each strap with a hair dryer on high for 30-45 seconds before installation. The vinyl should become noticeably softer and slightly darker when properly heated, making it pliable enough for stretching. Overheating causes permanent warping—keep the dryer moving constantly at a 6-inch distance. Test the temperature by gently bending a strap end; it should flex easily without resistance but not feel hot to the touch. Never use open flame for heating—this melts vinyl unevenly and creates weak spots.
Attaching the First End Correctly
Insert the heated strap end through the frame hole from underneath, pulling about 2 inches through the top. Fold this end back on itself to create a secure loop, then reinsert through the same hole to form a “U” shape. Secure with your fastener while maintaining slight tension, ensuring the strap lies completely flat without twists. This initial attachment point determines the entire strap’s alignment—take extra time to get it perfect. Double-check that the strap’s textured side faces up for proper comfort and grip.
Stretching and Securing for Long-Lasting Tension
Pull the opposite end firmly while maintaining even tension—properly heated vinyl stretches 8-12% during installation. Hold the strap taut against the attachment point and mark where the fastener should go using your silver marker. Remove the strap, let it cool for 60 seconds, then reheat and attach while maintaining tension. The strap should feel drum-tight when cool but not so tight that it distorts the frame. Test tension by pressing down with your hand—it should give slightly but return to position immediately.
Extend Strap Life with Smart Maintenance
Regular care after repair prevents repeat issues and maximizes your investment. Simple habits add years to your vinyl straps’ lifespan.
Monthly Cleaning Routine for Longevity
Wash straps with mild soap and warm water using a soft brush to remove dirt from weave patterns. Avoid harsh chemicals like bleach or ammonia-based cleaners—they accelerate vinyl degradation by breaking down plasticizers. Rinse thoroughly with clean water and allow complete drying before use—trapped moisture causes mildew growth between vinyl layers. For stubborn stains, use a dedicated vinyl cleaner specifically formulated for outdoor furniture.
UV Protection: Your Best Defense Against Damage
Apply UV-protectant spray every 90 days during peak summer months—this is non-negotiable for long strap life. Focus application on top surfaces receiving direct sunlight, where UV damage occurs most rapidly. Proper UV protection prevents the chalky appearance that signals vinyl degradation has begun. Choose a protectant that includes both UV blockers and moisturizers to maintain vinyl flexibility. Reapply after heavy rain or cleaning sessions for continuous protection.
Smart Seasonal Storage Practices
Store chairs in dry locations with stable temperatures—basements often have damaging humidity while attics create extreme heat that cooks vinyl. Stack chairs with clean cotton cloths between vinyl surfaces to prevent sticking during storage. Use breathable furniture covers instead of plastic, which traps moisture and promotes mildew. If storing outdoors, position chairs upside down to prevent water collection and cover with a tarp that allows air circulation.
Your lawn chairs now provide comfortable, reliable seating that rivals new furniture at a fraction of the cost. With proper UV protection and seasonal care, these repaired straps will maintain their tension and appearance for 5-7 years. When neighboring chairs show similar wear patterns, tackle those repairs proactively—they’ll likely fail within the next 12-18 months. Bookmark this guide for future reference; mastering how to repair vinyl straps on lawn chairs saves hundreds over your outdoor furniture’s lifetime while keeping usable items out of landfills.


