
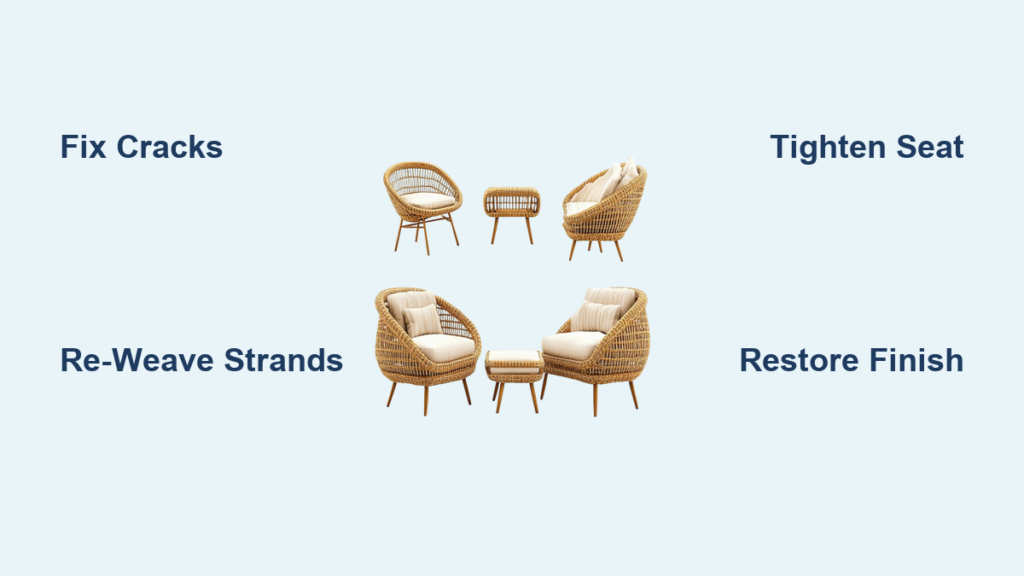
Your favorite rattan chair groans when you sit, strands poke through your shirt, and you keep eyeing the curb wondering if it’s time to toss it. Don’t surrender yet—how to repair rattan chairs is simpler than you think. Most damage from sun, moisture, or daily wear can be fixed with basic tools and $20 in supplies. In this guide, you’ll learn to diagnose splits, re-weave broken strands, tighten sagging seats, and restore faded finishes. No professional skills needed—just follow these exact steps to revive your chair in under two hours.
Identify Exactly What’s Broken on Your Chair
Splitting & Cracking in Critical Spots
Run your palm along every rung and leg. Hairline cracks? That’s UV damage and weight stress expanding fibers. Focus on joints where legs meet the seat—these take the most pressure. If cracks are wider than a credit card edge, they need epoxy reinforcement before they split completely.
Loose or Snapped Weave Patterns
Press each strand with your thumb. Gaps wider than 1/16 inch mean humidity has loosened the weave. Test tension by gently tugging strands—if they move more than ⅛ inch or feel spongy, they’re failing. Broken strands often hide under cushions; lift them to check seat undersides.
Sagging Seats That Won’t Bounce Back
Sit lightly on the seat. If it dips more than ½ inch under your weight and stays sunken, the fibers have permanently stretched. Check for loose strands at the seat-frame attachment points—this is where sagging usually starts.
Grab These 7 Essential Repair Tools Immediately
- Fine sandpaper (220-grit) for smoothing repairs without scratching
- Adhesive trio: Epoxy resin (heavy-duty), super glue (quick fixes), hot glue (temporary holds)
- Replacement rattan: 3mm peel reed for seats, 2mm round for legs (buy 20% extra—soaked reed shrinks)
- Precision tools: Needle-nose pliers, sharp scissors, toothpicks, and a hairdryer
- Finishing kit: Exterior spray paint (Rust-Oleum 2X), wood stain marker, clear polyurethane
Pro tip: Test adhesives on a hidden chair area first—some cause rattan discoloration.
Clean Your Chair Thoroughly Before Any Repair
- Dry-brush crevices with an old toothbrush to reveal hidden cracks—dust camouflages damage.
- Wipe with soapy water: Mix one drop dish soap in warm water, dampen cloth (wring until barely wet), and clean all surfaces.
- Rinse residue-free with a clean damp cloth, then air-dry in shade for 24 hours. Skipping this traps moisture under glue, causing mold or warping.
Remove Damaged Rattan Without Causing New Damage
Snip, Don’t Rip Broken Strands
Use sharp scissors to cut snapped strands flush with surrounding weave. Yanking intact fibers widens tears—pliers only for loose ends. For deep cracks, insert a toothpick to gently pry fibers apart before cutting.
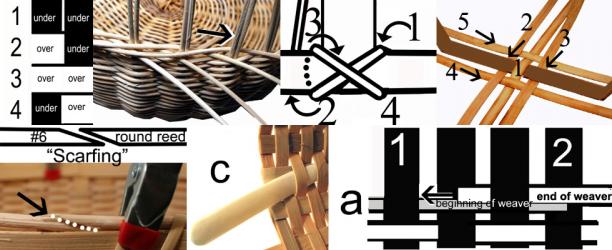
Photograph Weave Patterns First
Shoot close-ups of undamaged sections matching your repair area. Rattan chairs use complex over-under sequences—this photo becomes your weaving roadmap later.
Soak Replacement Rattan to Make It Bendable
Submerge new reed strips in warm tap water for 30 minutes. They’ll darken and become pliable—perfect for tight curves around legs. Critical step: Pat dry with a towel until just damp. Dripping-wet reed dilutes glue bonds, while bone-dry reed snaps during weaving.
Re-Weave Broken Areas Step by Step
Choose the Right Adhesive for Each Job
| Damage Type | Best Glue | Set Time |
|---|---|---|
| Hairline cracks | Super glue | 5 minutes |
| Seat strands | Epoxy resin | 24 hours |
| Decorative wraps | Hot glue | 1 minute |
Perfect Weaving Technique in 4 Moves
- Apply glue sparingly along the channel—excess glue stiffens fibers.
- Thread new strand following your photo reference, using pliers to pull tight through original pattern.
- Hold for full set time: 90 seconds for super glue, 5 minutes for epoxy.
- Tuck and secure ends under two adjacent weaves with a micro-drop of glue. Trim excess at a sharp angle.
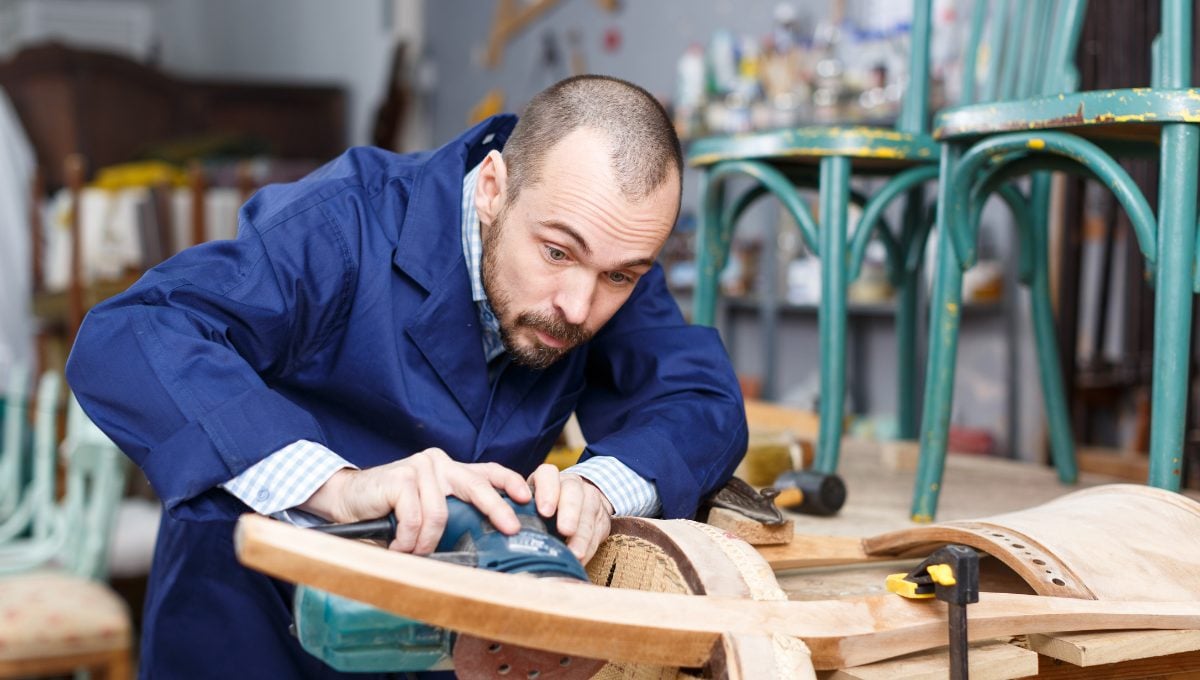
Fix Wobbly Legs in Under 10 Minutes
For uneven floors: Stick ¼-inch adhesive felt pads under the shortest leg—no more rocking.
For cracked legs:
1. Clean crack with dry cloth.
2. Force wood filler into crack using a toothpick (overfill slightly).
3. Let dry 2 hours, then sand flush.
4. Touch up with matching stain marker and seal with polyurethane.
Tighten Sagging Seats Without Full Re-Weaving
- Lightly mist seat with warm water using a plant mister—never soak.
- Push upward from below with both palms while fibers are damp.
- Air-dry 12 hours in a warm room. Fibers contract as they dry, restoring tension. Add a 2-inch outdoor cushion for instant comfort and extra support.
Restore Sun-Faded Rattan to Like-New Color

Prep for Painting Like a Pro
Lightly sand with 220-grit paper to remove flaking varnish—never sand to bare wood. Vacuum dust thoroughly; use a tack cloth for invisible fibers.
Spray Paint Without Drips
Hold exterior spray paint (Rust-Oleum 2X) 8–10 inches from surface. Apply two ultra-thin coats, rotating chair between passes. Critical: Spray in a ventilated area with cardboard backdrop—rattan’s nooks catch overspray.
Seal Against Future Sun Damage
Finish with one coat of clear polyurethane spray. Matte for natural look, gloss for patio shine. This UV barrier prevents 80% of future fading.
Respect These Non-Negotiable Cure Times
- Hot glue: Wait 30 minutes before light handling
- Super glue: Avoid sitting for 6 hours
- Epoxy: Full strength only after 24 hours
Never rush this step—applying weight too early snaps fresh bonds. Place a “DO NOT SIT” sign on your chair.
Prevent Repairs Before They Start
- Weekly: Dust with microfiber cloth—grit scratches fibers like sandpaper.
- Monthly: Wipe with mild soap solution to maintain fiber flexibility.
- Seasonally: Check joints for emerging cracks; early fixes take 5 minutes.
- During rain: Store under cover or use breathable patio covers—never leave rattan soaking.
Solve Advanced Problems When Basic Repairs Fail
Shredded backrest? Cut out the damaged panel. Staple a pre-woven rattan mat over the frame, trim edges flush, and blend with stain.
Split structural frame? Drill 1⁄8-inch pilot holes across the crack. Insert hardwood dowels coated in epoxy, clamp overnight, then re-wrap with rattan.
That creaky rattan chair doesn’t belong on the curb—it belongs under your care. With $15 in supplies and one focused hour this weekend, you’ll transform a sun-bleached eyesore into a sturdy, beautiful seat. Every repair you do saves resources and keeps landfill waste down. Grab your sandpaper and reed bundle; by Sunday evening, you’ll be rocking in a chair that looks brand new. Your future self (and the planet) will thank you.


