
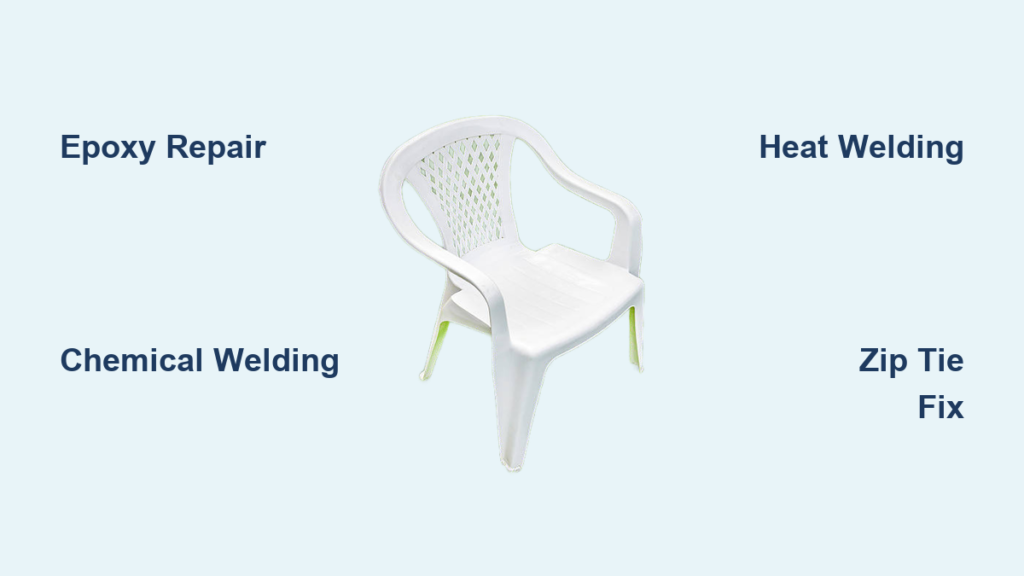
That familiar crack under your weight followed by the sinking feeling as your favorite patio chair betrays you—it’s a scenario millions of homeowners face each summer. Before you drag that broken plastic chair to the curb, know that most common failures can be fixed with simple, affordable methods that restore functionality and extend its life. While manufacturers don’t design plastic patio chairs for repairs, strategic fixes using techniques like chemical welding, epoxy reinforcement, and mechanical bracing can rescue even significantly damaged pieces. This guide cuts through the confusion to show you exactly how to repair plastic patio chairs based on your specific failure type, saving money while keeping usable furniture out of landfills.
Whether you’re dealing with a hairline fracture in a molded joint or a completely snapped leg bracket, understanding which repair method works for your chair’s material and failure pattern makes all the difference. You’ll learn how to identify repairable cracks versus hopeless breaks, when to invest time in fixing versus replacing, and the exact steps to execute professional-quality repairs with household tools and affordable materials. Most importantly, you’ll discover how to prevent future failures through proper usage and storage techniques.
Identify Common Failure Points
Molded Joint Cracks
Your chair’s weakest links are the molded joints where legs connect to the seat brackets or where the backrest meets the seat. These stress concentration points develop hairline cracks that slowly worsen with each use. Look for cracks radiating from connection points—they’re often repairable if caught early. When you find these, don’t ignore them; even small cracks compromise structural integrity and will spread quickly under weight.
Leg Bracket Breaks
The molded plastic brackets designed to receive chair legs are notorious failure points. These cracks typically start as small fractures but can completely separate, causing the leg to detach from the seat. Inspect both the bracket itself and surrounding plastic for stress whitening—those pale discolorations indicate plastic fatigue even before visible cracks appear. When these brackets fail, your repair approach depends on whether your chair has removable legs or is a single-piece design.
Stress Fracture Patterns
Repeated weight application and weather exposure create predictable crack patterns that usually begin at corners or edges and follow stress lines across the chair. Older chairs suffering from brittle plastic syndrome are especially vulnerable, shattering rather than flexing when overstressed. These fractures often start small but accelerate quickly—address them immediately before they become unrepairable.
Quick Visual Inspection Steps
Begin your plastic patio chair repair by flipping the chair upside down and examining all connection points methodically. Look for white stress marks around joints—these subtle discolorations signal plastic fatigue before visible cracks form. Check all leg sockets for cracks where legs insert into the chair body, as these hidden failures often cause wobbling before complete breakage.
Test each joint by gently flexing it. Any movement that wasn’t present when the chair was new suggests internal cracking. For chairs with removable legs, pull them out and inspect both the leg ends and the receiving sockets for damage. This thorough inspection determines whether your repair should focus on epoxy reinforcement, chemical welding, or mechanical bracing.
Essential Safety Steps
Always work in a well-ventilated area when using solvents or heating plastic. Acetone fumes are particularly hazardous—never attempt chemical welding indoors without proper exhaust. When heat welding, wear heat-resistant gloves and eye protection to prevent serious burns from molten plastic droplets.
Set up a stable work surface at comfortable height, as most repairs require the chair to be inverted for extended periods. Ensure your work area won’t tip during the process, especially when applying clamps or pressure. Keep a fire extinguisher nearby when using heat-based methods, as overheated plastic can ignite unexpectedly.
Epoxy Repair Method (JB Weld)

Surface Preparation
Proper surface prep makes or breaks your epoxy repair. Clean the cracked area with isopropyl alcohol and let it dry completely—any residue prevents proper adhesion. Sand lightly around the crack with 120-grit sandpaper to create a rough surface that gives the epoxy something to grip. Remove all loose plastic fragments or debris with a soft brush before proceeding.
Application Process
Mix JB Weld epoxy putty according to package directions, working quickly as it begins curing immediately. Press the putty into the crack, building a small mound that extends 1/4 inch beyond the damaged area on all sides—this extra material creates a structural bridge across the break. Clamp the repair using C-clamps to hold pieces in perfect alignment while the epoxy sets. The putty will warm as it activates—this is normal chemical reaction. Allow 4-6 hours for complete cure before removing clamps and testing the repair.
Chemical Welding for ABS Chairs
Material Testing
Before attempting chemical welding, test your chair material with acetone. Apply a small drop to an inconspicuous area and observe the reaction. If the plastic becomes tacky or slightly melted within 30 seconds, it’s ABS plastic and suitable for chemical welding. No reaction means this method won’t work, and you’ll need to try epoxy or heat welding instead.
Welding Process
Clean the crack edges with acetone to remove oils and dirt that would interfere with the weld. Apply acetone sparingly along both sides of the crack using a small brush—too much will weaken the surrounding plastic. Press pieces together firmly and hold for 3-5 minutes while the acetone chemically melts the ABS, creating a welded joint stronger than adhesive bonds. Allow 24 hours for complete cure before using the chair. The welded area will be slightly discolored but structurally sound for most breaks.
Heat Welding Procedure
Temperature Control
Set your soldering iron to medium heat (around 350°F) and test on scrap plastic first—too hot causes burning that weakens the repair. Work in short passes, melting just enough plastic to fuse the pieces without creating holes or weakening surrounding areas. Maintain consistent temperature throughout the process for strongest results.
Welding Technique
Clean the crack thoroughly with isopropyl alcohol before beginning. Starting at one end, carefully melt the plastic along the crack edges using the soldering iron tip. Work melted plastic across the joint to create a continuous weld bead. Smooth the repair with a metal spatula while the plastic is still warm but not liquid. Cool for 30-60 minutes before testing—rushing this step risks weakening the newly formed bond.
Mechanical Reinforcement Options

Zip Tie Fix for Long Cracks
For splits longer than 4 inches, drill 3/8-inch holes 2 inches from each side of the crack. Space holes every 3-4 inches along the split to distribute tension evenly. Thread heavy-duty zip ties through opposing holes and pull tight to close the crack completely. This creates a flexible repair that withstands seasonal expansion and contraction, typically lasting 1-2 seasons before needing replacement.
Wooden Splint Support
Cut wooden strips slightly longer than the crack to serve as external reinforcement. Position across the damaged area on the chair’s underside where it won’t interfere with seating. Use corrosion-resistant screws through the plastic into the wood, creating a support structure that transfers weight away from the damaged area. This method works particularly well for backrest cracks where appearance matters less than structural integrity.
Replace vs Repair Decision Matrix
When Replacement Makes Sense
For budget plastic chairs ($12-15 range), replacement often beats repair when cracks extend through multiple structural members or when multiple failure points exist. If repair costs exceed $7-8 in materials and 2+ hours of time, new chairs provide better value. Consider replacing all chairs in a set if matching becomes impossible due to fading or discontinued models.
Repair Priority Cases
Always repair when chairs are part of expensive matched sets where color matching matters. Premium chairs ($129+ each) justify repair efforts even for extensive damage. Sentimental value or discontinued styles also warrant attempting repairs, as replacement chairs may cost more and never match perfectly.
Prevent Future Failures
Weight Capacity Awareness
Most plastic chairs have a 200-250 pound weight limit printed on a label underneath the seat. Exceeding this limit even occasionally causes permanent stress damage that leads to future failures. Consider upgrading to commercial-grade chairs if you regularly need higher capacity—many premium options support 300+ pounds.
Storage Strategies
Store chairs upside down or stacked to reduce UV exposure on critical structural areas. Bring chairs indoors during winter months—freeze-thaw cycles accelerate plastic degradation significantly. For seasonal properties, consider covering chairs with breathable fabric covers or storing in sheds during off-seasons to extend their lifespan by years.
Pro Tip: Keep repair materials on hand—JB Weld, zip ties, and a basic soldering iron cover 90% of plastic chair repairs. For lake houses or seasonal properties, adopt a hybrid approach where quick zip tie or epoxy repairs buy you a season while you plan permanent replacements, especially when chairs match existing sets.
Bottom line: Successful plastic patio chair repairs depend on matching the right technique to your specific failure type and chair material. Start with epoxy for simple cracks in non-ABS plastic, move to chemical welding for ABS chairs, and use mechanical reinforcement for extensive damage. When repair costs approach replacement prices for cheap chairs, consider upgrading to premium options with 20-year warranties that represent better long-term value. With proper repairs and preventive care, your plastic patio chairs can provide comfortable seating for many more seasons.


