
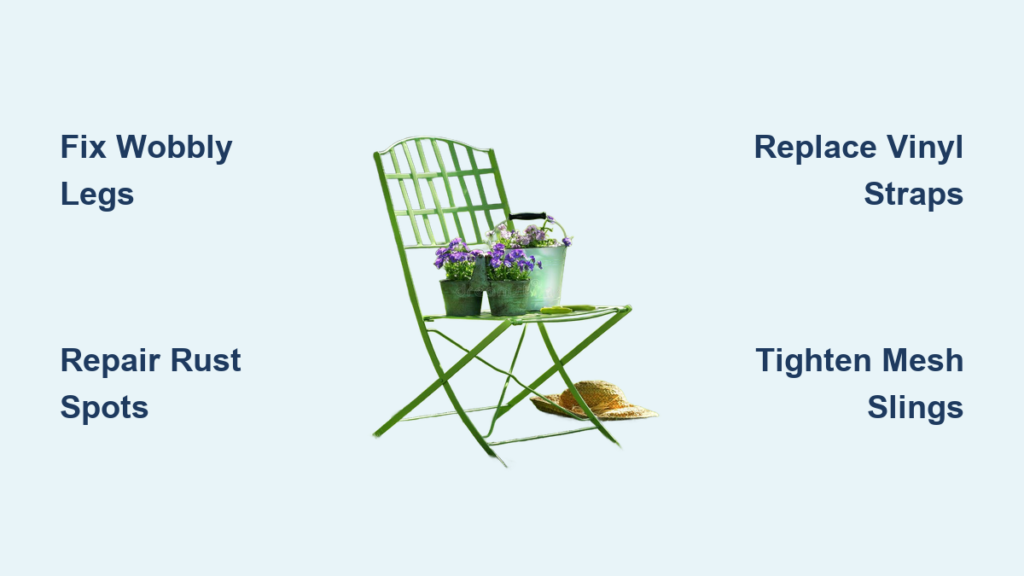
Your favorite patio chair wobbles dangerously, vinyl straps snap under pressure, or rust bleeds through the frame—suddenly your relaxing backyard retreat becomes a safety hazard. Instead of replacing perfectly salvageable furniture, you can repair garden chairs in a single weekend with basic tools and targeted techniques. Whether it’s a loose bolt on your aluminum lounger or shredded mesh on a vintage sling chair, this guide delivers step-by-step fixes that restore stability and extend your furniture’s life by years. Discover exactly which repairs are worth your time and how to execute them like a pro, saving hundreds compared to replacement costs.
Most garden chair failures stem from predictable wear points: UV degradation on straps, moisture-induced rust on hardware, or stress fractures at joints. The key is diagnosing your chair’s material and damage pattern first—this avoids wasted effort on doomed repairs. By the end of this guide, you’ll confidently tackle everything from a 10-minute bolt tightening to a full sling replacement, transforming rickety eyesores into sturdy seating. Let’s get your outdoor space back to inviting.
Identify Your Chair’s Weak Spots Before Starting
Skip generic “chair repair” advice by pinpointing your exact material and failure point. Grab a notepad and inspect every component:
- Frame material: Aluminum (lightweight, silver-gray), steel (heavier, magnetic), wood (grain visible), or plastic (flexible, often white).
- Seating type: Mesh sling (woven fabric in frame rails), vinyl straps (flat bands through holes), fabric sling (stretchy cloth), or cushioned seat.
- Critical damage: Loose bolts (shake test reveals movement), bent tubing (sight down rails), rust (flaky orange spots), or torn fabric (gaping holes).
Jot measurements directly onto painter’s tape stuck to the chair—note bolt sizes, strap lengths, and rail widths. This prevents mismatched parts orders. For example, vinyl strap chairs require precise tension calculations: measure hole-to-hole distances along the frame’s curve, then subtract 10% for stretch. Skipping this step causes sagging straps that need redoing.
Set Up a Foolproof Workspace in 10 Minutes
Working outdoors? Skip the garage and prepare a driveway or patio spot with these essentials:
- Surface prep: Lay flattened cardboard boxes to catch paint drips and protect grass.
- Tool staging: Place sandpaper, screwdrivers, and rivet tools within arm’s reach—mid-repair searches waste hours.
- Specialized gear: Keep heat-resistant gloves and a large pot (for boiling vinyl straps) ready near your workstation.
Never skip rust treatment prep: sand affected metal down to bare material using 220–320 grit paper. Wipe clean with mild soapy water and dry completely—residual grease blocks rust converter adhesion. Skipping this creates peeling paint within weeks.
Fix Bent Frames and Rust in Under 2 Hours
Straighten Aluminum Tubing Without Cracking It
Clamp bent tubing to a workbench, then apply slow, steady pressure. Check alignment with a level—over-bend slightly by 5° since aluminum springs back. If the bend exceeds 30°, the frame is compromised; replace it.
Erase Rust Permanently on Steel Parts
- Sand rust spots to shiny metal (no reddish residue).
- Apply rust converter with a brush—wait 30 minutes until gel turns black.
- Spray two thin coats of exterior enamel paint, holding the can 12 inches away.
- Finish with UV-resistant clear coat for moisture protection.
Critical mistake: Painting over untreated rust guarantees reoccurrence. Always convert first.
Replace Mesh Slings on Aluminum Chairs Like a Pro

Measure for Perfect Fit (Avoid Sagging!)
Keep the old sling on the frame. Measure rail width center-to-center at top, middle, and bottom—if differences exceed ½ inch, order custom. For length, trace the rail’s curve with a cloth tape measure and add ⅛ inch for tuck-in. Confirm rod diameter (usually 7/32″ or ¼”) using drill bits.
Install Without Gaps or Wrinkles
- Pop off end caps and spreader bars using a flathead screwdriver.
- Slide out old spline rods—note their orientation.
- Thread new rods into frame rails, reassemble loosely, then tension fabric evenly before tightening bolts.
- Snap caps back on and bounce test—any sag means you need more tension.
Pro tip: Work in shade—direct sun dries adhesive too fast during reassembly.
Swap Cracked Vinyl Straps in 30 Minutes Per Chair
Heat Straps for Precision Tensioning
- Cut straps 10% shorter than measured (e.g., 25″ becomes 22.5″).
- Punch rivet holes ½ inch from ends with a leather punch.
- Boil straps 3–4 minutes until pliable—use tongs with heat-resistant gloves.
- Stretch hot strap across frame, insert rivets, and let cool completely—the contracting vinyl self-tightens.
Warning: Skipping the boil step causes straps to loosen within days as vinyl relaxes. Never force cold straps—they’ll crack.
Repair Torn Fabric Seats and Cushions
Patch Small Rips Seamlessly
For holes under 2 inches, thread a curved upholstery needle with UV-resistant Gutermann thread. Sew a decorative whipstitch around the tear, pulling fabric taut. Hide knots inside the cushion.
Replace Entire Cushion Covers
- Remove plastic spline from frame grooves with a putty knife.
- Cut new Coolaroo shade cloth 1 inch larger than the frame on all sides.
- Fold excess fabric inward, insert new spline, and work it into the groove starting at the center.
Time-saver: Buy pre-cut replacement cushions matching your hinge-to-hinge measurements—no sewing required.
Restore Wood and Plastic Chairs
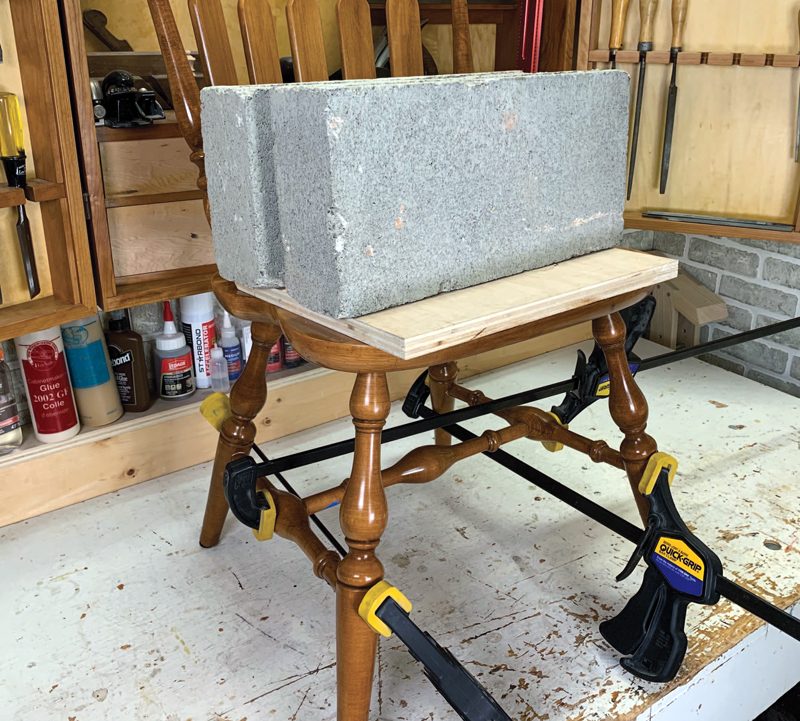
Fix Wobbly Wooden Joints
Inject waterproof wood glue into loose mortise-and-tenon joints, then clamp for 24 hours. Sand smooth, fill cracks with exterior wood filler, and seal with spar varnish—oil-based finishes peel faster outdoors.
Repair Cracked Plastic Seats
Clean fracture lines with isopropyl alcohol, then apply plastic epoxy. Clamp firmly until cured (usually 2 hours). For faded chairs, lightly sand and spray with plastic-specific paint containing adhesion promoter.
Never skip: Alcohol cleaning—oils from skin prevent epoxy bonding.
Troubleshoot Common Failures in 60 Seconds
| Symptom | Instant Fix |
|---|---|
| Wobbly legs | Tighten all bolts; replace stripped hardware with stainless steel |
| Sagging mesh | Re-tension fabric or replace rods if bent |
| Sticky vinyl straps | Replace straps; apply UV protectant spray |
| Rusty hinges | Sand, treat with converter, repaint |
| Torn cushion cover | Patch small holes; replace cover if >3 inches |
Seasonal Maintenance That Prevents Repairs
- Spring: Wash with mild soap/water; inspect bolts and straps.
- Summer: Touch up paint chips immediately to block rust.
- Fall: Store cushions indoors; cover frames with breathable tarps.
- Winter: Elevate chairs 2 inches off ground to prevent moisture wicking.
Critical step: After rain, wipe vinyl straps dry—standing water accelerates UV damage.
Know When to Call a Professional
Seek expert help for structural cracks, broken welds, or designer chairs needing factory-matched powder coating. Local repair shops charge $75–$150 per chair but save irreplaceable pieces. For standard chairs, DIY saves 80%—but don’t risk safety on compromised frames.
Realistic Cost and Time Commitment
| Repair Task | DIY Cost | Time Required |
|---|---|---|
| Rust spot fix | $10–$20 | 1–2 hours |
| Full frame repaint | $25–$40 | 4–6 hours |
| Mesh sling replacement | $30–$60 | 1–2 hours |
| Vinyl strap (per strap) | $1.50–$3 | 15–30 minutes |
| Cushion replacement | $25–$80 | 30 minutes |
Stop replacing garden chairs that just need smart repairs. With the right measurements and these targeted techniques, you’ll have sturdy, refreshed seating ready for summer in under a weekend. Grab your sandpaper now—your backyard oasis awaits.


