
Your favorite camping chair just collapsed under you for the third time this season. That familiar sinking feeling as the frame gives way or the fabric rips beneath you is all too common for outdoor enthusiasts. Most camping chair problems are surprisingly fixable with basic tools and materials you likely already own. This guide walks you through practical repair techniques that’ll save you money and keep your favorite chair in service for seasons to come.
Don’t toss that trusty companion just yet—90% of camping chair failures can be repaired for less than $20. Whether it’s a torn seat, wobbly frame, or broken leg, understanding how to repair camping chairs properly extends their life significantly. With these proven methods, you’ll gain the confidence to tackle common issues and enjoy comfortable seating on your next adventure.
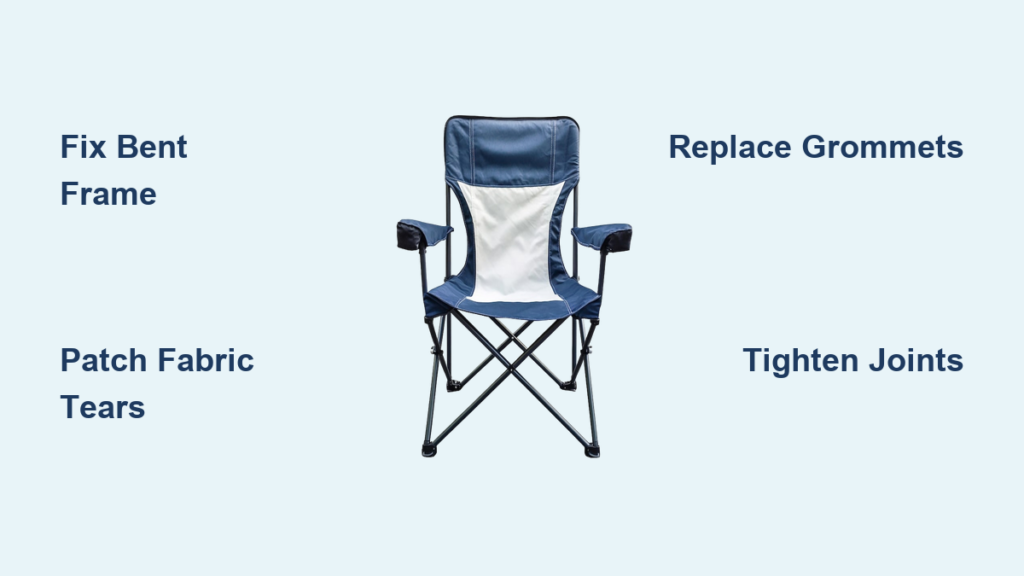
Identify Common Chair Failures Before They Worsen
Frame Damage Signs That Demand Attention
Watch for bent aluminum tubing where legs meet the ground—this happens when chairs sink into soft soil under weight. Cracked plastic joints usually appear at connection points where metal poles insert into hubs. Check for rivet failure by wiggling each joint; loose rivets create dangerous wobble that could send you tumbling.
Quick inspection routine:
– Shake chair vigorously—any clicking indicates loose connections
– Check cross-braces—disconnected braces cause sudden collapse
– Examine feet—missing or worn feet lead to frame damage
– Test locking mechanisms under partial weight before full use
Fabric Problems That Signal Immediate Repair Needed
Tearing patterns reveal stress points: seat corners rip from weight concentration, while backrest tears occur at grommet attachments. Fraying edges along seams signal imminent failure. Test fabric strength by pulling firmly—if it stretches significantly, replacement is better than repair.
Red flags requiring immediate attention:
– Grommets pulling through fabric
– Multiple tears within 2 inches
– UV-damaged fabric that tears easily when pinched
– Visible stitching unraveling at stress points
Gather Essential Repair Tools Before Starting
Basic Tool Kit for Every Camper
Keep these items in a dedicated chair repair container:
– Multi-tool with Phillips and flathead drivers
– Needle-nose pliers for small parts
– Adjustable wrench for loose bolts
– Rubber mallet for frame adjustments
– Measuring tape for accurate sizing
Pro tip: Create a mini repair kit with duct tape, paracord, and safety pins for emergency field fixes. Store it in your camping gear so it’s always available when you need how to repair camping chairs in the wild.
Specialized Materials for Permanent Fixes
Stock up on these repair supplies:
– Outdoor-rated epoxy (1500+ PSI strength)
– Marine-grade thread for fabric fixes
– Replacement grommets (3/8″ to 1/2″)
– Shock cord for collapsible designs
– Pop rivets in common sizes
Fix Frame Issues Fast With Proven Techniques
Straighten Bent Aluminum Without Causing Further Damage
Step-by-step process:
1. Remove fabric completely—this prevents stretching during repair
2. Locate bend using a straightedge or flat surface
3. Place bent section in padded vise, applying gradual pressure
4. Check alignment frequently to avoid over-correction
5. For severe bends, insert fiberglass rod inside tube for reinforcement
Warning: Never heat aluminum to bend—it weakens the metal permanently. If you’re unsure how to repair camping chairs with significant frame damage, consider professional help for structural issues.
Replace Plastic Joints Without Specialized Tools
Finding compatible parts:
– Measure tube diameter precisely with calipers
– Note connection type (push-button, twist-lock, or rivet)
– Check manufacturer websites for exact replacements
– Universal joints work for standard 3/4″ or 7/8″ tubing
Installation shortcut: Drill out old rivets, test-fit new joint, then secure with stainless steel screws for easier future maintenance. This technique has saved countless campers from replacing chairs that still have good fabric.
Repair Fabric Like a Pro With Minimal Equipment

Patch Small Tears That Keep Getting Worse
Under-2-inch tear repair:
1. Clean area with rubbing alcohol, let dry completely
2. Cut rounded repair tape (Tenacious Tape works best)
3. Apply tape to both sides, pressing firmly
4. Use iron on low setting to activate adhesive
5. Wait 24 hours before using chair
Long-lasting fix: Reinforce stress areas with additional stitching around tape edges using heavy-duty thread. This simple technique prevents small tears from becoming large problems that require how to repair camping chairs with complete fabric replacement.
Replace Missing Grommets Without Professional Tools
Step-by-step replacement:
1. Cut away damaged fabric around old grommet
2. Reinforce area with fabric patch on underside
3. Mark new grommet placement using original as guide
4. Punch clean hole using grommet tool
5. Install new grommet with setting tool
Pro tip: Add extra grommets at common failure points during replacement to prevent future issues. This small upgrade makes your chair more durable against future damage.
Emergency Field Repairs for Immediate Relief
Quick-Fix Solutions When You’re Miles From Help
Duct tape master fixes:
– Wrap torn seats with overlapping layers for immediate seating
– Create splints for cracked frame sections using sticks as backing
– Replace missing feet with tape-wrapped tennis balls
– Secure loose joints with figure-eight taping pattern
Paracord emergency uses:
– Replace broken armrests with wrapped cord handles
– Create temporary seat support by weaving through frame
– Secure wobbly legs using square lashing technique
– Craft emergency foot replacements using cord-wrapped rocks
Portable Repair Kit That Fits in Your Pocket
Essential field items:
– 10-foot duct tape (wrapped around water bottle)
– 50-foot paracord
– Safety pins for fabric tears
– Cable ties for quick connections
– Mini super glue for small fixes
– Sewing needle with heavy thread
Maintain Chairs for Maximum Longevity
Monthly Inspection Routine That Prevents Major Repairs
5-minute check list:
– Tighten all visible screws and bolts
– Check fabric for developing wear spots
– Test locking mechanisms under load
– Examine feet for wear or damage
– Look for hairline cracks in plastic joints
Pro maintenance schedule:
– Monthly during camping season: Quick inspection
– Season change: Deep clean and lubricate
– Pre-season: Full safety check and touch-ups
Off-Season Storage That Preserves Your Investment
Proper storage protocol:
1. Clean chair thoroughly with mild detergent
2. Dry completely to prevent mildew
3. Disassemble if possible to reduce stress
4. Store in breathable bag (canvas, not plastic)
5. Avoid temperature extremes and high humidity
When to Replace vs. Repair Your Camping Chair

Replacement Indicators That Mean It’s Time to Move On
Safety red lines:
– Frame cracks at multiple locations
– Fabric failure over 50% of surface
– Missing critical structural components
– Repair costs exceed 50% of replacement price
– Chair fails stability test after repairs
Cost Analysis That Makes Repair Decisions Easy
Typical repair investments:
– Simple tear fix: $3-8 in materials
– Grommet replacement: $10-15
– New fabric: $20-40
– Frame welding: $25-50
– Professional service: $30-60
Decision matrix: Repair chairs originally costing $75+ unless damage is extensive. Cheaper chairs often make better parts donors. Knowing how to repair camping chairs properly helps you maximize value from quality outdoor gear.
Final Safety Check Before Trusting Your Repairs
Load Testing Protocol That Prevents Accidents
Before trusting repairs:
1. Set chair on level ground
2. Apply 25% body weight gradually
3. Check all joints for movement or creaking
4. Test fabric attachment points
5. Inspect for any new stress points
Field test: Use chair near vehicle or shelter first few times after major repairs to verify safety in controlled environment. Never fully trust a repaired chair on your first solo trip into remote areas.
Your camping chair can provide years of additional service with these repair techniques. Start with simple fixes like fabric patches and loose screw tightening, then progress to more complex repairs as your skills improve. Keep that favorite chair going strong—your future camping self will thank you when you’re relaxing comfortably around the campfire while others struggle with new, uncomfortable seats. Learning how to repair camping chairs properly transforms you from a consumer into a true outdoor problem-solver.


