

How to Reinforce Dining Room Chairs – 2025
Are your dining room chairs showing signs of wear and tear? Perhaps they’re wobbly, creaky, or even broken? Don’t worry, reinforcing your dining room chairs is a straightforward process that can breathe new life into your furniture. In this comprehensive guide, we’ll walk you through the steps to stabilize and strengthen your chairs, ensuring they remain safe and comfortable for years to come.
Reinforcing your dining room chairs can be a quick fix, and we’ll show you how to do it efficiently. By the end of this article, you’ll have the knowledge and confidence to tackle this project and enjoy your newly reinforced chairs.
Common Causes of Weak Dining Room Chairs
Before we dive into the reinforcement process, it’s essential to understand the common causes of weak dining room chairs. These include:
- Loose joints: Over time, the joints between the chair’s legs, seat, and back can loosen, causing the chair to become unstable.
- Worn-out glue: The glue used to assemble the chair can deteriorate, leading to a weak bond between the various components.
- Damaged or rotten wood: If the chair is made of wood, damage or rot can compromise its structural integrity.
- Poor construction: Some chairs may have been constructed with inferior materials or techniques, making them more prone to weakening over time.
Materials and Tools Needed

To reinforce your dining room chairs, you’ll need the following materials and tools:
| Item | Quantity | Specifications |
|---|---|---|
| Wood glue | 1 bottle | High-strength, water-resistant |
| Clamps | 2-3 | Bar clamps or C-clamps |
| Wood filler | 1 container | Matching the chair’s wood type |
| Sandpaper | 1 sheet | Medium-grit |
| Paint or stain | 1 can | Matching the chair’s original finish |
| Screws | 1 pack | 1-2 inches, depending on the chair’s design |
| Wood screws | 1 pack | 1-2 inches, depending on the chair’s design |
| Drill | 1 | Cordless or corded |
| Drill bits | 1 set | Including screwdriver and drill bits |
Step-by-Step Reinforcement Process
Phase 1: Disassembly and Inspection
- Remove the seat and back: Take out the screws or nails holding the seat and back in place. Gently lift them off, taking care not to damage the surrounding wood.
- Inspect the joints: Examine the joints between the legs, seat, and back for any signs of looseness or damage.
- Clean the area: Use a soft brush or cloth to remove any debris or dirt from the joints and surrounding areas.
Phase 2: Repairing Loose Joints
- Apply wood glue: Use a high-strength wood glue to reattach any loose joints. Apply a small amount to the affected area and clamp it in place.
- Use clamps: Apply even pressure to the joint using bar clamps or C-clamps. Let the glue dry according to the manufacturer’s instructions.
- Add screws: Once the glue is dry, use screws to reinforce the joint. Drill pilot holes and screw in the screws, making sure not to overtighten.
Phase 3: Rebuilding Damaged or Rotten Wood
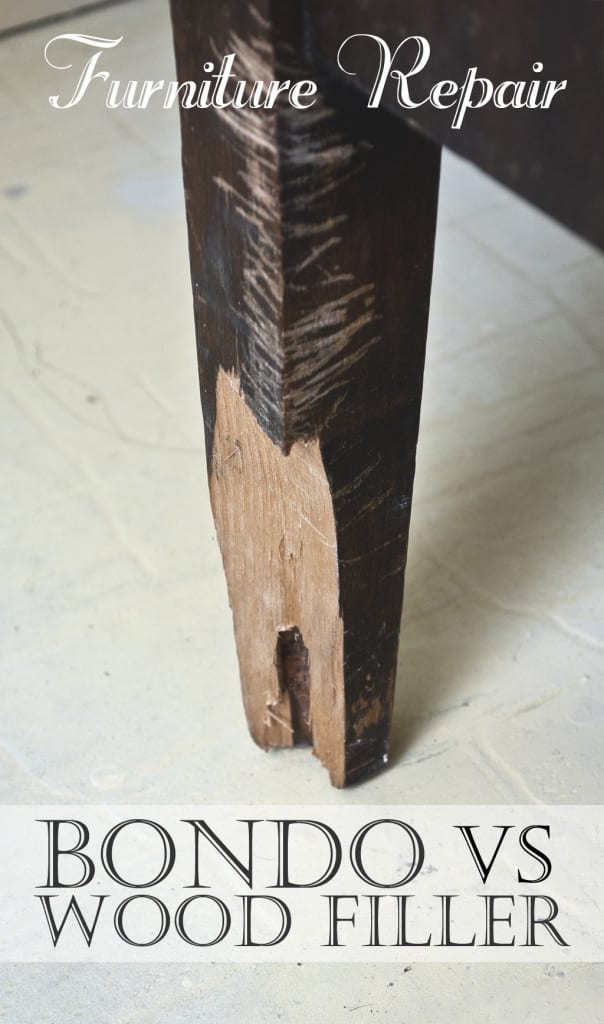
- Assess the damage: Evaluate the extent of the damage or rot. If it’s minor, you can repair it with wood filler. For more extensive damage, you may need to replace the affected piece.
- Apply wood filler: Use a wood filler matching the chair’s wood type to fill in any holes or gaps. Let it dry according to the manufacturer’s instructions.
- Sand the area: Use medium-grit sandpaper to smooth out the filled area, feathering it out to blend with the surrounding wood.
Phase 4: Reassembly and Touch-ups
- Reattach the seat and back: Use screws or nails to reattach the seat and back, making sure they’re securely in place.
- Touch up the finish: Apply paint or stain to match the chair’s original finish, covering any areas where the repair may have affected the color or texture.
Pro Tips

- Use high-quality materials: Invest in high-strength wood glue, sturdy screws, and durable wood filler to ensure a long-lasting repair.
- Work in a well-ventilated area: When using wood glue, paint, or stain, make sure you’re in a well-ventilated area to avoid inhaling fumes.
- Test the chair: Before putting the chair back into use, test it to ensure it’s stable and secure.
- Consider professional help: If you’re not comfortable with the repair or if the damage is extensive, consider consulting a professional furniture restorer.
Frequently Asked Questions
Q: How long does it take to reinforce a dining room chair?
A: The time it takes to reinforce a dining room chair depends on the extent of the damage and the complexity of the repair. On average, it can take anywhere from 30 minutes to several hours.
Q: Can I use any type of glue for the repair?
A: No, it’s essential to use a high-strength wood glue specifically designed for furniture repair. Other types of glue may not provide a strong enough bond.
Q: How do I prevent my dining room chairs from weakening in the future?
A: Regular maintenance, such as tightening loose joints and inspecting for damage, can help prevent your dining room chairs from weakening over time.
Get Your Dining Room Chairs Reinforced Today
By following these steps and tips, you’ll be able to reinforce your dining room chairs and enjoy them for years to come. Remember to work patiently and carefully, and don’t hesitate to seek professional help if needed. With a little effort, you can restore your chairs to their former glory and create a comfortable and inviting dining space for you and your loved ones.
Have you successfully reinforced your dining room chairs? Share your experience in the comments below to help other readers!


