
Are you tired of looking at your old, worn-out plastic chairs? Don’t throw them away just yet! With a few simple steps, you can refurbish them to look like new again. In this comprehensive guide, we’ll walk you through the process of refurbishing plastic chairs, from preparation to finishing touches.
Introduction to Refurbishing Plastic Chairs
Refurbishing plastic chairs is a cost-effective and environmentally friendly way to give new life to old furniture. Not only will you save money by not having to buy new chairs, but you’ll also reduce waste and help conserve natural resources. Whether you’re looking to update your outdoor patio set or give your indoor furniture a fresh new look, refurbishing plastic chairs is a great DIY project that can be completed with minimal tools and expertise.
Common Issues with Plastic Chairs
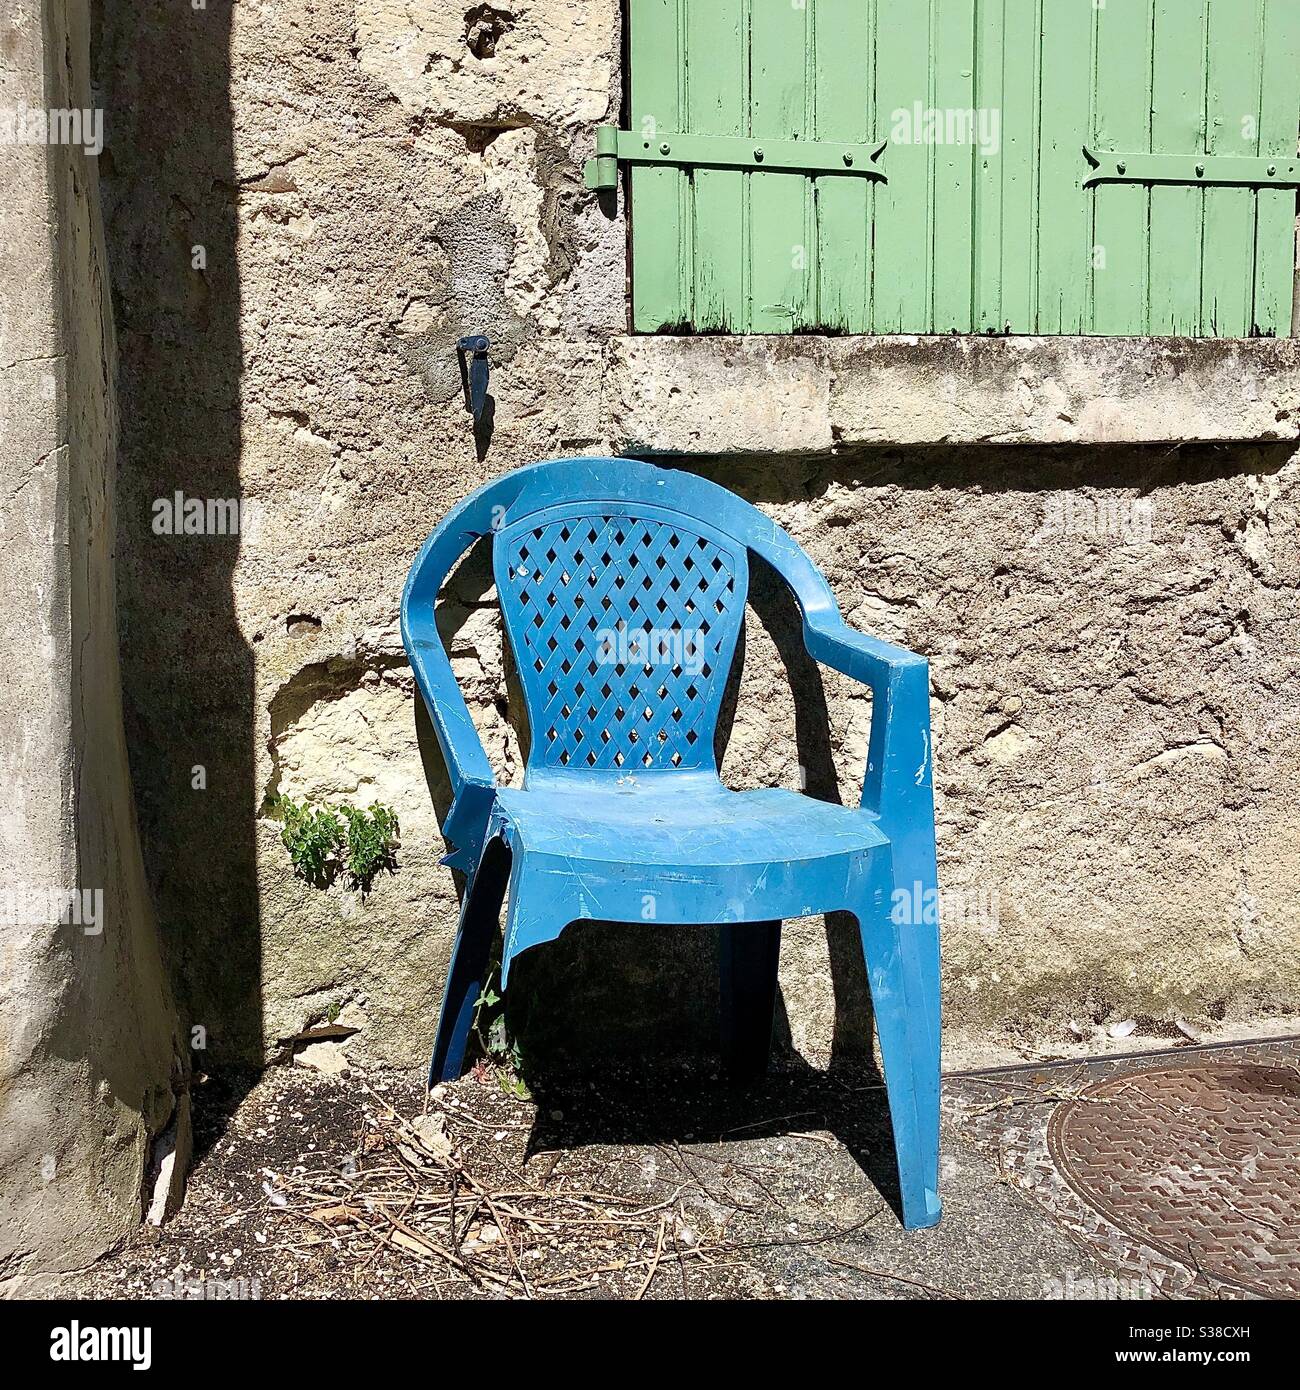
Before we dive into the refurbishing process, let’s take a look at some common issues that can affect plastic chairs:
- Faded or discolored surfaces
- Cracks or breaks in the plastic
- Loose or broken joints
- Dirty or stained surfaces
Materials Needed for Refurbishment

To refurbish your plastic chairs, you’ll need the following materials:
| Item | Quantity | Specifications |
|---|---|---|
| Plastic cleaner | 1 bottle | Gentle, non-abrasive formula |
| Soft-bristled brush | 1 | For cleaning crevices and tight spaces |
| Sandpaper | 1 sheet | Medium-grit, for smoothing out rough surfaces |
| Plastic primer | 1 can | Specifically designed for plastics |
| Paint or dye | 1 can | Choose a color that matches your desired finish |
| Clear coat | 1 can | To protect the finish and add shine |
| Drop cloths or old sheets | 2-3 | For protecting surfaces from paint and stain |
| Masking tape | 1 roll | For creating sharp edges and lines |
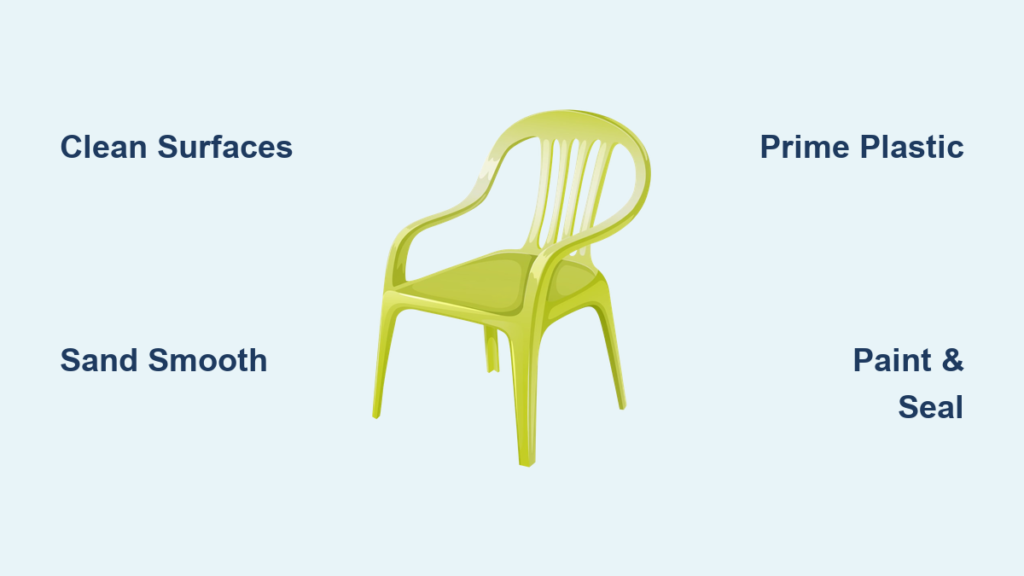
Step-by-Step Refurbishment Process
Step 1: Clean the Chairs
Begin by thoroughly cleaning the chairs with a gentle plastic cleaner and a soft-bristled brush. This will remove any dirt, grime, or debris that may be accumulated on the surface.
Step 2: Sand the Surfaces
Use medium-grit sandpaper to smooth out any rough surfaces or scratches. This will help create a smooth finish and ensure better paint adhesion.
Step 3: Prime the Chairs
Apply a plastic primer to the chairs, making sure to cover all surfaces evenly. This will help the paint or dye adhere to the plastic and create a uniform finish.
Step 4: Paint or Dye the Chairs
Once the primer is dry, apply your chosen paint or dye to the chairs. Make sure to follow the manufacturer’s instructions for application and drying times.
Step 5: Apply a Clear Coat
To protect the finish and add shine, apply a clear coat to the chairs. This will help seal in the color and prevent fading or chipping.
Tips and Variations

- To add a unique touch to your refurbished chairs, consider adding decorative trim or decals.
- For a more durable finish, apply multiple coats of paint or dye, allowing each coat to dry completely before applying the next.
- To refurbish chairs with complex designs or intricate details, use a small brush to paint or dye individual components.
Prevention and Maintenance
To keep your refurbished chairs looking their best, make sure to:
- Clean them regularly with a gentle plastic cleaner
- Avoid exposing them to extreme temperatures or weather conditions
- Store them in a dry, protected area when not in use
Pro Tips
- To remove stubborn stains or scratches, use a mixture of baking soda and water to create a paste. Apply the paste to the affected area and let it sit for 30 minutes before rinsing and drying.
- To add a glossy finish to your refurbished chairs, apply a clear coat of polyurethane or varnish.
- To refurbish chairs with broken or loose joints, use a strong adhesive or epoxy to repair the damage.
FAQ
Q: Can I refurbish plastic chairs with cracks or breaks?
A: Yes, but it may require additional materials and expertise. For minor cracks, you can use a plastic adhesive or epoxy to repair the damage. For more extensive damage, it may be best to replace the chair entirely.
Q: How long does the refurbishment process take?
A: The refurbishment process can take anywhere from a few hours to several days, depending on the complexity of the project and the number of chairs being refurbished.
Q: Can I use regular paint on plastic chairs?
A: No, regular paint is not suitable for plastic chairs. You’ll need to use a specialized plastic paint or dye that is specifically designed for use on plastics.
Alternative Solutions
If you’re not comfortable with the refurbishment process or if your chairs are beyond repair, consider the following alternative solutions:
| Solution | Pros | Cons | Best For |
|---|---|---|---|
| Replacement | Easy, convenient | Expensive, wasteful | Those who want a quick fix |
| Upcycling | Creative, eco-friendly | Time-consuming, limited options | Crafty individuals who enjoy DIY projects |
| Donation | Easy, charitable | Limited options, may not be accepted | Those who want to give back to their community |
Get Your Plastic Chairs Refurbished Today
With these simple steps and tips, you can give new life to your old plastic chairs. Remember to always follow safety precautions and use protective gear when working with chemicals and power tools. Don’t be afraid to get creative and add your own personal touch to your refurbished chairs. Happy refurbishing!
Have you refurbished your plastic chairs? Share your experience and tips in the comments below!


