
Are you tired of looking at your old, worn-out wooden chairs and wishing you could give them a fresh new look? Refinishing wooden chairs can be a rewarding DIY project that not only saves you money but also allows you to customize the finish to your liking. In this comprehensive guide, we’ll walk you through the step-by-step process of refinishing wooden chairs, from preparation to the final coat of finish.
Introduction to Refinishing Wooden Chairs
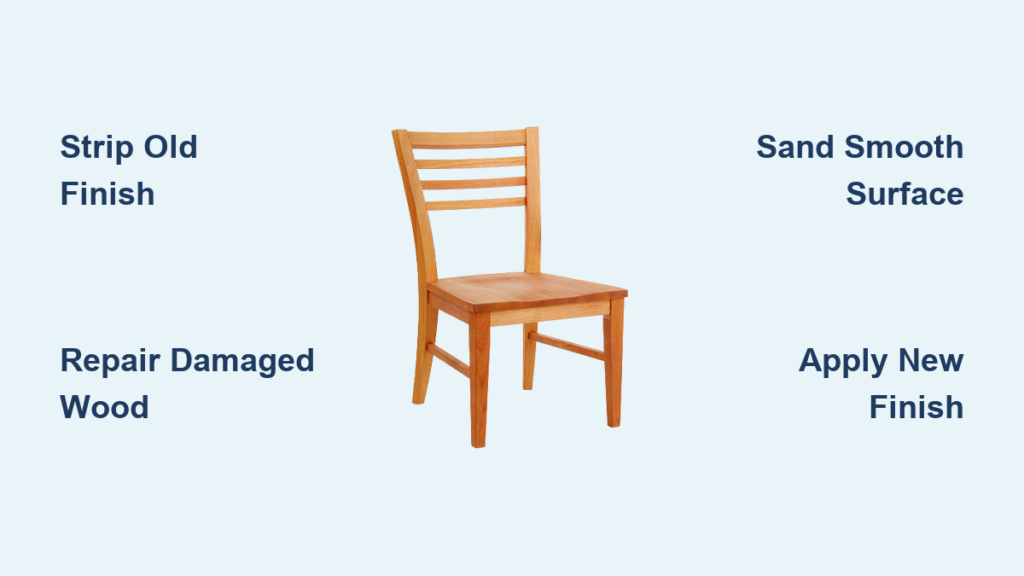
Refinishing wooden chairs is a multi-step process that requires patience, attention to detail, and the right tools. Before you begin, it’s essential to assess the condition of your chairs and determine the best approach for refinishing them. If your chairs have a thick, old finish or are severely damaged, you may need to take extra steps to prepare them for refinishing. In this article, we’ll cover the basics of refinishing wooden chairs, including how to strip old finishes, repair damaged wood, and apply a new finish.
Common Causes of Damage to Wooden Chairs
Before we dive into the refinishing process, let’s take a look at some common causes of damage to wooden chairs:
* Scratches and dents: These can be caused by everyday wear and tear, accidents, or poor handling.
* Fading and discoloration: Exposure to sunlight, moisture, or extreme temperatures can cause the finish to fade or discolor.
* Water damage: Spills, leaks, or high humidity can cause water damage, warping, or rot.
* Insect infestation: Termites, carpenter ants, or other insects can damage the wood, especially if it’s not properly sealed.
Preparing Your Wooden Chairs for Refinishing

To refinish your wooden chairs, you’ll need to start by preparing them for the process. This includes:
Removing Old Finishes
You’ll need to strip the old finish from your chairs using a chemical stripper or sandpaper. This will help you remove any dirt, grime, or old finish that may be interfering with the new finish.
Repairing Damaged Wood
If your chairs have any damaged or rotten wood, you’ll need to repair or replace it before refinishing. This may involve filling holes or cracks with wood filler, replacing broken joints, or reinforcing loose legs.
Cleaning and Sanding
Once you’ve removed the old finish and repaired any damaged wood, you’ll need to clean and sand your chairs to create a smooth surface for the new finish.
Step-by-Step Refinishing Process
Now that your chairs are prepared, it’s time to start the refinishing process. Here’s a step-by-step guide:
Step 1: Apply a Wood Conditioner (Optional)
If your chairs have dry or damaged wood, you may want to apply a wood conditioner to help restore the wood’s natural moisture balance.
Step 2: Stain the Wood (Optional)
If you want to change the color of your chairs, now is the time to apply a stain. Make sure to choose a stain that’s compatible with your wood type and desired finish.
Step 3: Apply a Primer (Optional)
If you’re using a light-colored finish or want to ensure better adhesion, apply a primer to your chairs.
Step 4: Apply the Finish
Once you’ve completed the previous steps, it’s time to apply the finish. You can choose from a variety of finishes, including polyurethane, varnish, or wax. Apply the finish according to the manufacturer’s instructions, typically in thin coats, allowing each coat to dry before applying the next one.
Step 5: Apply Additional Coats and Finish with a Topcoat
Depending on the finish you’ve chosen, you may need to apply multiple coats. Once you’ve achieved the desired color and sheen, apply a topcoat to protect the finish and give it a glossy appearance.
Tips and Tricks for Refinishing Wooden Chairs
Here are some tips and tricks to keep in mind when refinishing your wooden chairs:
* Work in a well-ventilated area: When working with chemicals or sanding, make sure to work in a well-ventilated area to avoid inhaling dust or fumes.
* Use the right tools: Invest in good-quality tools, such as sandpaper, brushes, and a paintbrush, to ensure a smooth and even finish.
* Test the finish: Before applying the finish to the entire chair, test it on a small, inconspicuous area to ensure it doesn’t affect the wood or cause any unwanted color changes.
* Apply thin coats: Apply thin coats of finish, allowing each coat to dry before applying the next one, to avoid drips and unevenness.
Preventing Future Damage to Your Refinished Wooden Chairs
To keep your refinished wooden chairs looking their best, make sure to:
* Avoid exposure to direct sunlight: Direct sunlight can cause the finish to fade or discolor over time.
* Keep them clean and dry: Regularly clean your chairs with a soft cloth and avoid exposing them to moisture or extreme temperatures.
* Avoid using harsh chemicals: Avoid using harsh chemicals or abrasive cleaners, as they can damage the finish or the wood.
Common Mistakes to Avoid When Refinishing Wooden Chairs
Here are some common mistakes to avoid when refinishing your wooden chairs:
* Not preparing the surface properly: Failing to remove old finishes, repair damaged wood, or clean and sand the surface can lead to a poor finish.
* Applying too much finish: Applying too much finish can lead to drips, unevenness, and a sticky surface.
* Not following the manufacturer’s instructions: Failing to follow the manufacturer’s instructions for the finish or other products can lead to poor results or damage to the wood.
FAQ
Q: What type of finish is best for wooden chairs?
A: The best type of finish for wooden chairs depends on the type of wood, the desired color and sheen, and the level of protection needed. Popular finishes include polyurethane, varnish, and wax.
Q: How long does it take to refinish a wooden chair?
A: The time it takes to refinish a wooden chair depends on the complexity of the project, the number of coats required, and the drying time between coats. On average, it can take several days to a week to complete the refinishing process.
Q: Can I refinish a wooden chair without stripping the old finish?
A: While it’s possible to refinish a wooden chair without stripping the old finish, it’s not recommended. Stripping the old finish ensures a smooth, even surface and helps the new finish adhere properly.
Conclusion
Refinishing wooden chairs can be a fun and rewarding DIY project that gives new life to old, worn-out furniture. By following the steps outlined in this guide, you can achieve a professional-looking finish and enjoy your refinished chairs for years to come. Remember to work patiently, follow the manufacturer’s instructions, and take necessary safety precautions to ensure a successful refinishing project.
Have you refinished a wooden chair before? Share your experience and tips in the comments below!


