
Are you tired of looking at your faded and worn-out vinyl patio chairs? Don’t throw them away just yet! With a fresh coat of paint, you can give them a brand new look and extend their lifespan. In this comprehensive guide, we’ll walk you through the step-by-step process of painting vinyl patio chairs, including preparation, painting, and sealing.
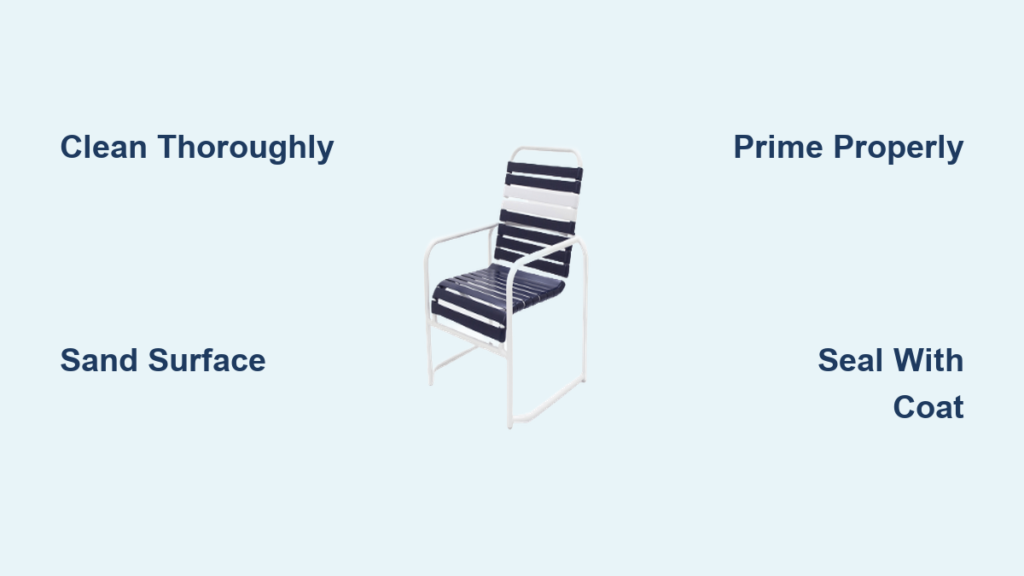
Preparation is Key
Before you start painting, it’s essential to prepare your vinyl patio chairs properly. This includes cleaning, sanding, and priming the surface. Here’s a breakdown of the preparation process:
Cleaning the Chairs
- Mix a solution of mild soap and warm water, and use a soft-bristled brush to scrub away any dirt, grime, or mildew.
- Rinse the chairs thoroughly with a hose, and let them dry completely.
- Use a mixture of equal parts water and white vinegar to remove any stubborn stains or discoloration.
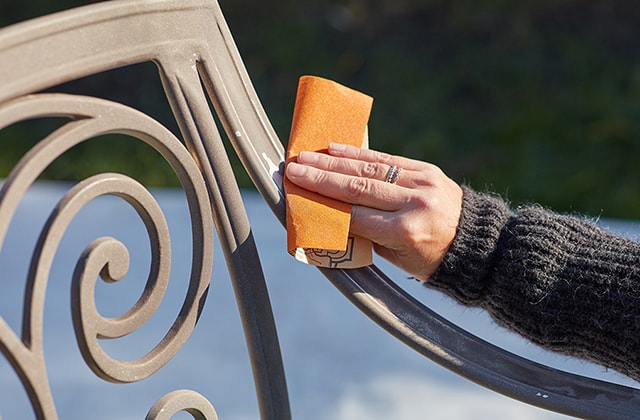
Sanding the Surface
- Use a fine-grit sandpaper to lightly sand the entire surface of the chairs, including the frames and cushions.
- This will help roughen up the surface, allowing the paint to adhere better.
- Wipe away any dust or debris with a tack cloth.
Priming the Surface
- Apply a high-quality primer specifically designed for vinyl surfaces.
- Use a roller or brush to apply the primer, working in thin, even coats.
- Allow the primer to dry completely according to the manufacturer’s instructions.
Painting the Chairs
Now that your chairs are prepped and primed, it’s time to paint! Here’s a step-by-step guide on how to paint your vinyl patio chairs:
Choosing the Right Paint
- Select a high-quality, exterior-grade paint specifically designed for vinyl surfaces.
- Consider using a paint with a built-in primer to save time and effort.
- Choose a color that complements your outdoor decor and furniture.
Applying the Paint
- Use a roller or brush to apply the paint, working in thin, even coats.
- Start with the frames and work your way down to the cushions.
- Allow each coat to dry completely according to the manufacturer’s instructions.
- Apply multiple coats as needed to achieve the desired color and finish.
Sealing the Deal

Once you’ve completed the painting process, it’s essential to seal the deal with a clear coat of sealant. This will protect the paint from fading, cracking, or peeling due to exposure to the elements.
Applying a Clear Coat
- Use a high-quality, exterior-grade clear coat specifically designed for vinyl surfaces.
- Apply the clear coat using a roller or brush, working in thin, even coats.
- Allow the clear coat to dry completely according to the manufacturer’s instructions.
Tips and Tricks
Here are some additional tips and tricks to keep in mind when painting your vinyl patio chairs:
- Always follow the manufacturer’s instructions for the specific paint and primer you’re using.
- Use a drop cloth or old sheets to protect your work surface and surrounding areas.
- Apply paint in a well-ventilated area, and avoid painting in direct sunlight or extreme temperatures.
- Consider using a paint with a built-in UV protector to help prevent fading and discoloration.
Maintenance and Upkeep

To keep your newly painted vinyl patio chairs looking their best, follow these maintenance and upkeep tips:
- Clean the chairs regularly with a mild soap and water solution.
- Avoid using harsh chemicals or abrasive cleaners, as they can damage the paint and vinyl surface.
- Apply a fresh coat of clear sealant every 6-12 months to maintain the protective barrier.
Conclusion
Give Your Vinyl Patio Chairs a Fresh New Look
With these simple steps, you can give your vinyl patio chairs a brand new look and extend their lifespan. Remember to always follow the manufacturer’s instructions, and take necessary safety precautions when painting. By following this guide, you’ll be able to enjoy your newly painted vinyl patio chairs for years to come.
Have you successfully painted your vinyl patio chairs? Share your experience in the comments below to help other readers!


