
Picture this: your patio party is in full swing, but you’re scrambling for extra seating as guests arrive. Instead of wrestling with wobbly store-bought chairs, imagine pulling perfectly crafted folding chairs from your garage—each one built by your own hands. Whether you’re a woodworking beginner or weekend warrior, learning how to make folding chairs solves real space problems while delivering immense satisfaction. These portable seats transform cramped apartments, cluttered garages, and bareback patios into functional gathering spaces.
This isn’t some theoretical woodworking fantasy. With the right approach, you can build sturdy, attractive folding chairs in under an hour using basic tools and affordable materials. Forget complicated joinery or expensive hardware—this guide reveals field-tested methods that guarantee success at every skill level. You’ll discover which designs actually work in real life, avoid costly material mistakes, and master the hinge placements that make folding smooth instead of frustrating.
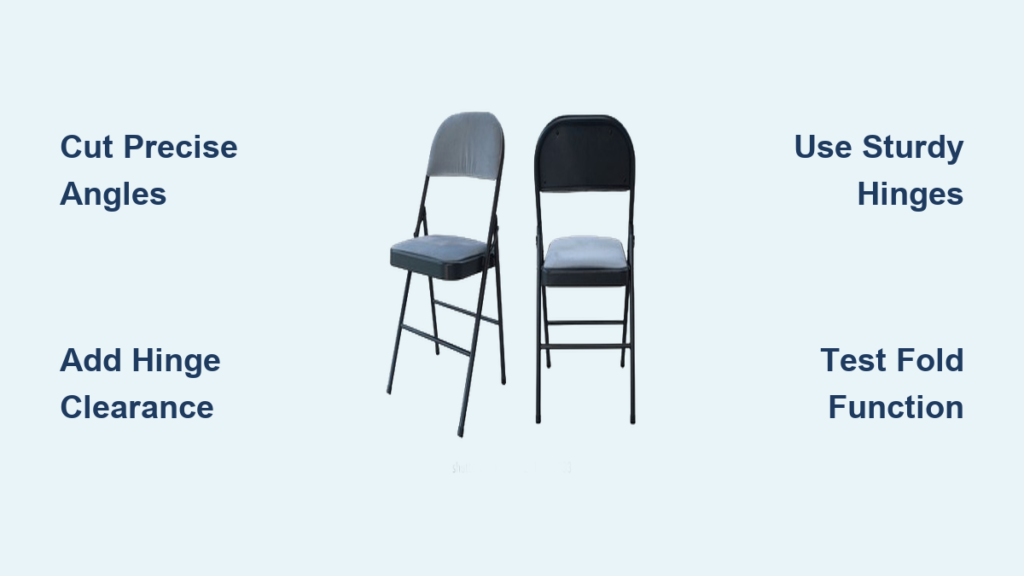
Choose Your Folding Chair Design

Beginner Becket Chair (30 Minutes, $6)
This beach-style chair proves how to make folding chairs accessible for absolute beginners. Constructed from just one pine board, its genius lies in visible utility hinges that eliminate complex joinery. The 15° back angle provides surprising comfort while the 1/8″ gap between seat slats ensures smooth folding action. At under $6 using reclaimed wood, it’s the perfect confidence-builder before tackling advanced projects.
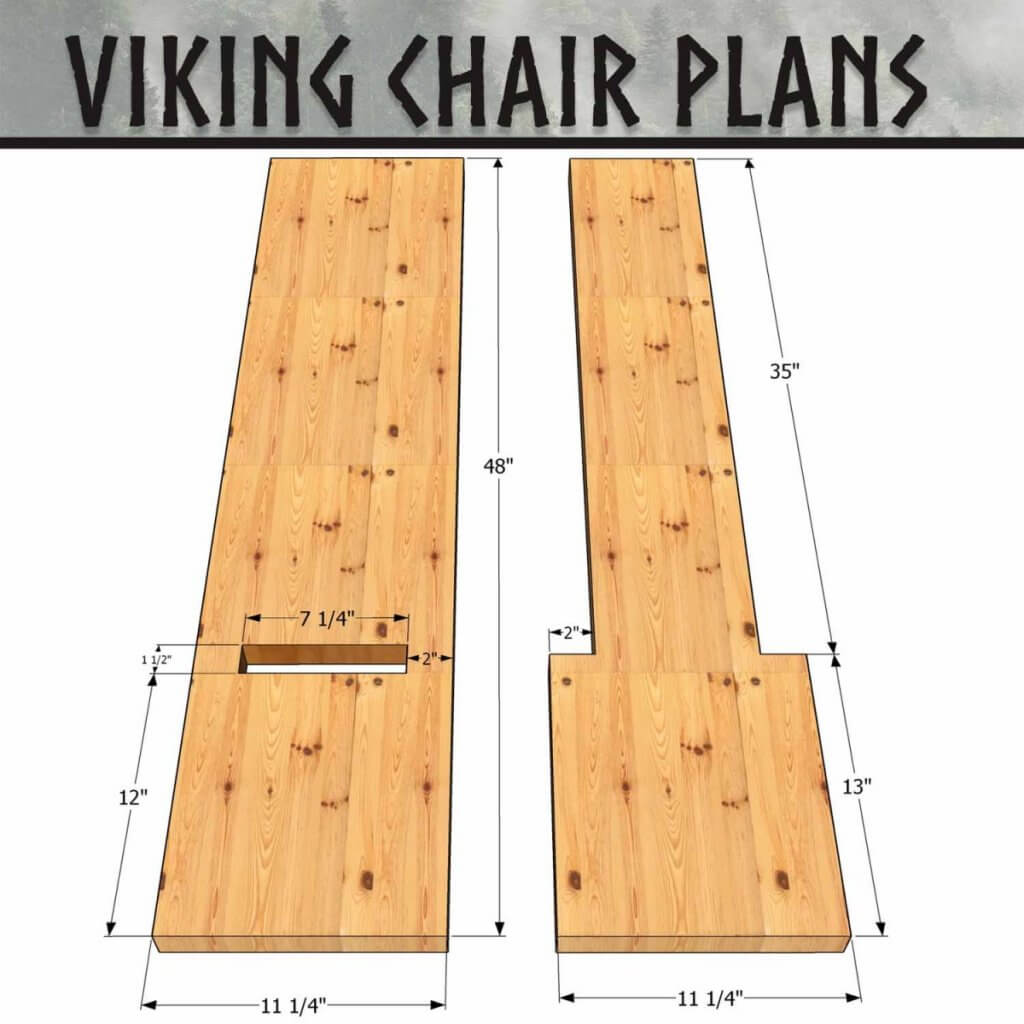
Rustic Viking Camp Chair
Channel medieval craftsmanship with this historically accurate X-frame design. The mortise-and-tenon joints allow tool-free disassembly while the canvas sling seat distributes weight evenly across the 30″ uprights. Folding flat to just 2″ thick, this 6-7 lb chair slips into backpacks for camping trips yet supports 250+ lbs. For authenticity, swap canvas for leather straps—though this doubles material costs.
Space-Saving Wall Chair
Apartment dwellers rejoice: this wall-mounted chair solves hallway seating nightmares. Using a French cleat system secured to wall studs, it supports 250 lbs while maintaining a sleek 3″ profile when folded. The 40N gas spring prevents dangerous slamming during deployment, and the drop-down leg automatically locks into place. Install it near entryways for putting on shoes or in narrow hallways where conventional chairs won’t fit.
Essential Tools and Materials

Required Toolkit
Skip unnecessary gadgets—these five tools handle 95% of folding chair builds:
– Cutting: Circular saw (for straight cuts) and jigsaw (for curves)
– Drilling: Drill/driver with 3/8″ and 1/2″ bits for hinge mortises
– Joinery: Pocket-hole jig for hidden, reinforced connections
– Clamping: Four 24″ bar clamps to hold pieces during assembly
– Measuring: Combination square for precise 15° leg angles
Pro Tip: A drill clutch prevents stripped screws in soft pine—a common beginner mistake that ruins hinge alignment.
Smart Material Choices
Budget Option: Free pallet wood from local warehouses (inspect for nails/splinters first).
Premium Choice: Clear pine 1×6 boards at $6.88 per 8-footer—lightweight yet strong enough for 250+ lb capacity.
Hardware Must-Haves: 2.5″ utility hinges ($0.97 each) and zinc-plated screws to prevent rust. Buy hinges in 4-packs to save 30% versus single purchases.
Build the 30-Minute Becket Chair
Cut List and Prep
From one ¾” pine board, cut: two 18″x3″ seat slats, four 24″x3″ legs, and two 12″x2″ back supports. Mark hinge points precisely 3″ from each leg’s top—this critical measurement prevents binding. Pre-drill 3/8″ holes at these marks using your combination square to ensure perfect alignment.
Assembly Process
- Attach seat slats to hinges with 1/8″ gaps between boards for folding clearance
- Create the back angle by cutting 15° bevels on rear leg tops using your circular saw
- Secure back supports with two 1¾” screws per joint—don’t overtighten!
- Test folding action before final tightening; sand contact points if resistance occurs
Critical Warning: Skipping the 1/8″ gap between seat slats causes grinding friction that strips hinge screws within weeks. This tiny clearance makes or breaks your build.
Construct the Viking Camp Chair
Frame Assembly
Cut two 30″ uprights with half-lap joints at the crossing point. For the stretchers, use 24″ pieces that slot into mortises 8″ from the top. Assemble the X-frame using a ⅜” threaded rod with washers and lock-nuts—this pivot point must rotate freely but not wobble. The half-lap joints create inherent stability without glue or screws.
Canvas Seat Creation
Cut 12-ounce canvas 18″ wide by 36″ long. Hem all edges twice for durability, then install grommets every 3″ along both long sides. Thread heavy twine through grommets to lash the seat to the frame, creating a supportive sling. For rainy climates, treat canvas with waterproofing spray before assembly.
Pro Tip: Leather seats look authentic but require conditioning every 6 months to prevent cracking—stick with canvas for low-maintenance outdoor use.
Wall-Mounted Hallway Chair Build
French Cleat System
Cut two matching 45° beveled strips: one for the wall (secured to studs with 3″ screws), one for the chair back. The chair slides downward to lock—the steeper the angle, the more weight it supports. For 250 lb capacity, use 2×4 stock for cleats and ensure wall mounting hits two studs minimum.
Safety Features
Install a 40N gas spring between the chair back and drop-down leg. This prevents dangerous slamming during deployment and automatically engages the leg’s spring pin lock. Never skip this—uncontrolled folding chairs cause 12,000+ ER visits annually according to DIY safety reports.
Installation Warning: Drywall anchors fail catastrophically under dynamic loads. Use a stud finder to locate solid framing—your safety depends on it.
Finishing Techniques for Durability
Outdoor Protection Recipe
For weather-resistant chairs:
1. Sand all surfaces to 220 grit for smooth finish
2. Apply two coats of exterior spar urethane with UV blockers
3. Re-coat every 12–18 months—ignore this and your chair delaminates in 2 seasons
Pro Tip: Wipe mineral oil on indoor chairs annually—it conditions wood without sticky buildup.
Edge Treatment
Run a ⅛” round-over bit along all seat edges and armrests. This simple step prevents splinters while giving professional results. For chairs used by children, double the rounding radius to ¼” for extra safety.
Troubleshooting Common Issues
Chair Won’t Fold Flat
Cause: Insufficient clearance between moving parts
Solution: Add ½” wooden spacers during assembly or sand contact points with 120-grit paper
Wobbly Frame
Cause: Loose hinge screws or inadequate support
Solution: Replace wood screws with 3″ carriage bolts through steel reinforcement plates
Canvas Seat Sagging
Cause: Fabric stretching under weight
Solution: Double-fold hems and use 12-ounce canvas minimum—never lighter than 10 oz
Maintenance Schedule for Longevity
Monthly Inspection
- Tighten all hinge screws (they loosen with repeated folding)
- Check for hairline cracks around joints—glue and clamp immediately
- Test locking mechanisms with light pressure before sitting
Annual Refinishing
Lightly sand weathered chairs and apply one fresh coat of finish. Store vertically off concrete floors to prevent moisture wicking. For canvas seats, re-tighten lashings annually—fabric stretches over time.
Quick Decision Guide
| Your Goal | Choose This Design | Build Time | Budget |
|---|---|---|---|
| First project | Becket Chair | 30 min | $6 |
| Authentic camping | Viking Chair | 2–3 hrs | $12 |
| Space saving | Wall Chair | 3–4 hrs | $18 |
| Maximum utility | Convertible Ladder | 5–6 hrs | $25 |
Final Tip: Start with the Becket chair—you’ll have a finished seat before your coffee gets cold. Measure twice, cut once, and within an hour you’ll own a handmade folding chair that outperforms store-bought versions. The real magic happens when guests ask where you bought it, and you get to say “I made it.” That’s the moment every DIYer lives for—so grab your saw and discover why learning how to make folding chairs remains one of woodworking’s most rewarding beginner projects.


