
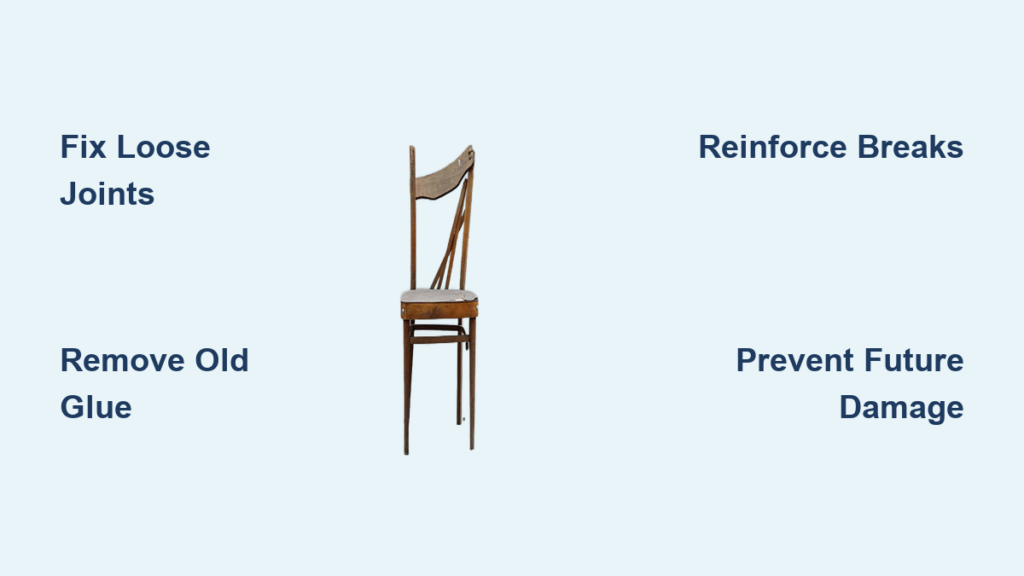
That creaky dining chair your grandmother passed down? The one where spindles wiggle with every sit-down? You’re not alone—nearly 90% of vintage wooden chairs develop loose joints within 20 years of regular use. The good news? With the right approach, you can restore them to rock-solid condition in a weekend without professional help. This guide reveals proven techniques used by furniture restorers to diagnose issues, make invisible repairs, and prevent future failures. Whether you’re working on a family heirloom or a thrift-store find, these methods will save you hundreds compared to professional restoration costs.
Diagnose Loose Joints Before Repairing
Start by identifying exactly what’s failing in your chair. Sit down and gently rock side-to-side—any movement indicates loose joints. Next, flip the chair upside down and systematically check each connection point. This critical first step determines whether your repair will last or fail within months.
Spot Problem Joints in 60 Seconds
Test each joint methodically:
– Push/pull spindles and rungs with moderate pressure (any movement over 1/16″ needs fixing)
– Wiggle legs at the seat joint (front legs often fail first)
– Check back rails where they meet the seat frame (common stress point)
– Inspect arm connections if your chair has them (frequent failure zone)
Mark problem areas with painter’s tape—loose joints will worsen with each use. Ignoring even slight wiggles leads to catastrophic failure within 6-12 months as wood fibers fatigue.
Identify Your Chair’s Joint Type Correctly
Understanding construction determines your repair approach:
– Mortise-and-tenon joints show square or rectangular holes with matching wooden pegs (common in antiques)
– Doweled joints use round wooden pegs visible from both sides (post-1950s factory chairs)
– Hidden brackets appear as small screws on the underside (avoid metal reinforcements on valuable antiques)
Disassemble Without Damaging Vintage Wood
Most chair repairs require taking the piece apart. This critical step determines whether your restoration succeeds or creates new problems. Never skip this—even “minor” repairs often fail without complete disassembly.
Soften Old Glue Without Harming Finish
Different adhesives need specific approaches:
– Hide glue (pre-1960s): Apply low heat with a hair dryer while gently tapping joints apart (hide glue softens at 140°F)
– PVA glue (yellow carpenter’s glue): Scrape mechanically—no solvents work
– Epoxy: Drill 1/8″ hole and inject acetone with a syringe, wait 24-48 hours
Pro tip: Number each part with pencil before removal—chairs often have subtle variations that matter during reassembly. Photograph hardware placements.
Separate Stuck Joints Safely
Use a rubber mallet and old screwdriver as a wedge. Never use metal hammers—they’ll dent the wood. For tight spindles, twist gently while pulling. Pad pliers with leather to avoid crushing delicate turnings. If joints won’t budge after 10 minutes of effort, stop—you may need professional help for fused joints.
Clean and Prepare Joints for Strong Bonds

Removing old adhesive is crucial for strong new bonds. Any residue creates weak points that will fail again. This step takes 30% of your total repair time but determines 70% of your success.
Remove Stubborn Glue Residue Completely
Brass scrapers remove glue without scratching wood. Work methodically on both mortise and tenon surfaces. Compressed air or wooden toothpicks clear tight sockets where scrapers can’t reach. Check dowels carefully—any that feel spongy or show cracks need replacement. Measure diameters now while disassembled.
Repair Minor Damage Before Reassembly
Cracked tenons: Wrap tightly with silk thread soaked in wood glue. Let cure 24 hours before reassembly—this compresses fibers while adding strength.
Split sockets: Inject wood glue into cracks, then clamp with a band clamp until dry. This prevents the split from spreading under load. For cracks over 1/8″ wide, use epoxy mixed with sawdust.
Fix Oversized or Loose Joints Permanently

Years of stress and seasonal wood movement often enlarge joint holes. These techniques restore tight fits without replacing parts—preserving your chair’s value.
Shim Thin Tenons with Invisible Veneer
Veneer wrapping adds 0.5-1mm thickness:
– Soak thin wood veneer in water for flexibility
– Dry-fit before gluing to check thickness
– Apply glue, wrap tenon, trim excess with sharp chisel
Multiple layers work for severely loose joints. Use hardwood veneer matching your chair’s species for invisible repairs. Test fit after each layer—over-shimming creates new stress points.
Create Expansion Wedges for Sound Tenons
For sound but loose tenons, cut a centered kerf 3/4″ deep using a hacksaw. Insert a softwood wedge tapering to 1/16″—tap gently until the tenon expands slightly. Test fit frequently to avoid splitting. Trim excess wedge flush with chisel after glue dries.
Repair Broken Parts Without Replacement
Structural breaks don’t mean the chair’s ruined. These methods restore strength while maintaining appearance—critical for antique chairs where replacements devalue the piece.
Reinforce Breaks with Precision Dowels
Step-by-step dowel repair:
1. Drill 1″ deep hole in one broken piece using a 1/4″ bit
2. Insert a 16d nail as a marker, align parts to transfer location
3. Drill matching hole in second piece
4. Cut dowel 1/4″ shorter than combined depth
5. Score dowel sides for glue flow, round ends slightly
6. Clamp 6-12 hours after gluing with Titebond III
Hide Metal Reinforcements in Non-Visible Areas
When doweling isn’t possible, use brass or steel plates mortised flush into the wood. Outline the plate with a scratch awl, chisel out 1/4″ depth, then secure with screws. Fill visible areas with matching wood filler for invisible strength. Never use visible metal on antiques—it destroys value.
Reassemble with Professional-Grade Glue
Choosing the right adhesive and clamping technique determines long-term success. Using the wrong glue causes 60% of DIY chair repair failures.
Select Best Glue for Your Chair Type
| Chair Type | Best Glue | Working Time | Critical Tip |
|---|---|---|---|
| Antiques | Hide glue | 10-30 min | Reversible for future repairs |
| Daily use chairs | Titebond III | 5-15 min | Waterproof, strong bond |
| Complex joints | Titebond Extend | 15-30 min | Extra time for clamping |
| Gap filling | Epoxy | 30-60 min | Mix with sawdust for color match |
Clamp Without Damaging Vintage Wood
Strap clamps work best for square frames—pad contact points with scrap wood. Bar clamps handle straight joints like stretchers to legs. Dry-fit everything before applying glue—misaligned joints can’t be adjusted once glue sets. Check squareness with a carpenter’s square during clamping.
Address Rusty Hardware Issues
Rusty bolts and missing hardware compromise both function and safety. Ignoring hardware issues causes chairs to fail 3x faster than joint-only repairs.
Remove Rust Without Scratching Finish
Rust-Oleum Rust Dissolver Gel clings to vertical surfaces:
– Apply with brush, wait 15 minutes
– Scrub with wire brush and #0000 steel wool
– Repeat 3-4 times for heavy rust
– Rinse, dry 24-48 hours before refinishing
Pro tip: Soak removable hardware in Evapo-Rust overnight for complete restoration.
Replace Missing Hardware Correctly
Match original thread sizes and lengths exactly using a thread gauge. Stainless steel or brass resists future corrosion. For vintage appearance, use brass flathead screws on visible surfaces. Never substitute larger screws—they split antique wood.
Prevent Future Problems with Smart Maintenance
Once restored, simple maintenance extends your chair’s life dramatically. Most “fixed” chairs fail within 2 years due to skipped maintenance.
Monthly Maintenance That Takes 2 Minutes
Tighten any visible screws—especially where arms meet the frame. Check for new wiggles by rocking side-to-side. Apply furniture wax to moving joints annually to lubricate wood fibers and prevent drying.
Warning Signs Requiring Immediate Action
New cracking sounds when sitting indicate imminent joint failure. Visible joint gaps appearing mean fibers are separating. Finish wearing through to bare wood exposes wood to moisture damage. Address these within 48 hours to prevent structural collapse.
Your restored chair now combines vintage character with modern strength. These techniques work on everything from delicate spindles to heavy dining chairs—just scale the methods to match the piece. Remember: the best repair is the one you can’t see once it’s finished. Keep this guide handy for future projects, and never ignore that first creak—it’s your chair’s warning sign before catastrophic failure. With proper care, your restored heirloom will last another century.


