
Nothing ruins a perfect summer day faster than sinking through the seat of your favorite mesh lawn chair. That frustrating sag, the sudden rip when you sit down, or the wobbly frame that makes you feel like you’re on a seesaw—these common failures turn relaxation into stress. The good news? Most mesh chair problems are fixable with basic tools and inexpensive supplies. This guide shows you exactly how to fix mesh lawn chairs properly, whether you’re dealing with a tiny puncture or a major structural issue, so you can enjoy comfortable outdoor seating without replacing your entire set.
You don’t need professional skills to restore your mesh lawn chairs—just the right approach and materials. Many people mistakenly throw away chairs with repairable damage, not realizing a simple patch or frame adjustment could extend their life for years. By following these proven techniques, you’ll save money while keeping quality furniture out of landfills. Let’s dive into diagnosing your specific problem and implementing the perfect solution.
Identify Your Mesh Chair Damage Type Immediately
Pinpoint Critical Failure Points in Under 5 Minutes
Start your inspection where the mesh meets the frame at all four corners—these attachment points fail most frequently. Press down firmly in the center of the seat; properly tensioned mesh should flex 1–2 inches and snap back immediately. Any deeper sagging indicates loose elastic cords or torn fabric underneath. Run your fingers along every square inch of both sides, feeling for snags, holes, or weakened threads you might not see. Pay special attention to areas where your body makes contact—these high-wear zones often develop micro-tears that become major problems.
Match Damage to the Right Repair Strategy
Minor damage (tears under 2 inches): Requires only a patch kit and 20 minutes of your time
Moderate damage (rips between 2–6 inches): Needs section replacement, taking 1–2 hours
Major failure (large holes or complete detachment): May require full mesh replacement or frame welding
Take photos of each damaged area with your phone—they’ll help you purchase exact replacement materials and serve as reference points during repair. This documentation also proves valuable if you need to contact the manufacturer about warranty coverage.
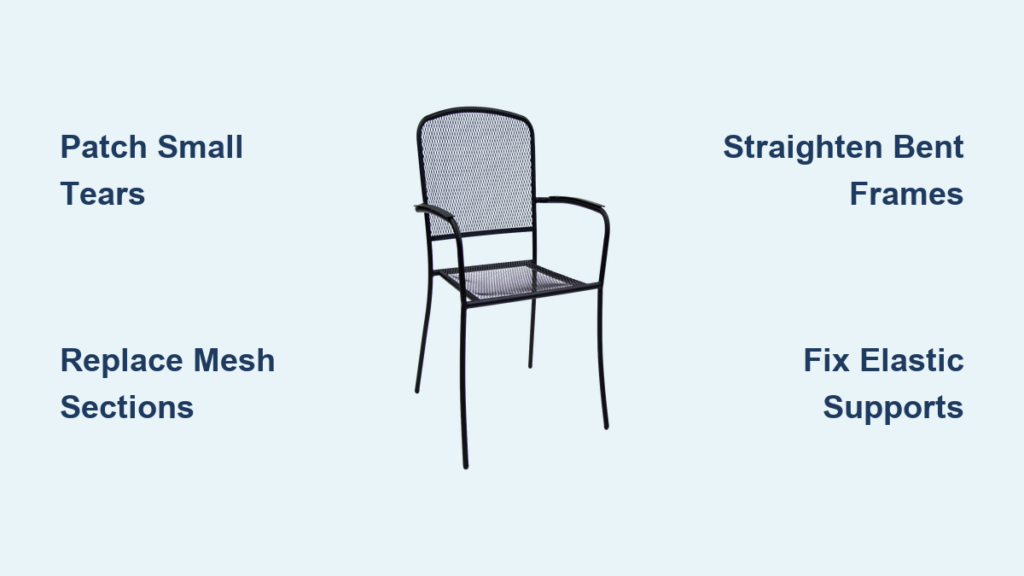
Patch Small Mesh Tears Before They Become Major Problems
Three-Step Quick Fix Method
- Clean thoroughly: Wipe the damaged area with isopropyl alcohol and wait 5 minutes for complete drying
- Prepare the patch: Cut a mesh repair patch 1 inch larger than the tear on all sides
- Apply strategically: Brush mesh repair adhesive on both surfaces, wait until tacky (about 2 minutes), then press firmly while rolling out air bubbles with a credit card
Allow the repair to cure completely for 24 hours before sitting on the chair—rushing this step causes premature failure. For best results, work in temperatures between 65-85°F with low humidity.
Pro Tip: Make Repairs Invisible
Choose a patch color that matches your chair’s mesh as closely as possible—most outdoor furniture uses standard black, gray, or beige mesh. For the most discreet repair, round the corners of your patch instead of cutting square edges; rounded corners resist peeling much better. If you can’t find an exact color match, lightly dust the dried patch with matching fabric spray paint for seamless blending.
Replace Large Damaged Mesh Sections Properly

Measure Accurately Before Cutting New Fabric
Remove the damaged panel by carefully cutting along existing stitch lines or attachment points. Measure the opening precisely, then add 4 inches on every side for proper overlap during reinstallation. Most quality lawn chairs use PVC-coated polyester mesh—look for 500–1000 denier rating at fabric stores or online retailers specializing in outdoor furniture supplies.
Secure New Mesh with Professional-Grade Attachment
Fold the mesh edges twice (¼ inch each fold) and reinforce with outdoor-rated bias tape using heavy-duty thread or waterproof adhesive. Punch stainless steel grommets every 2–3 inches along the perimeter using an affordable grommet kit from your local hardware store. Reattach the new mesh to the frame using zip ties through the grommets or by pressing it into the original spline channel with proper tension in all directions.
Reattach Loose Mesh to Frame Without Specialized Tools
Master the Spline Channel System
Remove old, deteriorated spline using a flathead screwdriver as a pry tool. Vacuum all debris from the channel thoroughly—any dirt prevents proper adhesion. Cut new vinyl spline 2 inches longer than the channel to allow for proper tension. Lay the mesh in position, then press the new spline over it using a dedicated spline roller (or the rounded edge of a spoon), working from the center outward to eliminate wrinkles and ensure even tension.
Upgrade to Long-Lasting Hook-and-Loop Attachment
If your chair originally used Velcro strips, replace worn components with outdoor-rated, adhesive-backed hook-and-loop tape specifically designed for UV exposure. Press each section firmly for at least 30 seconds to ensure maximum adhesion, then wait a full hour before testing the repair. This upgrade typically lasts 2-3 times longer than factory-installed attachment systems.
Straighten Bent Metal Frames Safely

Aluminum Frame Correction Without Heat Damage
For minor bends, clamp the frame securely to a workbench using padded jaws to prevent scratching. Apply heat with a heat gun set to 300–400°F for exactly 30 seconds to increase malleability without weakening the metal. Apply gradual, controlled pressure to straighten the bend, checking alignment frequently with a level—both sides must match perfectly or the chair will rock unevenly when in use.
Steel Frame Realignment Without Cracking
Use a bench vise with leather pads to protect the finish while applying slow, even pressure. For severe bends, heat the steel to cherry-red using a propane torch, then reshape with a pipe over the frame for added leverage. Immediately quench the heated area in water to set the new shape and prevent spring-back. Always wear proper heat-resistant gloves and eye protection during this process.
Restore Elastic Support Systems for Proper Tension
Replace Worn Cords with Correct Specifications
Cut the old elastic cord and pull it completely from the frame channels. Measure the diameter—most chairs use 3/16 or ¼ inch cord. Purchase UV-resistant shock cord rated for 100–150% stretch capacity to withstand outdoor conditions. Cut new cord 20% shorter than the original length to maintain proper tension as it stretches over time.
Thread Using Professional Techniques
Use a lacing needle or hemostat to thread the new cord through frame channels efficiently. Tie off securely with a double fisherman’s knot that won’t slip under pressure. Test the tension by pressing firmly on the seat—properly installed mesh should rebound instantly without excessive give. If it feels too loose, remove and shorten the cord another 10% before rethreading.
Prevent Future Damage With Simple Maintenance Routine
Monthly 5-Minute Chair Checkup
- Wiggle test: Grab arms and shake gently—any clicking or wobbling indicates loose joints
- Mesh check: Press center firmly—should deflect 1–2 inches and spring back immediately
- Cord inspection: Look for fraying, unraveling, or loose knots in elastic support systems
- Frame scan: Hunt for new cracks, rust spots, or paint chips that could worsen
Season-Long Protection Protocol
Hose off accumulated salt, sunscreen residue, and dirt monthly using low water pressure. Allow chairs to dry completely in the sun before storing. Apply UV protectant spray specifically formulated for synthetic outdoor fabrics every 3 months. Wipe metal frames with silicone spray to repel moisture and prevent corrosion during storage periods.
Decide: Repair or Replace Your Mesh Lawn Chair?
Calculate True Repair Value
Small patch kit: Costs $8–12 and takes 20 minutes
Complete mesh replacement: Requires $25–45 in materials and 2 hours of time
New mid-range chair: Typically $60–120 at retail
If the frame remains straight and rust-free, repairing almost always makes financial sense. High-end chairs ($150+) often justify professional re-meshing services ($75–100) rather than replacement.
Test Repairs Thoroughly Before Trusting With Your Weight
Gradual Load Testing Protocol
Place 50 pounds (a full camping cooler works perfectly) on the seat for 10 minutes. Listen for creaking sounds and watch for excessive stretching. If it passes, gradually increase weight up to the chair’s maximum rating. Check all repaired areas for stress marks or separation points before considering the repair complete.
Real-World Stability Verification
Set your repaired chair on multiple surfaces—grass, concrete, and a slight slope—to test stability under different conditions. Sit down slowly the first few times, feeling for any wobbling or unusual movement. Schedule a follow-up check after 30 days of regular use to ensure the repair maintains integrity over time.
Don’t let a small tear or bent frame ruin your outdoor relaxation—most mesh lawn chair problems are easily fixable with the right approach. Keep a small mesh repair kit in your garage for quick fixes during the season, and your chairs will outlast cheaper replacements by years. Properly maintained and repaired mesh chairs provide reliable comfort while saving you money and reducing furniture waste—making your outdoor space more enjoyable and sustainable all season long.


