
That stack of faded plastic chairs in your garage or basement doesn’t have to stay hidden away. With the right techniques, you can transform those weathered seats into stunning statement pieces that cost a fraction of store-bought furniture. Plastic chairs offer the perfect blank canvas for creative expression—their smooth surfaces accept paint beautifully, and their lightweight design makes them easy to work with. Whether you’re sprucing up patio seating for summer entertaining or refreshing indoor dining chairs on a budget, mastering how to decorate plastic chairs unlocks endless customization possibilities that reflect your personal style.
Stop wasting money replacing perfectly good furniture when a simple makeover can give your plastic chairs new life. In this guide, you’ll discover professional techniques that create long-lasting results, not temporary fixes that peel after one season. From essential surface preparation that prevents paint disasters to advanced methods like hydro dipping that create show-stopping finishes, these proven strategies work for beginners and craft enthusiasts alike.
Essential Prep Steps That Prevent Decoration Disasters

Skip this phase and your paint will peel within weeks—proper preparation makes the difference between a professional finish and a craft project gone wrong. Start by examining each chair for deep scratches, sun damage, or manufacturing seams that could affect your final result. Run your fingers across every surface to feel imperfections your eyes might miss, then clean thoroughly with mild soap and warm water to remove dirt and grease.
Critical drying step: Allow chairs to air-dry completely for at least 24 hours in a dust-free environment—trapped moisture causes bubbling that ruins paint jobs. For stubborn residues on outdoor chairs, wipe down with isopropyl alcohol before final drying.
Surface Treatment Options That Guarantee Adhesion
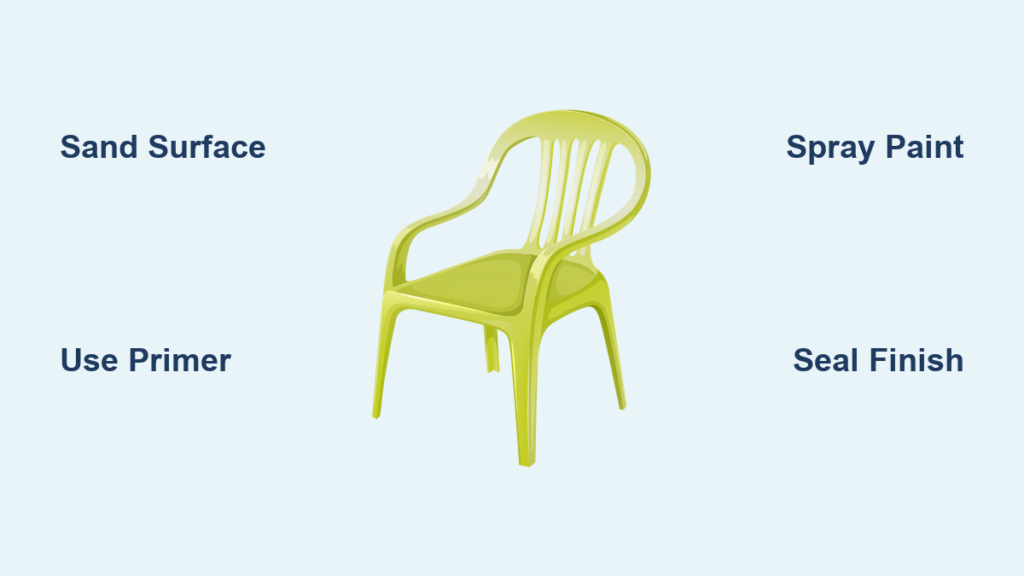
- Sanding method: Use 220-400 grit sandpaper to create micro-scratches on glossy surfaces (best for intricate chair designs)
- Deglosser shortcut: Apply liquid deglosser for faster preparation on smooth surfaces (ideal for large flat areas)
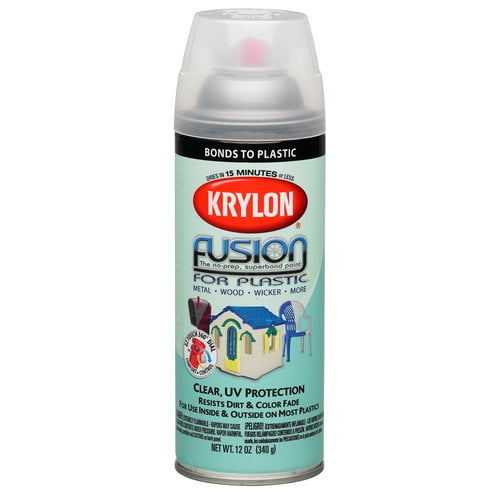
- Primer necessity: Apply plastic-specific primer that chemically bonds with the surface (non-negotiable for outdoor chairs)
Paint Techniques That Actually Stick to Plastic
Spray Paint Application Secrets
Hold the can 8-12 inches away from the surface and use steady, overlapping strokes—this prevents drips and creates that smooth, factory-finish look professionals achieve. Three light coats always outperform one heavy application, especially on textured plastic chairs. Work in 60-80°F temperatures for optimal adhesion; humidity above 70% causes paint to bubble.
Pro move: Paint chair undersides first. Any overspray gets covered when you flip the chair, ensuring even coverage without visible lines. Allow 2-4 hours drying time between coats, with full curing requiring 24-48 hours before use.
Color Blocking Made Foolproof
Create sharp geometric patterns using painter’s tape rated for plastic surfaces—regular masking tape pulls off paint when removed. Popular combinations include navy blue seats with white backs for coastal charm, or coral seats with charcoal backs for modern dining rooms. For ombre effects, gradually blend two colors while the paint remains wet using a dry brush technique.
Fabric Upgrades That Elevate Basic Chairs

Removable Seat Cushions for Washing Machine Convenience
Choose weather-resistant fabrics like Sunbrella or marine vinyl that withstand sun, rain, and spills—standard cotton fades and mildews quickly outdoors. Cut foam 1/4 inch larger than your seat dimensions for a snug fit, then attach with industrial-strength Velcro strips. This lets you remove cushions for machine washing while maintaining professional appearance.
Measurement tip: Add 2 inches to all seat dimensions for wrapping fabric underneath, then add 20% extra for pattern matching or cutting errors.
No-Sew Fabric Wrapping in Under 30 Minutes
Transform chairs without sewing skills using double-sided tape designed for fabrics. Start with lightweight cotton for indoor chairs or outdoor-rated fabric for patio use. Wrap the backrest first, pulling fabric taut before securing underneath with tape. Create crisp hospital-style folds at corners—like wrapping a present—for professional results.
Embellishment Strategies That Add Personality
Strategic Rhinestone Placement Guide
Avoid gaudy results by placing 4mm stones along seat edges, 6mm accents at backrest corners, and 8mm focal points at the chair’s center. Use waterproof adhesive specifically formulated for plastic—even indoor chairs get occasional cleaning. For subtle elegance, apply 100 stones per chair; for full glamour, use 300 stones but space them intentionally.
Pro tip: Create visual interest by mixing stone colors—clear crystals with gold metallics create sophisticated sparkle that catches light beautifully.
Removable Vinyl Decals for Seasonal Updates
Change your chair’s look with seasons using vinyl decals that peel off cleanly. Clean surfaces with alcohol before application to remove oils that prevent adhesion. Use transfer tape for precise placement, then seal with clear coat if you want permanent designs. Popular themes include tropical leaves for summer, snowflakes for winter, and geometric patterns for year-round modern appeal.
Durability Secrets Most DIYers Miss
Protective Coating Selection by Climate
Match your sealant to your environment—marine varnish handles coastal humidity best, polyurethane works well in most climates, and UV-resistant clear coat prevents color fading in sunny locations. Apply two thin coats with light sanding between applications for maximum protection. Outdoor chairs benefit from automotive clear coat designed for car exteriors—it withstands weather extremes better than craft store options.
Maintenance schedule: Wipe down weekly with microfiber cloth, deep clean monthly with mild soap solution, and inspect quarterly for chips or loose embellishments. Touch up immediately to prevent moisture damage underneath.
Budget Makeovers Under $20 Per Chair
$5-15 Transformation Plan
Revive faded chairs with one can of plastic-specific spray paint ($8), fine-grit sandpaper ($3), and painter’s tape ($4). Bold colors like emerald green or coral create maximum visual impact with minimal investment. Prep properly and apply three thin coats for professional results that last seasons.
$20-35 Upgrade Package
Add comfort and style with seat cushions ($12), decorative ribbon ($8), and rhinestone accents ($15). This combination creates custom seating that rivals store-bought options costing $100+. Choose ribbon colors that coordinate with your cushions for cohesive styling.
Troubleshooting Common Decoration Failures
When Paint Starts Peeling
Symptoms: Paint lifts like sunburned skin, revealing original plastic underneath. Cause: Inadequate surface preparation or wrong paint type. Fix: Strip everything back to bare plastic, sand lightly, apply plastic-specific primer, then repaint with proper technique. This solves 90% of adhesion problems.
Fabric Fading Prevention
Prevention strategy: Spray outdoor fabrics with UV protectant spray, rotate chair positions monthly to distribute sun exposure evenly, and choose darker patterns that hide sun damage. Keep replacement fabric on hand—cushions wear faster than chair frames.
Weekend Project Timeline for First-Timers
Saturday morning: Clean and prep chairs (2 hours)
Saturday afternoon: Apply first paint coat (1 hour) + drying time
Saturday evening: Second paint coat (1 hour) + drying time
Sunday morning: Apply sealant and embellishments (2 hours)
Sunday afternoon: Final touches and styling (1 hour)
Success indicator: Your guests asking where you bought those amazing chairs—and not believing you transformed basic plastic seating yourself. Start with one chair as a test project before committing to your entire set. Master basic painting techniques before attempting advanced methods like hydro dipping.
Ready to transform your plastic chairs? Choose your first technique—whether it’s a simple paint refresh or fabric upgrade—and start your project this weekend. Remember that proper preparation determines 80% of your final result, so don’t rush the cleaning and priming steps. Keep your climate and intended use in mind when selecting materials, and always test techniques on an inconspicuous area first. Your plastic chairs aren’t just functional seating—they’re blank canvases waiting for your creative touch. With these proven methods, you’ll never look at that stack of basic plastic chairs the same way again.


