
Wooden chairs accumulate dust, grime, and stains faster than you realize—especially dining chairs catching food splatters or outdoor teak pieces battling weather exposure. Without proper care, daily spills seep into finishes, UV rays fade surfaces, and neglected joints loosen, turning cherished heirlooms into eyesores. Whether you own vintage oak dining chairs or modern walnut accent pieces, how to clean wooden chairs properly preserves structural integrity while enhancing natural beauty. This guide cuts through cleaning confusion with model-specific techniques, stain-busting shortcuts, and critical safety steps you won’t find on generic blogs. You’ll learn to identify finishes in 60 seconds, remove stubborn water rings without sanding, and establish a foolproof maintenance schedule—saving hundreds in professional restoration fees.
Most chair damage starts with one critical mistake: using water-heavy methods on porous finishes. Hardwoods like maple tolerate gentle moisture, but pine’s soft grain swells instantly, while teak’s natural oils repel standard cleaners. The secret lies in matching your approach to both wood type and finish—not just scrubbing blindly. Within 20 minutes, you’ll revive grimy chairs to showroom condition using supplies already in your pantry. Let’s transform your cleaning routine from damage-risking chore to confidence-boosting ritual.
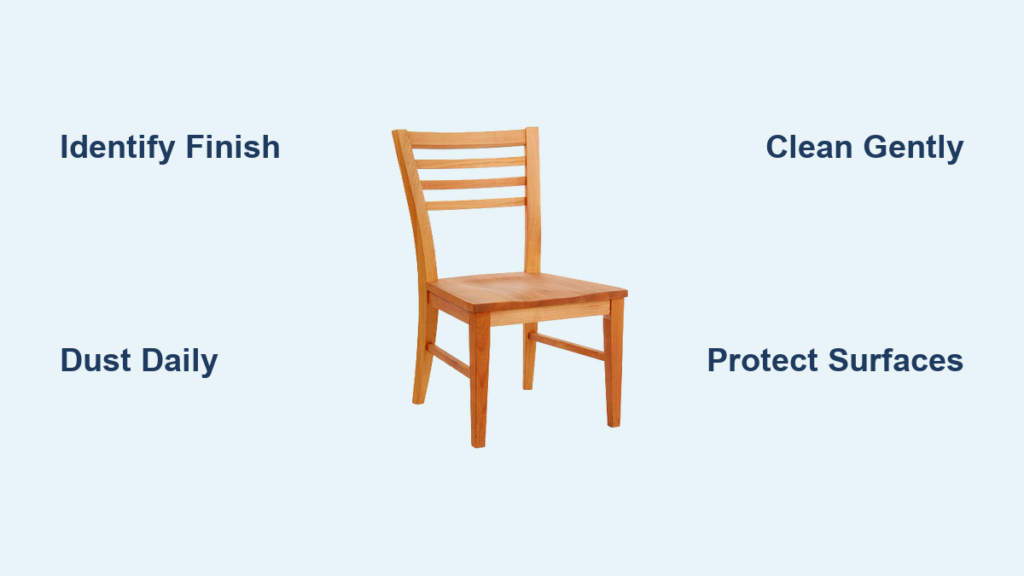
Identify Your Chair’s Wood Type and Finish Immediately
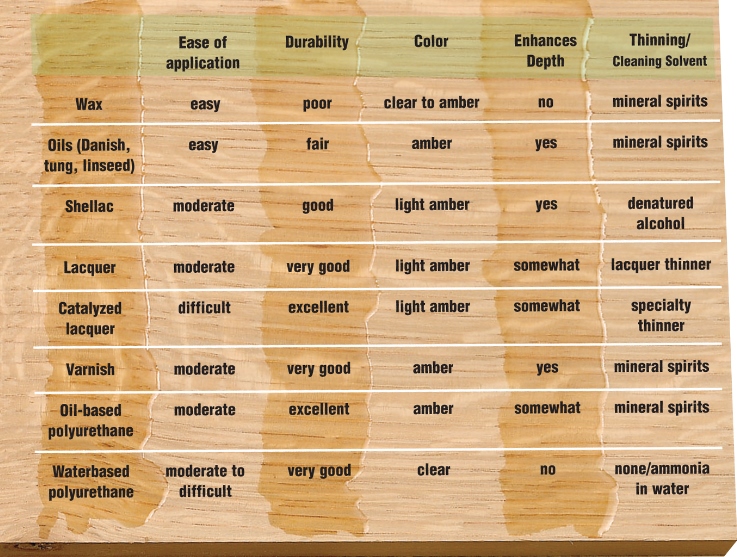
Skip this step, and you’ll strip finishes or warp joints. Hardwoods like oak and cherry withstand mild soap-and-water cleaning thanks to tight grain structures. Softwoods such as pine demand vinegar-based solutions to prevent swelling. Exotic woods like teak require oil-specific cleaners—never use alkaline soaps that strip natural protective oils. Engineered woods (MDF, plywood veneers) need dry-only methods; moisture causes irreversible swelling at seams.
Peel back the curtain on your finish type with three quick tests:
– Water drop test: Place a bead of water on a hidden spot. If it beads up, you have a surface finish (polyurethane/varnish). If it soaks in, it’s oil or wax.
– Fingernail scratch: Gently scrape an inconspicuous area. Surface finishes resist scratching; wax finishes leave a white mark.
– Odor check: Rub mineral spirits on cotton swab in hidden spot. If it dissolves the finish, it’s shellac or lacquer.
Gather These Non-Negotiable Cleaning Tools
Generic “wood cleaners” often contain silicones that cloud finishes over time. Build your kit with these precision tools:
– Microfiber cloths (4+): Lint-free and non-abrasive—never use paper towels on raw wood
– Natural-bristle detail brush: Reaches carved spindles without scratching
– Vacuum with soft brush attachment: Removes dust from joints before wiping
– Wooden skewers: Dislodge debris from tight crevices without metal scratches
Skip these damaging supplies:
❌ Steel wool on painted finishes (causes permanent scratches)
❌ Bleach on antique chairs (degrades wood fibers)
❌ Glass cleaners (ammonia strips wax)
Execute This 2-Minute Daily Dusting Routine
Prevent 90% of deep-cleaning emergencies with this sequence:
1. Vacuum underneath seat rails and leg junctions where crumbs hide
2. Wipe downward with dry microfiber cloth following the grain (upward strokes lift fibers)
3. Spot-treat spills within 5 minutes using corner of barely damp cloth
4. Inspect joints for wobble—tighten screws before gaps widen
Pro tip: Keep a microfiber cloth under your dining table. Daily use prevents sticky buildup from syrup or wine that requires mineral spirits later.
Deep Clean Surface-Finished Chairs Without Water Damage
Polyurethane or varnish-coated chairs (most modern dining sets) handle moisture—but only with precision:
Mix solution: 1 gallon warm water + 2 drops pH-neutral dish soap (excess suds leave white residue).
Cleaning sequence:
1. Start at chair base, working upward to avoid drips on cleaned areas
2. Wring cloth until barely damp—test on hidden spot first (no darkening = safe)
3. Wipe in straight lines with the grain using feather-light pressure
4. Immediately dry with second cloth to prevent water rings
5. For sticky spots, gently rub with soft brush dipped in mineral spirits
Critical error to avoid: Circular scrubbing on surface finishes creates permanent swirl marks. Always use linear motions.
Restore Oil-Finished Chairs Without Over-Saturating
Teak, walnut, or Danish-oil pieces need moisture control:
Vinegar solution: 1 part white vinegar to 3 parts warm water (never full-strength vinegar—it dulls finishes).
Application rules:
– Apply only to grimy areas with cotton swab—never flood the surface
– Buff dry within 30 seconds using circular motions
– Wait 24 hours before oiling to ensure full drying
Re-oiling process:
1. Test linseed oil on hidden area
2. Apply thin coat with lint-free cloth along grain
3. Wipe off excess after 15 minutes (leaving residue causes stickiness)
4. Let cure 24 hours before use
Erase Stains Using These Chair-Specific Fixes
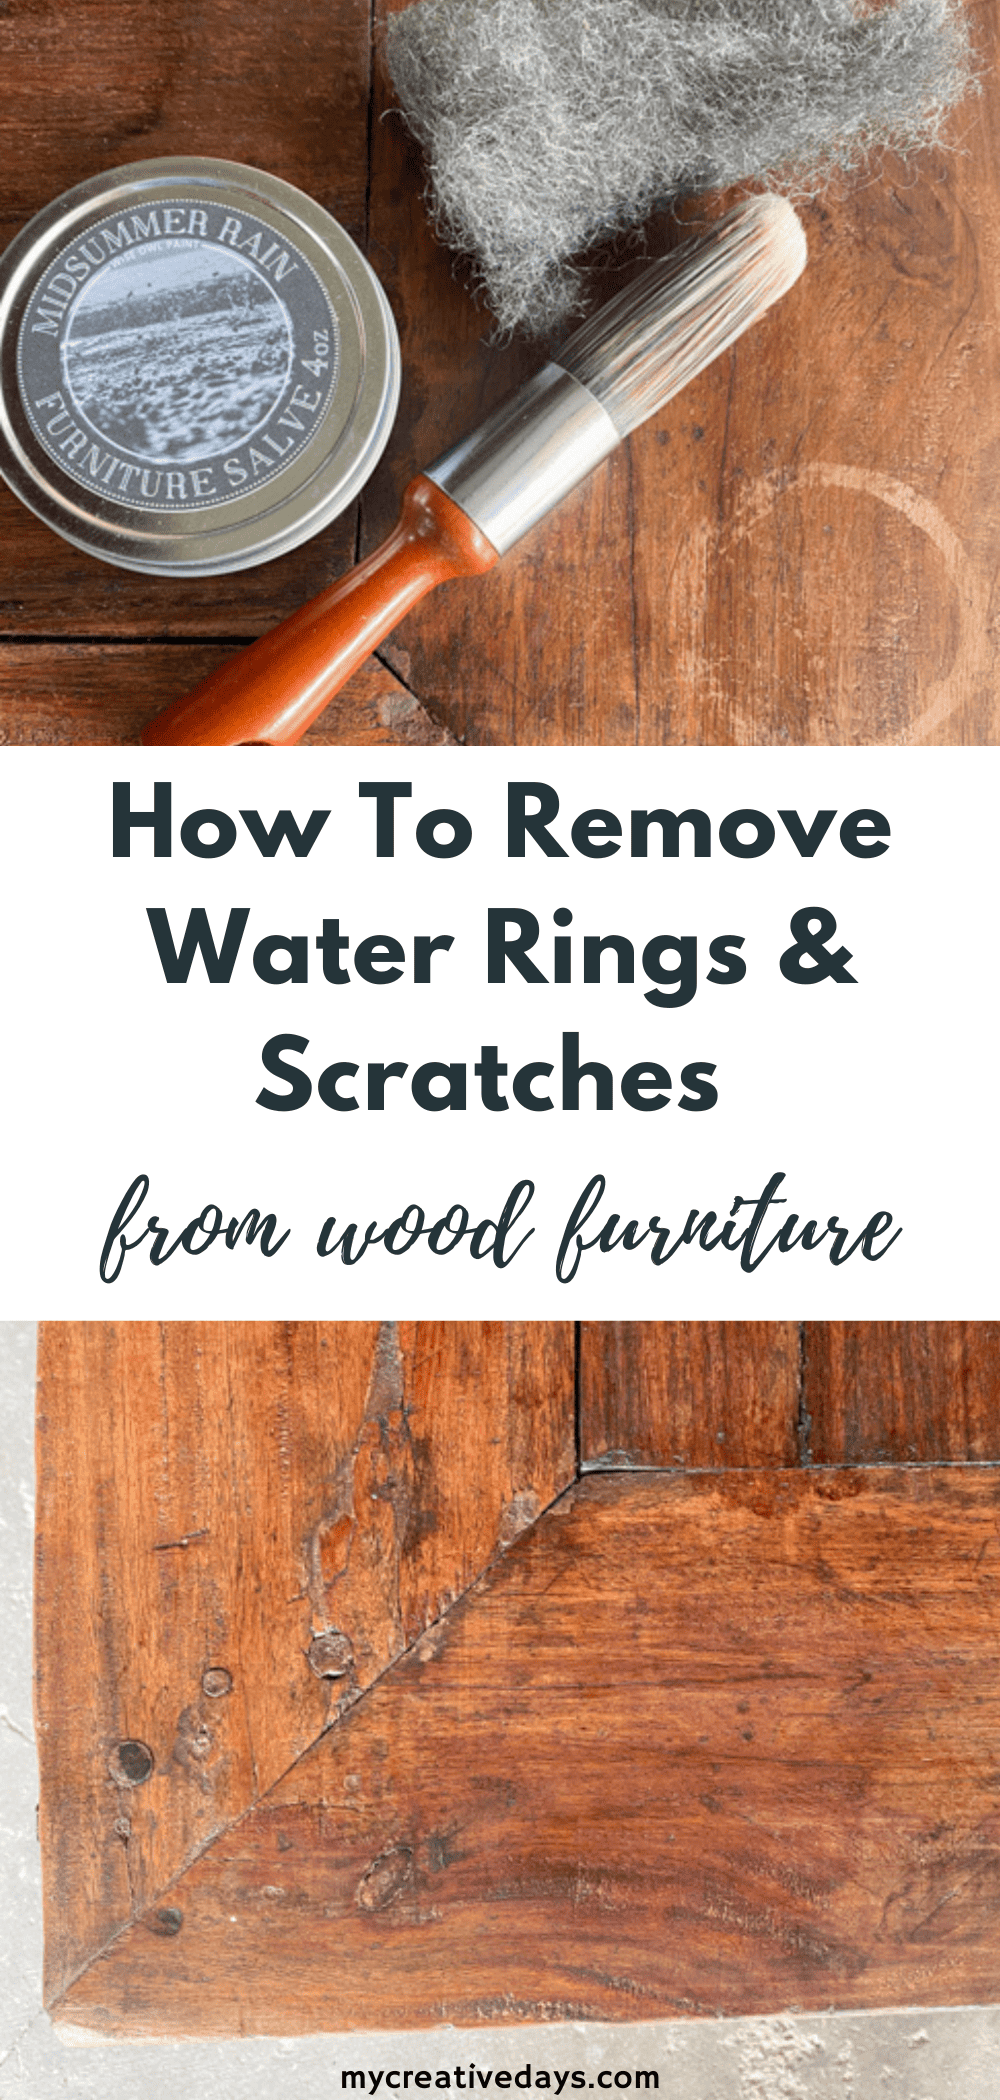
Water rings: Mix equal parts olive oil and vinegar on soft cloth. Rub only on ring for 20 seconds, then buff dry. Avoid heat guns—they blister finishes.
Grease stains: Cover with cornstarch for 10 minutes, vacuum, then dab with mineral spirits only on surface finishes.
Ink marks: Dip cotton swab in denatured alcohol, test inconspicuous spot first, then work from stain edge inward.
Never do this: Rubbing food stains spreads them deeper. Blot vertically with paper towel first.
Clean Carved Details and Joints Safely
Spindles and joints trap dust that accelerates wear:
– Carved legs: Wrap microfiber cloth around skewer, pull through grooves while rotating
– Cane seats: Vacuum only—never apply liquids (causes rot)
– Metal hardware: Remove rust with wire brush, then apply light machine oil to prevent recurrence
Warning: Compressed air can force debris deeper. Use only after vacuuming loose particles.
Revive Neglected Chairs with Gradual Degreasing
For chairs stored in damp basements or garages:
1. Degrease: Apply mineral spirits with 0000 steel wool on sealed finishes (test first!)
2. Mold treatment: Spray 1:10 bleach-to-water solution, wait 5 minutes, rinse with damp cloth
3. Dry thoroughly: Place near fan for 48 hours—never use heaters (causes cracking)
Skip drastic measures: Sanding removes irreplaceable patina on antiques. Start gentle.
Apply Protective Coatings in This Order
Weekly: Dust with dry microfiber cloth
Monthly:
– Surface finishes: Spray polish on cloth first, wipe lightly, buff immediately
– Oil finishes: Thin coat of lemon oil, wipe off excess after 10 minutes
Seasonally: Tighten all hardware and apply paste wax to high-wear areas (seat edges, armrests)
Pro mistake: Over-waxing creates buildup that attracts dust. Less is more—apply wax only when wood looks dry.
Handle Special Chair Types Correctly
Antiques: Never use vinegar—it degrades old finishes. Test cleaners on hidden spots with toothpick-sized amounts.
Outdoor chairs: Clean monthly with marine-grade cleaner, apply UV-blocking teak sealer annually.
Children’s chairs: Use food-safe cleaners (1 tbsp olive oil + 1 tsp vinegar), inspect weekly for splinters.
Fix These 3 Common Cleaning Disasters
White film residue: Caused by soap left to dry. Fix: Dampen cloth with clean water, wipe area, dry instantly.
Sticky surface: Too much polish applied. Fix: Rub with mineral spirits on soft cloth, reapply sparingly.
Rough texture: Moisture raised grain. Fix: Lightly sand only affected area with 220-grit paper, re-oil.
Follow This Chair Cleaning Calendar
| Frequency | Task | Chair Types |
|---|---|---|
| Daily | Dust, spot-clean spills | All chairs |
| Weekly | Inspect joints, wipe surfaces | Dining, outdoor |
| Monthly | Deep clean, condition | High-use chairs |
| Quarterly | Apply protective wax/oil | All except antiques |
| Annually | Professional assessment | Antiques, valuables |
Prioritize Safety with Eco-Friendly Practices
Always work in ventilated areas when using mineral spirits. Store oil-soaked rags in metal containers (they can spontaneously combust). For eco-cleaning: Mix ¼ cup olive oil + ¼ cup white vinegar + 10 drops lemon juice—safe for most finishes and biodegradable. Never pour solvents down drains; use hazardous waste facilities.
Final Note: The golden rule of how to clean wooden chairs is “test before you treat.” A hidden spot test takes 60 seconds but prevents irreversible damage. When in doubt about antique finishes or severe damage, consult a professional restorer—some finishes can’t be recreated. For everyday chairs, consistent light cleaning beats infrequent deep cleans. Your chairs’ longevity starts with today’s first wipe.


