
Nothing ruins your backyard relaxation faster than grimy lawn chairs that look like they’ve survived a dust storm. When your outdoor seating accumulates dirt, mold, and stubborn stains from summer barbecues, you might think replacement is your only option. But learning how to clean lawn chairs properly can restore them to like-new condition without breaking the bank. Most outdoor fabrics can withstand regular cleaning if you use the right techniques and solutions. This guide delivers the exact steps to tackle everything from grease splatters to mold colonies while preserving your furniture’s integrity.
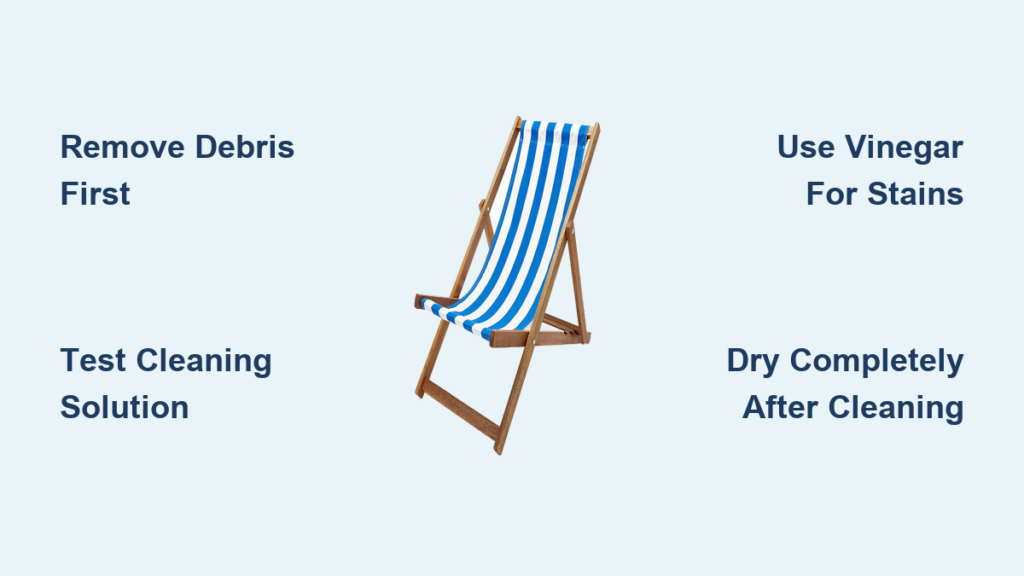
Remove Surface Debris Before Wet Cleaning
Skipping this crucial step means you’re grinding dirt deeper into fabric fibers with every scrub. Start with a stiff-bristled brush to sweep away loose leaves, pollen, and dried food particles. Flip chairs upside down to access hidden crevices where debris accumulates. Pay special attention to sling chair tension points and cushion seams—these areas trap the most dirt. For metal frames, wipe away rust spots with a dry cloth before addressing the fabric. This dry preparation takes just five minutes but dramatically improves your cleaning results by preventing abrasive damage during wet treatment.
How to Identify Problem Areas Before Cleaning
Your lawn chair’s condition determines your cleaning approach. Run your hand across fabric surfaces to detect texture changes that indicate stains. Grease spots feel slightly tacky and appear darker than surrounding areas. Mold shows as fuzzy patches, often green or black with a musty odor. Food stains typically have visible residue or discoloration patterns matching the spilled substance. Sun fading creates uniform color loss across exposed surfaces but doesn’t require stain treatment—just UV protection moving forward. Knowing exactly what you’re dealing with prevents wasted effort on ineffective cleaning methods.
Always Test Cleaning Solutions First
Apply any cleaning mixture to an inconspicuous area like the chair’s underside or back panel. Wait 10 minutes, then check for color bleeding or fabric damage. This simple precaution saves you from creating permanent discoloration on visible surfaces. If the test area shows adverse effects, dilute your solution further or choose a milder alternative. Never skip this step—even “gentle” natural cleaners can react unexpectedly with certain outdoor fabrics.
Natural Cleaning Solutions That Protect Fabric
You don’t need harsh chemicals to effectively clean lawn chairs when you use these proven organic mixtures. The right natural solution removes most everyday stains while preserving fabric integrity. For general cleaning, mix ¼ cup USDA-certified organic dish soap with one gallon of warm water. Dip a soft-bristled brush into the solution and work in small circular motions to lift dirt from fibers. This basic mixture handles 80% of common outdoor stains without risking chemical damage to your furniture.
Vinegar-Powered Stain Removal Method
When facing tougher organic stains from food, drinks, or body oils, boost your cleaning power with white vinegar. Combine ¼ cup dish soap, ⅓ cup white vinegar, and one gallon warm water in a bucket. The vinegar naturally disinfects while breaking down stubborn residues. Apply this solution with a spray bottle for targeted treatment, let it sit for five minutes to penetrate stains, then gently scrub with your soft brush. This method safely removes most set-in stains without fading colors or weakening fabric.
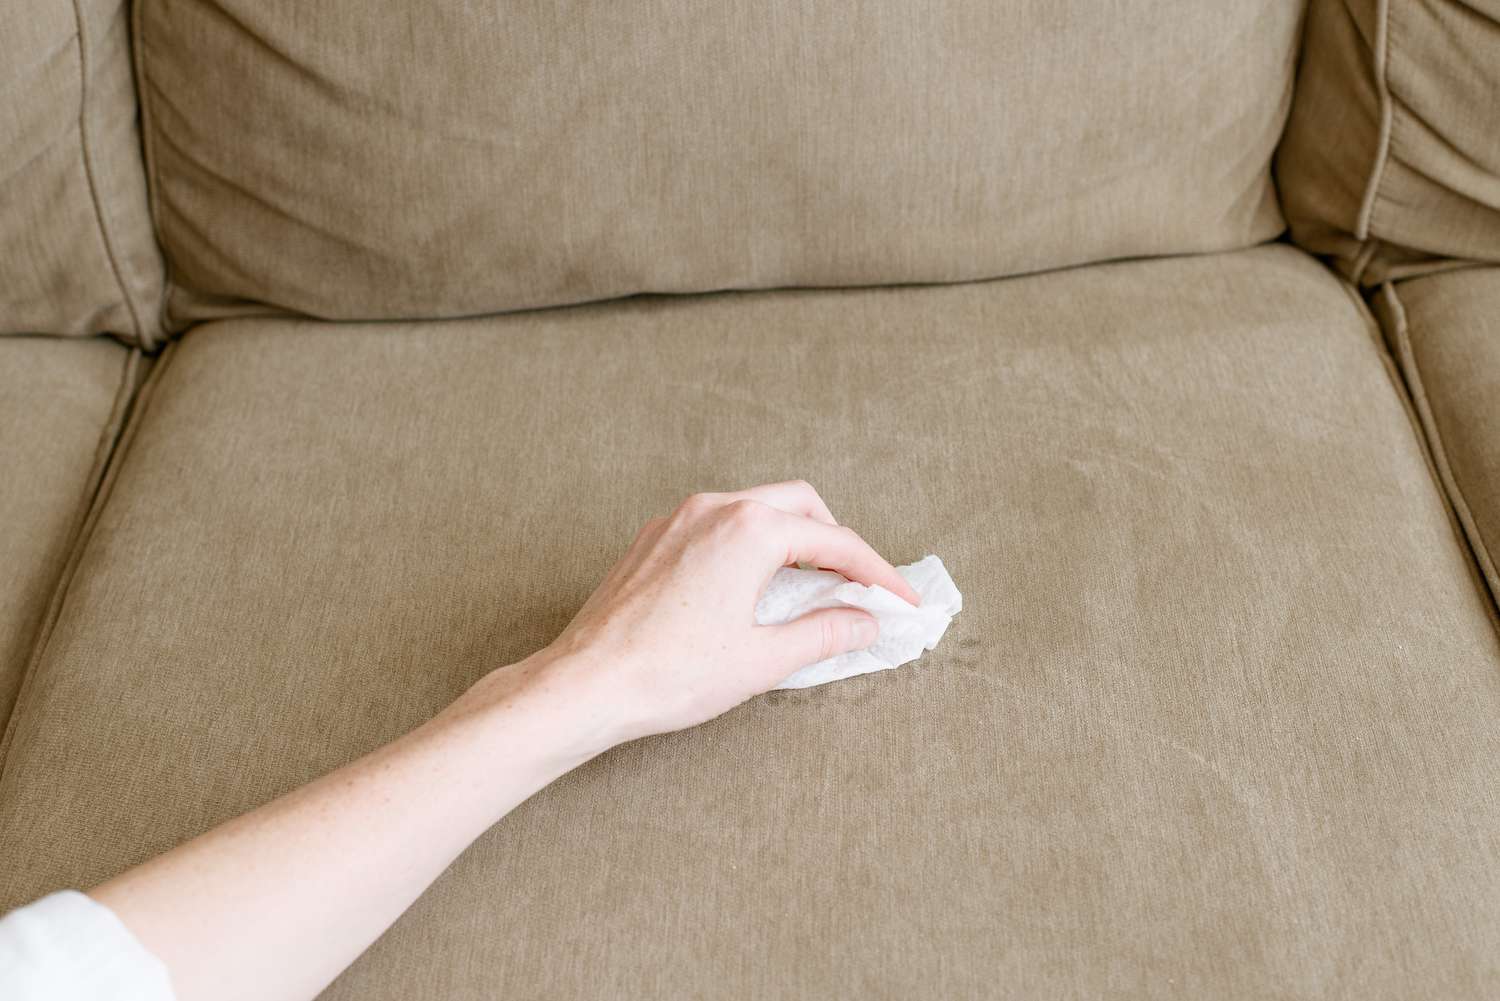
Immediate Spill Response Protocol
Keep a spray bottle filled with basic soap solution in your outdoor storage area. When spills happen, immediately blot excess liquid with a clean cloth—never rub, as this pushes stains deeper. Spray the affected area, wait two minutes, then gently wipe toward the stain’s center. This quick response prevents 90% of potential permanent staining. For grease spills, skip the liquid solution initially and apply cornstarch first to absorb excess oil before cleaning.
Eliminate Mold Growth Before It Damages Fabric

Mold doesn’t just look bad—it weakens fabric fibers and creates health hazards from airborne spores. Catch mold early when it appears as dark spots or fuzzy patches, often with a musty smell. Left untreated, it permanently stains and deteriorates outdoor fabrics. The right cleaning approach kills existing mold while preventing regrowth without compromising your chair’s structural integrity.
Step-by-Step Mold Treatment Process
- Dry brush affected areas with a stiff brush to remove loose spores (wear a mask to avoid inhalation)
- Mix solution of ¼ cup dish soap, 1 cup bleach, and 1 gallon water in a bucket
- Spray liberally on moldy areas using a pump sprayer for even coverage
- Let sit 15 minutes in direct sunlight—the UV rays enhance the bleach’s effectiveness
- Gently scrub with soft brush until all visible mold disappears
- Rinse thoroughly with clean water to remove all cleaning residue
- Air dry completely with chairs positioned for maximum airflow
Prevent Mold Return With Proper Drying
After cleaning, stand cushions on their sides and rotate them every hour until completely dry. Trapped moisture creates perfect conditions for mold regrowth within 24 hours. Never store damp chairs—this guarantees future mold problems. Consider replacing severely affected fabric with Microban® treated materials for ongoing protection, but remember even antimicrobial fabrics require regular cleaning to maintain effectiveness.
Remove Grease and Oil Stains Without Spreading
Grease stains seem impossible to remove because they penetrate deep into fabric fibers. But the right approach lifts oil without spreading it further. For fresh spills, immediately sprinkle cornstarch over the affected area to absorb excess oil. Let it sit 15-30 minutes, then scrape away with a straight edge like a credit card. Vacuum any remaining powder before applying liquid cleaning solutions. This absorption step is critical—skipping it just spreads the oil during wet cleaning.
Deep Cleaning Set-In Grease Stains
For stubborn, dried-in grease:
– Apply cornstarch treatment first (as above)
– Brush away residue with dry cloth
– Clean remaining stain with vinegar solution
– Rinse thoroughly with clean water
– Air dry completely before next use
Avoid using hot water on grease stains—it sets the oil permanently into fibers. Always work cleaning solutions from the stain’s edge toward the center to prevent spreading. For charcoal or pencil marks, vacuum loose particles first, then use circular motions with your soft brush—pressing too hard embeds particles deeper into the fabric.
Weekly Maintenance That Prevents Deep Cleaning
Spend just 10 minutes each week maintaining your chairs to avoid hours of intensive cleaning later. Wipe down fabric surfaces with a damp cloth and mild soap solution after each use. This prevents buildup that becomes difficult to remove after multiple exposure cycles. During peak season, perform a quick spot check for early mold growth or stain development. Address small issues immediately before they become major problems requiring intensive treatment.
Smart Storage Practices Between Uses
Cover chairs during extended non-use periods with breathable fabric covers that allow airflow while blocking debris. Never use plastic tarps—they trap moisture and accelerate mold growth. Before winter storage, complete thorough cleaning, ensure 100% dryness, and store cushions in a dry, ventilated area. Elevate chairs slightly off the ground to prevent moisture absorption from surfaces. These simple habits extend your furniture’s lifespan by years.
When Replacement Makes More Sense Than Cleaning
Watch for these irreversible damage signs that indicate replacement time:
– Structural frame damage beyond surface cleaning
– Fabric tears that compromise chair integrity
– Permanent staining resistant to all cleaning attempts
– Significant fading that affects overall appearance
– Fabric texture degradation (thinning, pilling)
Quality replacement fabrics typically come with 3-year warranties and offer various options including slingable materials for tension applications. Compare professional cleaning costs ($25-50 per chair) against replacement fabric ($15-30 per yard) plus your time investment. When more than 30% of your fabric shows irreversible damage, replacement often proves more cost-effective than continued restoration attempts.
Extend Lawn Chair Lifespan With These Pro Techniques
Position chairs to minimize direct sun exposure during peak UV hours (10am-4pm). Even quality outdoor fabric fades under constant bombardment—strategic placement can double your furniture’s usable life. Keep cleaning supplies in a weatherproof container near your seating area for immediate spill response. Rotate chair usage if you have multiple sets to distribute wear evenly across your collection. Before replacing fabric, use online visualizers to preview colors and patterns that coordinate with your existing outdoor décor.
Regular maintenance beats aggressive cleaning every time. By addressing spills immediately, using the right solutions for each stain type, and following a consistent care routine, your lawn chairs will stay clean and comfortable for seasons to come. The key to successful lawn chair cleaning isn’t finding a magic solution—it’s using the right method for each specific problem while protecting your investment through proper drying and storage. Start implementing these techniques today and enjoy outdoor seating that looks as good as new, no matter how many barbecues you host.


