
That intricate weave on your indoor wicker chairs adds character and charm to any room, but it also traps dust like a magnet. You’ve probably noticed how quickly those delicate patterns collect grime, making your once-beautiful furniture look dingy and neglected. Knowing how to clean indoor wicker chairs properly is essential—not only for appearance but to prevent permanent damage to these often-expensive pieces. Without the right technique, you risk warping delicate fibers or causing mold growth in hidden crevices. In this guide, you’ll discover the exact step-by-step process to restore your wicker chairs to their original glory while avoiding common cleaning mistakes that ruin furniture.
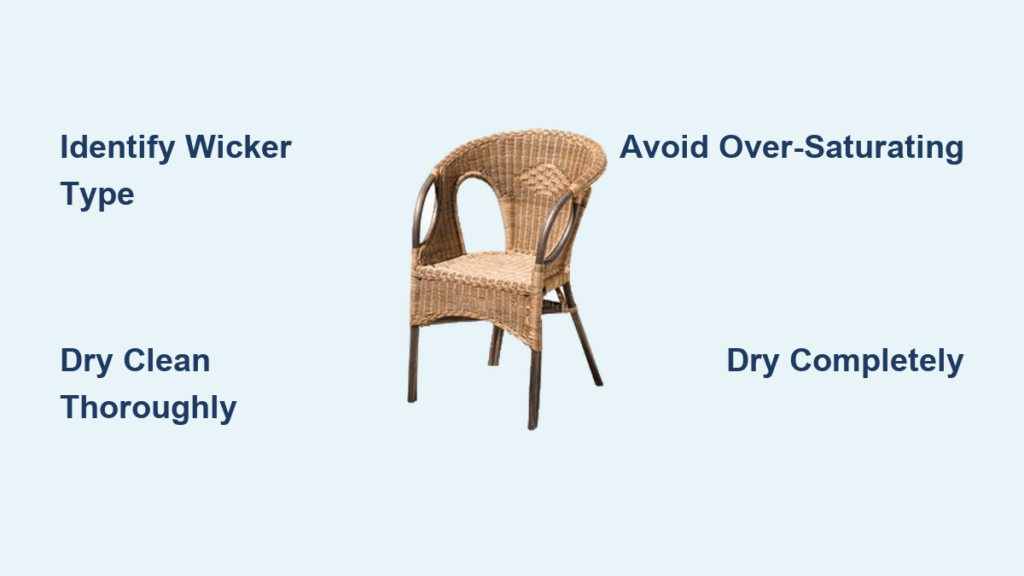
Identify Your Wicker Type Before Cleaning
Spot Natural vs Synthetic Wicker Instantly
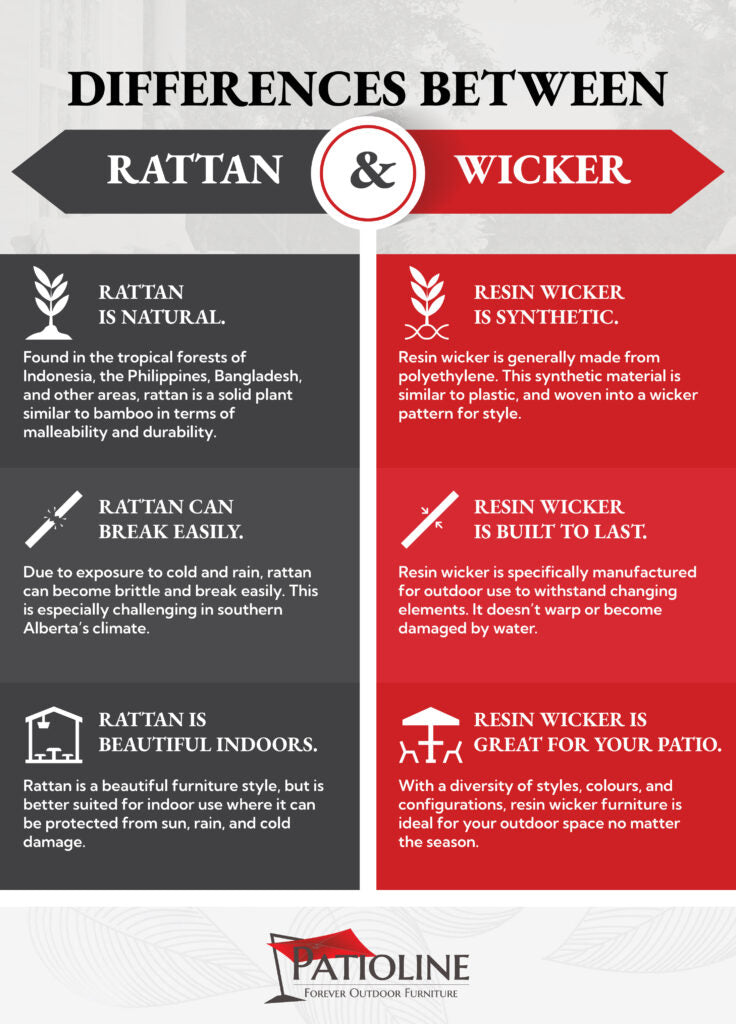
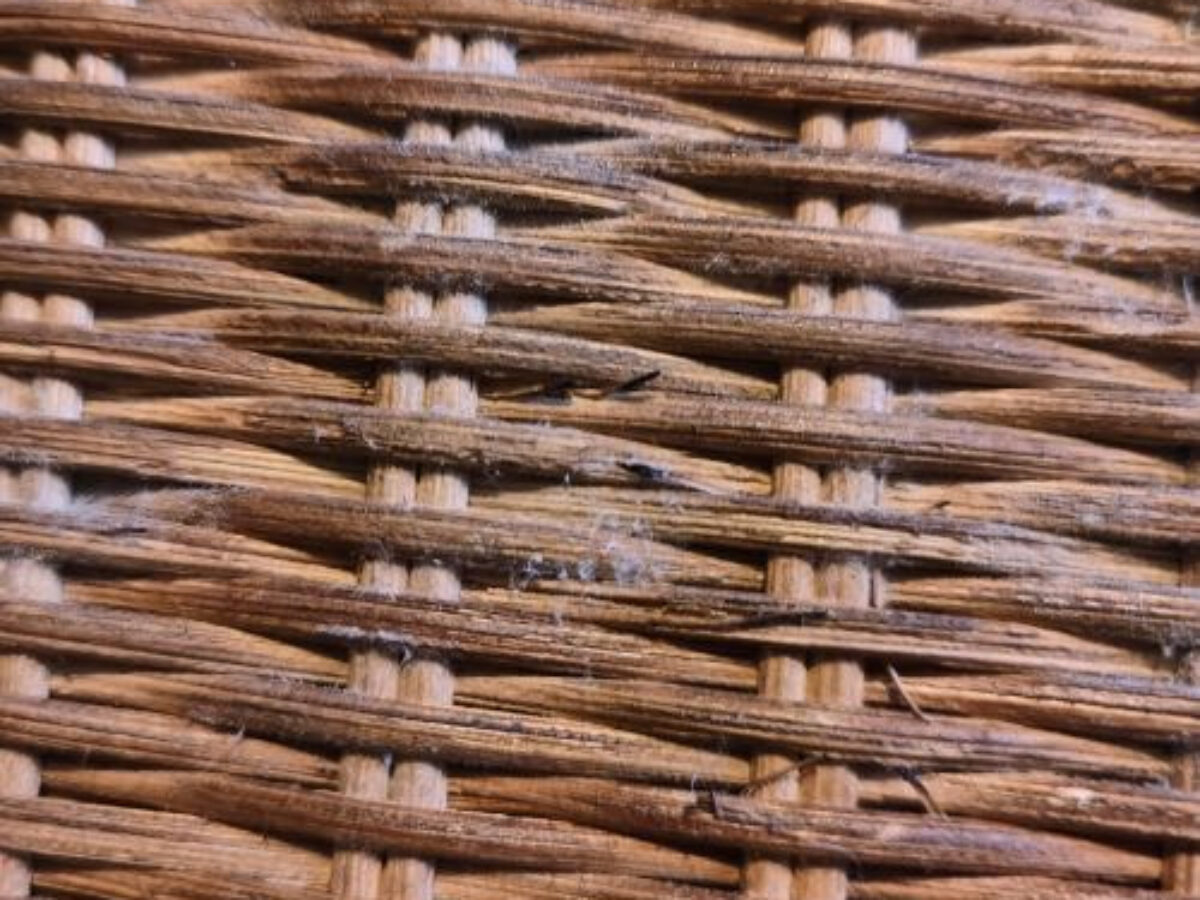
Before grabbing any cleaning supplies, you must identify your wicker’s material—this determines your entire cleaning approach. Natural wicker made from rattan, bamboo, or reed requires extreme care with moisture since these organic fibers absorb water quickly and can warp or crack. Test your chair by feeling the texture: natural fibers have a slightly rough surface with visible grain patterns and subtle color variations.
Synthetic wicker, typically made from resin or vinyl, offers more cleaning flexibility. These materials resist moisture better and maintain color integrity, making them ideal for high-traffic areas. Quick identification tip: synthetic weaves feel smoother to the touch and often have perfectly uniform coloring throughout the material. If you’re unsure, check manufacturer tags or recall whether your chairs came from an indoor-specific collection.
Inspect for Damage Before Proceeding
Before applying any liquid, examine your chairs for warning signs that require special attention. Press gently on seat and back areas to test for sagging that indicates weakened support structure. Look for white powdery residue signaling dried-out natural fibers or dark spots that could be mold growth.
Remove all cushions to access the full frame and check where dust accumulates most heavily. Check armrest joints and leg connections for loose strands that might unravel during cleaning. This inspection takes just 2 minutes but prevents costly mistakes—you shouldn’t use moisture on chairs showing significant structural damage.
Assemble Your Wicker Cleaning Arsenal

Must-Have Basic Cleaning Tools
Gather these specific tools before starting:
– Soft-bristled brush: Natural or synthetic bristles, 1-2 inch width
– Vacuum attachments: Brush head and crevice tool essential
– Microfiber cloths: Lint-free, 3-4 pieces minimum
– Soft toothbrush: For detailed pattern work
– Cotton swabs: Perfect for tight corners
Skip these common mistakes: Never use stiff brushes that snag delicate weaves or paper towels that leave lint behind. Your vacuum should have variable suction—use the lowest setting possible to avoid pulling strands loose.
Create Effective Cleaning Solutions
Standard solution: Mix 1 quart warm water with just 2 drops of pH-neutral dish soap until lightly sudsy. Never use hot water—it can shock natural fibers and cause shrinkage. For sanitizing, create a vinegar solution using 1 part white vinegar to 4 parts warm water. Add 2-3 drops of lemon essential oil to eliminate vinegar odor while cleaning.
Pro tip: Keep denatured alcohol handy for sticky residues, but always test in a hidden spot first. For mold issues, have 3% hydrogen peroxide ready in a spray bottle—it’s stronger than vinegar but requires careful rinsing.
Remove Deep-Set Dust Without Damaging Fibers
Master the Dry Cleaning Method
Start by taking chairs outside or placing them on a protective covering. Work systematically from top to bottom using your vacuum’s lowest suction setting. The brush attachment prevents fiber damage while removing surface dust effectively.
Pay special attention to:
– Armrest joints where dust collects in corners
– Back support intersections with complex weave patterns
– Leg connection points hidden beneath the seat
– Underside areas often overlooked during routine cleaning
Time estimate: Allow 10-15 minutes per chair for thorough dry cleaning. Rushing this step means moisture will turn embedded dust into mud during wet cleaning.
Extract Stubborn Particles Safely
For deeply embedded debris, use compressed air in short bursts. Hold the can 6-8 inches away to avoid moisture buildup from the propellant. Work in small 6×6 inch sections, rotating the chair to access every angle. Tap gently with your soft brush to dislodge stubborn particles trapped deep within the weave.
Warning: Never blow directly into tight spaces—this forces dust deeper into the structure. If particles won’t budge, switch to a soft toothbrush with light circular motions.
Clean Wet Without Causing Warping or Mold
Apply Solutions Without Over-Saturating
Test first by applying your cleaning solution to an inconspicuous area like the chair’s underside. Wait 5 minutes to ensure no color bleeding or fiber swelling occurs.
Dampen—don’t saturate—your microfiber cloth with the cleaning solution. Follow the weave direction to prevent snagging delicate strands. Work in small sections no larger than your hand, immediately following each cleaned area with a dry cloth to prevent moisture absorption.
Critical tip: Natural wicker should never feel wet to the touch during cleaning—synthetic can handle slightly more moisture but still requires immediate drying.
Eliminate Specific Stain Types Properly
For food spills, blot—never rub—with a cloth dipped in your vinegar solution. Grease stains require immediate attention: sprinkle cornstarch on fresh spots, let sit 15 minutes to absorb oil, then vacuum away before cleaning.
Ink stains need denatured alcohol applied sparingly with a cotton swab. Dab gently from the stain’s outer edge toward the center to prevent spreading. Water stains respond well to a baking soda paste—apply, let dry completely, then brush off residue.
Complete the Rinse and Dry Process Correctly
Remove All Soap Residue Thoroughly
Use a fresh, damp cloth with plain water to remove all cleaning solution traces. Change rinse water frequently—dirty water redeposits grime into clean fibers. Check for sticky areas by running your hand across the surface; any tackiness indicates remaining residue that will attract more dirt.
Pro technique: Rinse in the opposite direction of your initial cleaning to ensure complete residue removal from complex weave patterns.
Execute Proper Drying to Prevent Mold
Blot excess moisture using absorbent towels. Position chairs in well-ventilated areas away from direct sunlight or heat sources that can cause cracking. Set up fans on low speed to accelerate drying, but maintain at least 3 feet distance to prevent fiber stress.
Allow 24-48 hours complete drying time before using chairs again. Check interior crevices with your hand—any remaining dampness can lead to mold growth within 48 hours. Never skip this step—rushing use causes the most common wicker damage.
Treat Mold and Mildew Before It Spreads
Recognize Early Warning Signs
Catch problems early by checking for:
– Musty odors when sitting down
– Dark spots on natural fibers
– Damp feeling to the touch
– White fuzzy growth in corners
Immediate action: Isolate affected chairs to prevent spore spread to other furniture.
Eliminate Mold Safely and Completely
Mix equal parts white vinegar and water in a spray bottle. Apply liberally to affected areas and let sit 15 minutes—vinegar kills 82% of mold species naturally. Scrub gently with a soft brush, rinse thoroughly, then dry in sunlight if possible.
For severe cases: Use 3% hydrogen peroxide in a spray bottle. Let bubble for 10 minutes before scrubbing. This stronger approach tackles stubborn mold but requires careful rinsing to prevent fiber damage. Always wear gloves when treating mold.
Maintain Your Wicker Chairs With Minimal Effort
Establish a Weekly Care Routine
Spend just 2 minutes each week dusting with a dry microfiber cloth. Rotate chair positions monthly to prevent uneven fading from sunlight exposure. Check for loose strands while dusting—catching problems early prevents major repairs.
Conduct Monthly Deep Maintenance
Vacuum thoroughly using the brush attachment, paying attention to areas where dust accumulates most. Inspect joints and connections for stability issues. Apply furniture polish specifically formulated for natural fibers every 3-4 months to prevent brittleness.
Prevent Future Damage Proactively
Control Humidity to Protect Natural Fibers
Maintain indoor humidity between 40-50% using a digital hygrometer. Avoid placing chairs near HVAC vents where temperature fluctuations stress fibers. In dry winter months, use a humidifier to prevent natural wicker from becoming brittle.
Shield From UV Damage Effectively
Position chairs away from direct sunlight that fades colors and weakens fibers. Use UV-filtering window treatments in rooms with significant sun exposure. Rotate furniture monthly to ensure even aging and prevent permanent shadow lines.
Fix Common Issues Before They Worsen
Repair Loose Weaving Immediately
Identify the loose strand’s origin point by following the weave pattern. Apply wood glue sparingly to frame connections, then tuck loose ends back into the original pattern. Secure with small upholstery tacks if necessary, placing them in inconspicuous locations.
Restore Faded Natural Wicker
For light restoration, apply lemon oil and place chairs in indirect sunlight for 2-3 hours. This gentle method revives natural luster without harsh chemicals. For deeper restoration, use specialized wood stain matched to your original color, applying with a soft cloth in thin, even coats.
Your indoor wicker chairs will maintain their beauty and functionality with this systematic approach to cleaning. Remember: gentle, consistent care prevents the deep damage that requires expensive restoration. Set up your weekly dusting routine today, and those intricate weaves will continue adding warmth and character to your space for years to come. The key to successful wicker maintenance is understanding your specific material type and responding with appropriate care—never treat all wicker the same. By following these precise techniques, you’ll keep your indoor wicker chairs looking like new while preserving their structural integrity for decades.


