
That sinking feeling when your favorite pool lounger collapses mid-recline isn’t just frustrating—it’s a summer mood killer. Most pool lounge chairs develop repairable issues within 2-3 seasons due to UV exposure, chlorine damage, and daily wear. The good news? How to fix pool lounge chairs is simpler than you think. With basic tools and targeted techniques, you can revive wobbly frames, torn mesh, and stuck recliners in a weekend. This guide delivers step-by-step solutions for the six most common failures, saving you hundreds compared to replacement costs. You’ll learn to diagnose problems in minutes, execute professional-grade repairs, and implement seasonal maintenance that doubles your chair’s lifespan.
Diagnose Your Chair’s Critical Failure Points
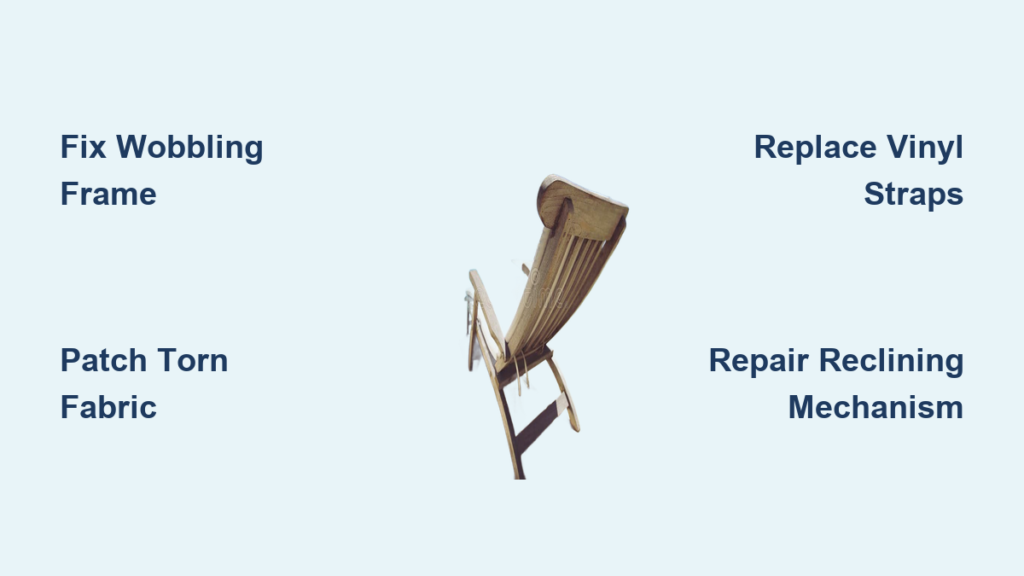
.pn)
Spot Fabric Damage Before It Spreads
Tears in mesh or vinyl always start at high-stress zones where fabric meets the frame. Run your fingers along attachment rails—brittle texture or visible cracks signal UV damage. For mesh chairs, inspect stitching along the seat curve; fraying threads mean failure is imminent. Vinyl strap models fail where bends occur near frame corners. Perform this quick test: Sit fully reclined and shift your weight side-to-side. If you feel sudden sinking or hear fabric stretching, the attachment points are compromised. Ignoring these signs leads to complete fabric detachment within weeks.
Identify Dangerous Frame Weaknesses
Wobbling isn’t just annoying—it’s a structural red flag. Grab both armrests and apply firm sideways pressure. Any movement beyond 1/8 inch indicates loose joints. Flip the chair and examine welds where legs meet the seat frame; hairline cracks mean catastrophic failure is coming. For steel models, check joints for rust bubbles—these form when pool chemicals eat through paint. Aluminum frames develop telltale white powder at loose rivet points. Hydraulic piston leaks appear as dark streaks on the cylinder. Catch these early, and you’ll avoid emergency repairs when someone falls through the seat.
Gather These Exact Repair Tools (No Guesswork)

Critical Supplies for Immediate Fixes
Skip generic tool lists—grab these specific items based on your chair type:
– For fabric: UV-resistant polyester thread (not cotton), Phifertex mesh scraps, marine vinyl patches, 1/4″ polyester lacing cord
– For frames: Aluminum rivets (1/8″ diameter), stainless steel bolts (10-32 x 1″), naval jelly rust converter
– Must-have tools: Rivet gun, hex key set, leather punch, silicone spray lubricant (never use WD-40)
Pro Tip: Buy stainless steel hardware even for aluminum chairs. The $5 extra prevents corrosion that ruins cheap bolts within months. For hydraulic repairs, bring the old piston to a pool supply store—they’ll match the exact model number.
Fabric Repair Shortlist
Don’t waste time on mismatched materials. For mesh chairs, get 500-hour UV-rated Phifertex in your chair’s weave pattern. Vinyl strap replacements require 1.5mm marine-grade vinyl—thinner material cracks faster. Always buy grommets rated for outdoor use; standard craft-store versions disintegrate in sun exposure. If re-meshing completely, purchase 20% more fabric than your measurements—UV-damaged frames often need extra material to wrap securely.
Fix Torn Seating Surfaces in Under an Hour
Emergency Mesh Tear Patch (Under 2″)
Don’t let small tears become big problems. Clean the area with soapy water and dry completely—damp fabric won’t hold repairs. Cut a patch 1″ larger than the tear on all sides. Thread a heavy-duty needle with UV-resistant thread and use a whip stitch around the tear’s edge, pulling tight after each stitch. Apply marine adhesive like 3M 5200 along the patch perimeter. Most critical step: Weight the repair with books for 24 hours—using it too soon peels the patch loose. This fix lasts 1-2 seasons for tears under 2 inches.
Replace Failed Vinyl Straps Correctly
Soak new straps in hot water for 5 minutes—they’ll stretch 20% easier during installation. Remove old straps by prying out plastic plugs with a flathead screwdriver. Measure precisely against old straps; vinyl shrinks slightly when dry. Punch holes using a leather punch matching the original pattern—offset holes cause uneven tension. Attach straps starting from the center outward, pressing each strap to ensure it deflects exactly 1/2 inch under finger pressure. Replace all plugs immediately—they prevent snags and hide screw heads that could rip swimwear.
Stop Wobbling Frames Permanently
Aluminum Rivet Repair That Lasts
Loose rivets cause the most dangerous wobbles. Drill out the old rivet using a bit 1/32″ larger than the rivet shaft. Clean the hole with a wire brush until bare metal shows—oxidation prevents proper sealing. Apply aluminum primer like AlumiPrep 330 to prevent future corrosion. Insert a new rivet and squeeze the rivet gun firmly until the mandrel snaps and the rivet head flattens completely. Test by standing on the chair frame (carefully!)—if it still moves, you need the next-size-up rivet. Never use bolts here; they vibrate loose faster than rivets.
Rust Removal for Steel Frames That Works
Don’t just sand rust—it comes back within weeks. Start with 80-grit sandpaper to remove loose flakes, then apply naval jelly rust converter with a foam brush. Wait exactly 10 minutes (set a timer!), then rinse with baking soda solution to neutralize acid. Dry completely with a heat gun before applying rust-inhibiting primer like Rust-Oleum Stops Rust. Finish with two coats of enamel spray paint. For poolside chairs, add a clear UV-resistant topcoat—this blocks sun damage that causes new rust spots.
Revive Stuck Reclining Mechanisms
Ratchet System Unclogging Method
When your chair won’t lock in position, sand and debris are clogging the teeth. Remove cotter pins with needle-nose pliers and slide out the ratchet bar. Soak it in degreaser for 15 minutes, then scrub teeth with a brass brush—steel brushes damage soft metal. Inspect gear teeth: If more than 20% show rounded edges, replace the part. Reassemble with dry Teflon lubricant on all contact points. Critical test: Apply weight while cycling positions—proper engagement requires at least three teeth locked at all times. If it slips, the gear is too worn for repair.
Hydraulic Piston Replacement Shortcut
Leaking fluid means immediate replacement—hydraulic systems can’t be rebuilt DIY. Support the chair frame with wood blocks before disconnecting. Use a flare nut wrench on hydraulic lines to avoid rounding fittings. Install the new piston in the exact orientation (note arrow markings). Bleed air by reclining the chair 15 times slowly—skip this step, and the mechanism will feel spongy. Final test: Sit fully reclined and bounce gently; smooth resistance means it’s working. Never exceed the piston’s rated weight limit during testing.
Prevent Next Season’s Breakdowns Now
Seasonal Maintenance That Actually Works
Spring ritual: After storage, tighten every bolt to manufacturer specs (over-tightening strips threads). Apply 303 Aerospace Protectant to all fabrics—this UV blocker extends life by 40%. Lubricate ratchets with silicone spray, not oil—it won’t attract sand.
Summer must-dos: Rinse chairs with fresh water after every pool chemical treatment. Check fabric tension weekly; sagging means re-tightening is needed. Store cushions separately during storms to prevent mildew.
Fall shutdown: Deep clean with mild detergent, then apply corrosion inhibitor like Boeshield T-9 to all metal. Store upright in a dry garage—never stack chairs, which warps frames. For saltwater pools, rinse twice as often; salt accelerates corrosion by 300%.
UV Damage Prevention That Matters
Apply UV protectant every 4 weeks during peak season—not monthly. Store chairs under shade sails when possible; direct sun degrades materials 5x faster. Rotate chair positions weekly so fading occurs evenly. For mesh chairs, upgrade to 1000-hour UV-rated Phifertex during repairs—it costs 15% more but lasts twice as long. Never use plastic tarps for storage; trapped moisture causes rust and mildew.
Know When to Repair vs. Replace (Save $200+)
The 60% Repair Rule
Total repair costs should stay under 60% of a new chair’s price. Example: If your $300 chair needs $180 in parts/labor, repair it. But if budget models under $150 need $100 fixes, replace them. High-end chairs ($400+) almost always warrant repairs—aluminum frames and replaceable components make them cost-effective long-term. Hydraulic pistons cost $45-85; re-meshing runs $50-120. Frame welding exceeds $150 per joint—get quotes before committing.
Safety Red Flags That Demand Replacement
Stop using chairs immediately if you see:
– Hairline cracks extending from weld points
– Progressive loosening despite multiple tightening attempts
– Fabric pulling away from attachment rails
– Hydraulic fluid leaks that won’t stop
Temporary fixes like aluminum braces only support 50% of rated weight. If you spot these issues, replace the chair—no repair is worth injury risk. When in doubt, consult a pool furniture specialist; their $50 inspection beats a $5,000 medical bill from a collapsing chair.


