
Your favorite vinyl dining chair just snagged on a belt buckle. That office chair developed a spiderweb crack from afternoon sun. Or maybe your patio chair’s vinyl peeled away after one too many poolside splashes. Before you write off damaged vinyl furniture, know this: 95% of common vinyl chair damage can be permanently repaired in under two hours with a $20 toolkit. This guide delivers battle-tested methods to fix tears from pet claws, UV-induced cracks, and peeling edges—no professional help needed.
Most vinyl chair failures stem from three preventable mistakes: using household glue instead of vinyl-specific adhesive, skipping surface prep, and rushing the curing process. By following these precise techniques, you’ll restore both structural integrity and appearance. You’ll learn to match colors perfectly, replicate textures invisibly, and even replace entire sections like a pro. Let’s transform that damaged chair from eyesore to centerpiece.
Essential Repair Tools & Materials You Can’t Skip
Basic Kit for 90% of Repairs
Forget generic hardware store supplies—vinyl requires specialized materials. Your core toolkit must include:
– Vinyl-specific adhesive (like Barge All-Purpose Cement)—never use super glue or craft glue
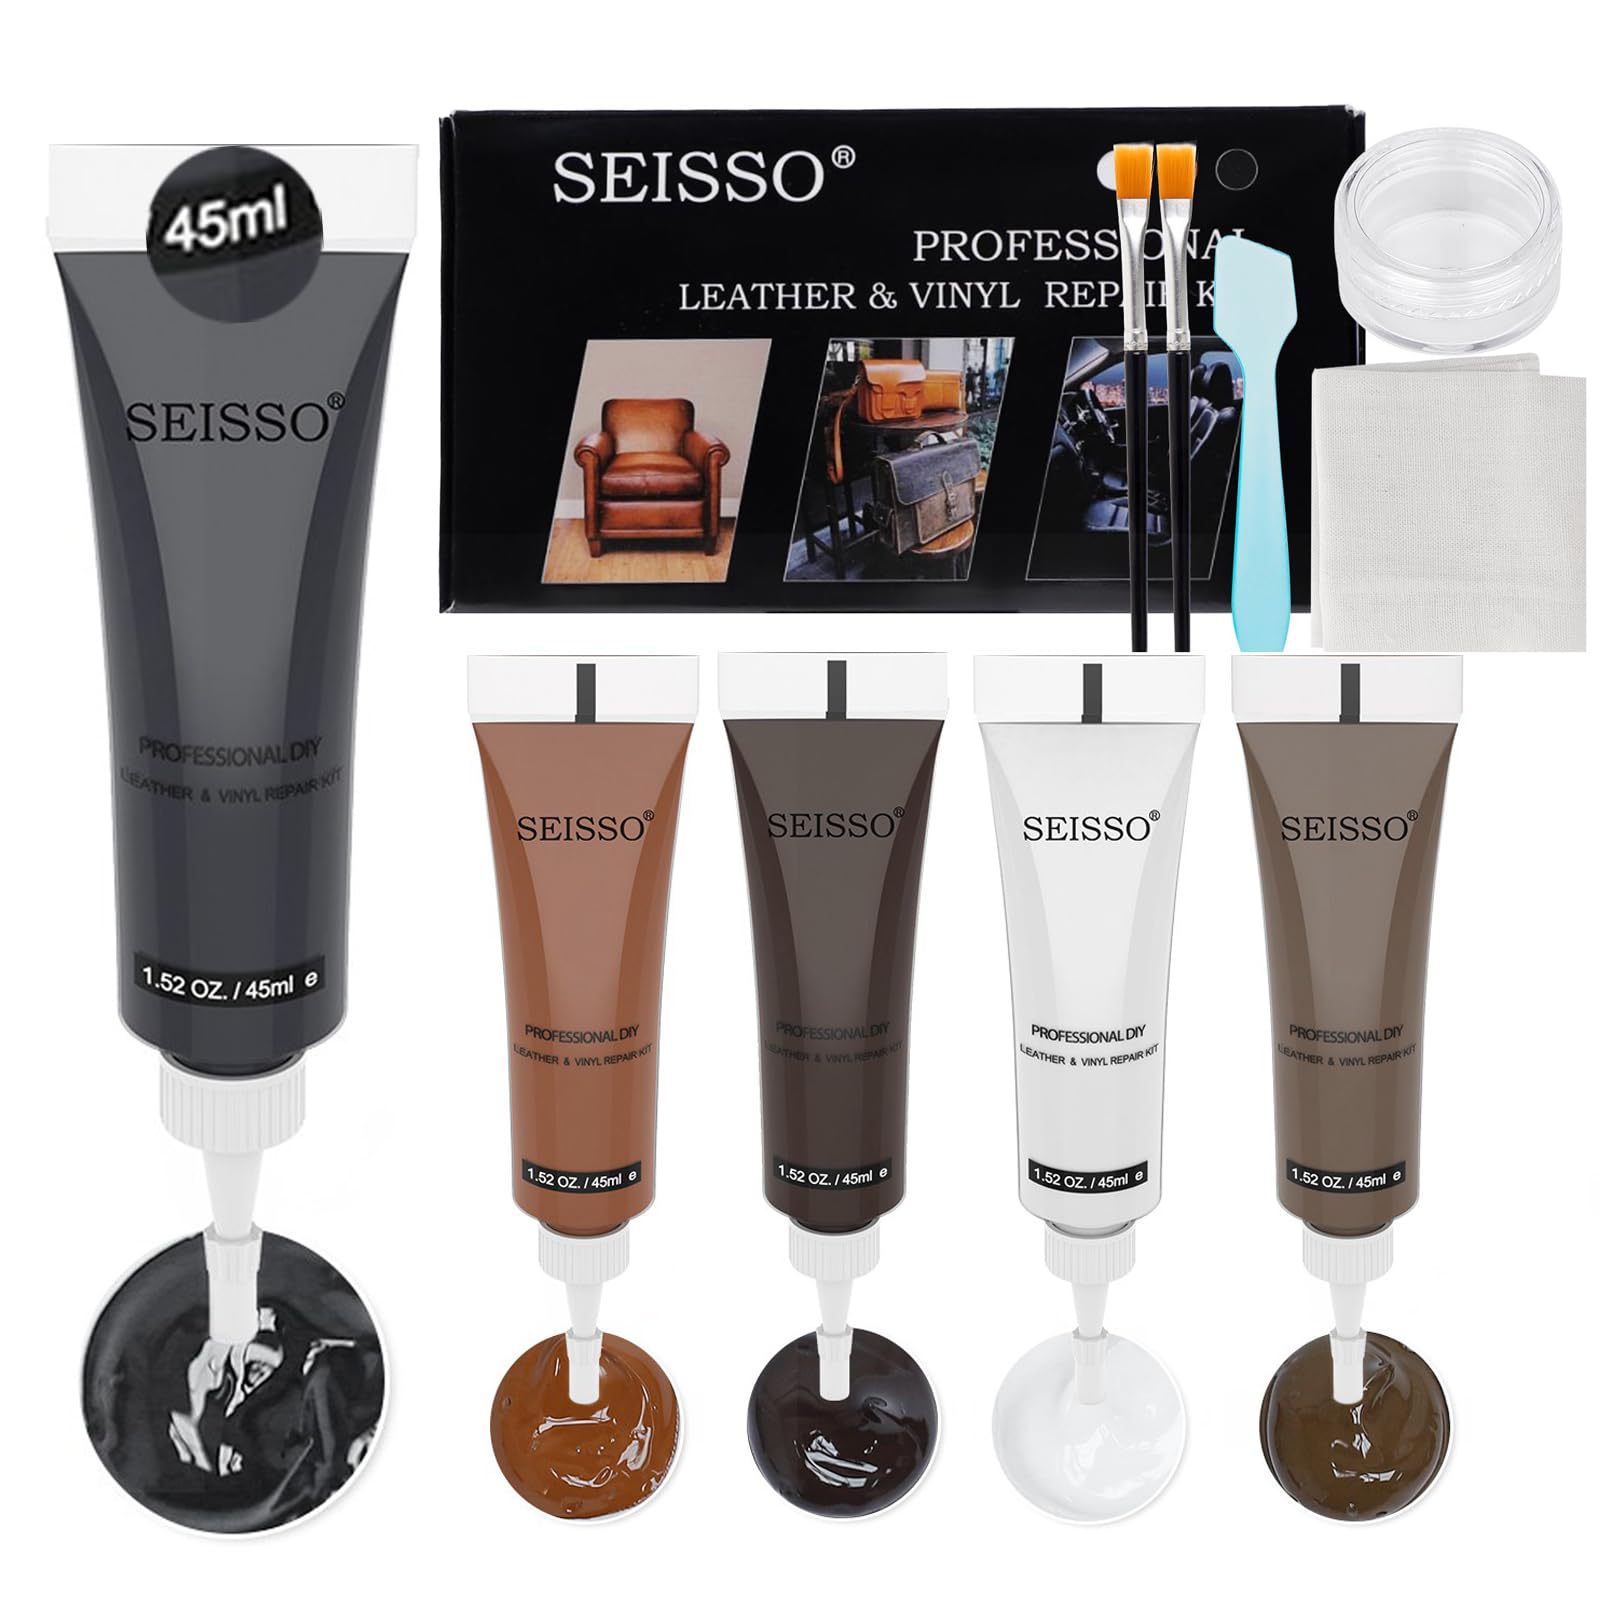
– 2-part vinyl repair compound (Fiebings or Tear-Aid kits work best)
– 320-400 grit sandpaper for micro-abrasion without scratching
– Isopropyl alcohol (90%+) and microfiber cloths for oil-free cleaning
– Heat gun (not a hair dryer—critical for texture setting)
– Grain paper matching your vinyl’s texture (smooth, pebble, or leather-grain)
Advanced Fixes Require These Specialized Items
For deep cracks or large tears, add:
– Self-adhesive vinyl patches in matching color/weight (find at auto upholstery shops)
– Vinyl edge sealer to prevent future peeling
– Contact cement for section replacements (requires precise tack timing)
– Upholstery needle and polyester thread if re-stitching seams
Diagnose Your Vinyl Damage in 60 Seconds

Surface Issues: Fix in Under 1 Hour
Small punctures (<1 inch): Caused by keys or pet claws. Fix method: Fill with compound + texture replication.
Peeling edges: Result of adhesive failure. Fix method: Re-glue + edge sealing.
Sun cracks (spiderweb pattern): UV damage. Fix method: Multi-layer filler + UV protectant.
Structural Failures: Weekend Repairs
Tears wider than 2 inches: Requires backing patch. Fix time: 3 hours.
Foam collapse under seat: Visible sagging. Fix method: Vinyl replacement + foam swap.
Complete seam separation: Stitching failure. Fix method: Re-staple + reupholster.
Fix Small Tears & Punctures in 45 Minutes
Clean & Prep the Damage (Skip This = 90% Repair Failure)
Dip a microfiber cloth in isopropyl alcohol and scrub the tear area with firm pressure for 30 seconds. This removes invisible oils that block adhesion. Let dry completely—do not skip drying time. Lightly sand tear edges with 400-grit paper until smooth. Pro tip: Run your fingernail along the tear—if it catches, sand more.
Apply the Repair Compound Like a Pro
Mix 2-part vinyl compound until uniform color (usually 2 minutes). Use a toothpick to apply a thin layer under the tear edges, then press torn pieces together. Overfill the puncture slightly with compound. Immediately press matching grain paper onto wet compound. Hold heat gun 6 inches away at 150°F for 20 seconds—never stop moving. Let cure 6 hours before use. Critical: Test heat settings on chair’s underside first to avoid melting.
Repair Medium Tears (2-6 Inches) Without Visible Seams
Create Invisible Patches That Last
Cut a vinyl patch 1 inch larger than the tear on all sides. Always round patch corners—sharp corners peel within weeks. Slide patch under tear using a butter knife. Apply adhesive to both surfaces, wait 2 minutes until tacky (not wet!), then press from center outward with a roller. Warning: Trapped air bubbles cause future lifting—use firm, even pressure. Weight with books for 24 hours.
Seamless Technique for Seating Surfaces
For chair seats where patches show:
1. Cut backing patch from hidden chair area (underside or back)
2. Insert through tear and flatten beneath damage
3. Apply adhesive to backing and tear underside
4. Press vinyl layers together while maintaining original contours
5. Fill gap with color-matched compound
6. Replicate texture while wet using grain paper
Replace Entire Vinyl Sections Like a Upholsterer
Remove Damaged Vinyl Without Frame Damage
Use seam ripper to cut stitches—never pull threads. Take photos before removing vinyl; these are your reassembly blueprint. Trace damaged piece onto cardboard for template. Cut new vinyl 1/4 inch larger than template—this allows stretch room for curves.
Install New Vinyl Wrinkle-Free
Apply contact cement to frame and new vinyl. Wait 25 minutes until tacky (touch test: should lift slightly when finger pressed). Starting at center, smooth vinyl outward using heat gun on low (120°F). Key technique: Stretch vinyl over curves with heat gun 4 inches away while smoothing with a plastic scraper. Trim excess with razor blade after 1 hour.
Restore Color & Texture Perfectly
Match Colors Like an Auto Detailer
Take a hidden vinyl swatch (chair underside) to an auto parts store—they match vinyl colors better than fabric stores. For DIY mixing: Start with base color lighter than original. Add tints drop-by-drop. Critical step: Test dried color under natural light—vinyl darkens 20% as it cures.
Replicate Texture Without Practice Scraps
Choose grain paper matching your vinyl’s pattern (pebble grain for patio chairs, smooth for dining). Heat gun setting: 160°F. Apply grain paper in 5-second pulses while compound is wet. Pro mistake to avoid: Pressing too hard creates unnatural texture—let heat do the work.
Prevent Future Vinyl Damage With These Daily Habits
Immediate Spill Response Protocol
Blot spills with microfiber cloth—never rub. For sticky residues, use 1:1 water/isopropyl solution. Urgent: Coffee cup rings cause permanent cracks within 30 days if not cleaned—wipe immediately.
Monthly Maintenance That Doubles Lifespan
- Deep clean with Armor All Vinyl Cleaner (never use bleach)
- Apply 3M Vinyl Protectant with microfiber applicator
- Inspect seams with flashlight for early peeling
- Rotate chair cushions to distribute wear
Emergency Fixes When You Need Chairs Working NOW
10-Minute Solutions That Buy Time
Clear vinyl tape: Apply over small tears (lasts 2 weeks)
Hot glue: Reattach peeling edges (remove within 7 days to avoid residue)
Super glue: Seal pinholes (only on non-seating areas—discolors vinyl)
Build a Travel Repair Kit
Pack in a pencil case:
– Pre-cut vinyl patches
– Alcohol wipes
– Mini tube of Barge cement
– Clear 1/2″ vinyl tape
Document damage with phone before temporary fixes—schedule permanent repair within 30 days.
Safety & Cost-Saving Insights
Avoid These Dangerous Mistakes
Never use acetone on vinyl—it dissolves protective coatings. Work in ventilated areas when using adhesives. Wear cut-resistant gloves with razor blades. Keep heat guns moving—stationary heat melts vinyl in 8 seconds.
Repair vs. Replace Cost Breakdown
DIY repair: $15 for small tears (lasts 3+ years)
Professional repair: $120 for large tears (worth it for antique chairs)
Replacement cost: $85+ per chair—repair pays for itself in 2 fixes
Final Takeaway: Vinyl chair repairs succeed when you match the method to the damage type and use specialized materials. Start with small punctures to build confidence—within two hours, you’ll have a chair that looks factory-new. The most critical step? Never skip the isopropyl alcohol cleaning. Do this right, and your repaired vinyl chair will outlast store-bought replacements. For complex foam replacements or color matching, take photos to an auto upholstery shop—they’ll advise for free. Your perfectly repaired chair awaits—grab that heat gun and get started today.


