
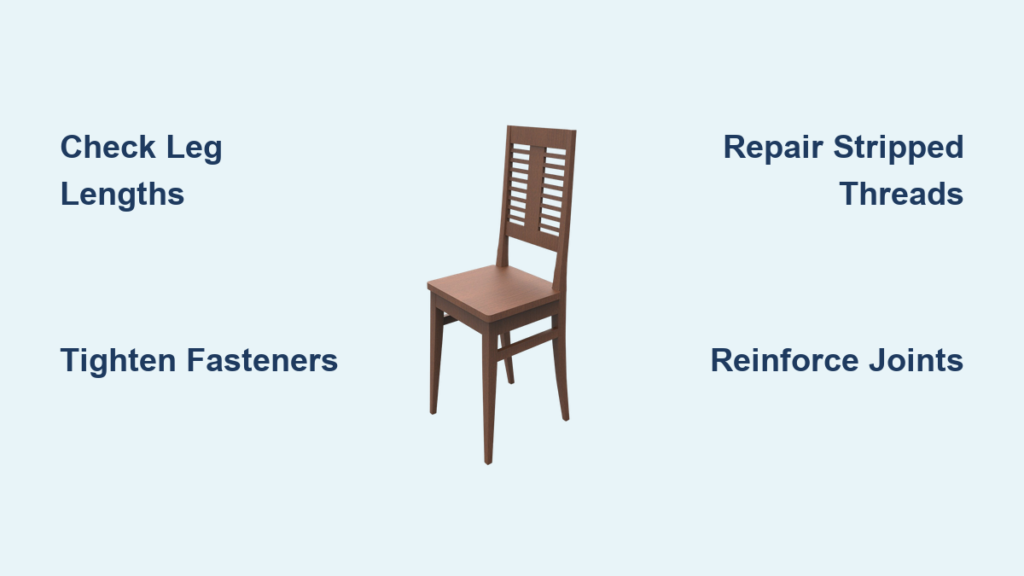
That familiar wobble under your dinner plate isn’t just annoying—it’s a silent warning sign. When your dining chairs shake with every shift in position, you’re dealing with compromised structural integrity that could lead to embarrassing collapses during family meals. The good news? How to fix loose dining chairs is one of the most accessible furniture repairs for DIYers, with 90% of wobbling problems solvable using basic tools and techniques you likely already own. This guide delivers field-tested solutions for every instability scenario, from simple bolt tightening to reconstructing failed joints, so you can restore rock-solid stability without replacing your entire set.
Most dining chair failures stem from design flaws masquerading as wear-and-tear. Mass-produced RTA (Ready-to-Assemble) chairs often rely on just two bolts per leg with glued-on corner blocks—a recipe for inevitable loosening. Even well-crafted traditional chairs suffer from wood compression around fastener holes after years of use. But whether you’re dealing with a $20 IKEA special or a cherished heirloom, the repair approach remains systematic: diagnose the specific failure point, then apply the precision fix that matches the damage level. Let’s eliminate that dangerous wobble for good.
Pinpoint Your Chair’s Exact Failure Point

Flip and Inspect Every Critical Joint
Turn your chair upside down on a stable work surface to access hidden connection points. Run your fingers along every seam where legs meet the seat frame and rails connect to the backrest. Apply firm pressure to each joint while watching for movement—loose connections often hide beneath decorative plugs or fabric skirts. Pay special attention to leg-to-seat joints, which bear 70% of your body weight during normal use.
Pro tip: Place a business card under suspect joints. If you can slide it through any gap, you’ve found a failed connection needing immediate repair. For bolt-only constructions (common in RTA furniture), check if the corner blocks are merely glued—not structurally secured—which explains why tightening bolts never solves the problem.
Test Leg Length Discrepancies First
Before tackling complex repairs, rule out simple uneven legs. Place the chair on your kitchen counter—its perfectly flat surface reveals height differences invisible on flooring. Gently rock the chair and note which leg lifts first. Measure from the seat bottom to floor tip at each corner using a metal ruler; even 1/16-inch differences cause noticeable wobbling on hard surfaces.
Critical check: If the chair rocks diagonally (front-left and back-right lifting simultaneously), you have a twisted frame requiring joint reconstruction. If it rocks front-to-back or side-to-side, uneven legs are the culprit—fixable in minutes with sanding or shimming.
Tighten Common Fastener Problems Like a Pro
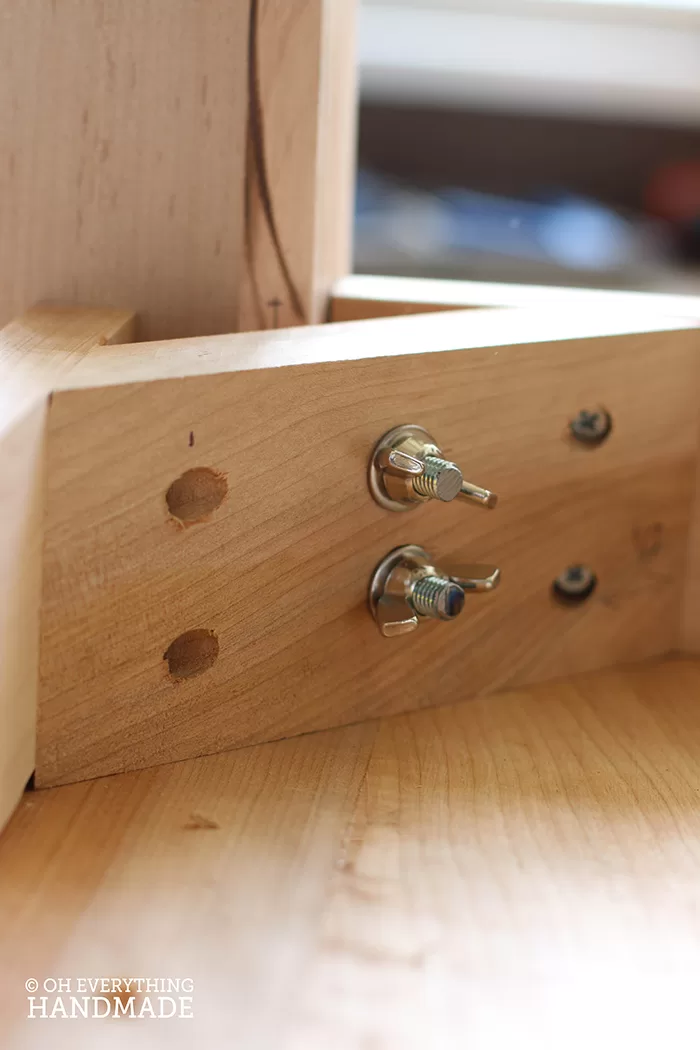
Locate All Concealed Hardware
Dining chairs hide structural fasteners under deceptive covers: plastic caps on bolt heads, wooden plugs over screw holes, or fabric skirts obscuring seat-frame connections. Use a dental pick to pry off plastic caps without damage, and drill out wooden plugs carefully with a 1/8-inch bit if they’re glued shut. Shine a flashlight into every corner where components join—many chairs use recessed bolts requiring deep socket attachments.
Warning: Never use pliers on stripped bolt heads—this destroys your last chance for mechanical repair. Instead, apply penetrating oil and wait 15 minutes before attempting removal with a properly sized wrench.
Systematic Tightening Protocol
Work methodically around the chair, testing stability after each adjustment:
- Start with leg-to-seat connections using the correct-sized wrench (never overtighten—stop when resistance increases sharply)
- Move to backrest-to-seat joints, checking for hidden bolts beneath upholstery
- Test stability by sitting gently and shifting weight side-to-side
- If wobbling persists, immediately suspect stripped threads or failed joints
Key insight: If bolts tighten but loosen again within days, wood threads have failed—requiring toothpick or epoxy repair described next. This is especially common in particleboard RTA furniture.
Repair Stripped Wood Threads Without Replacement
Toothpick Method for Bolt Hole Restoration
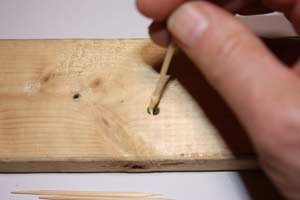
When bolts spin freely without gripping, stripped wood threads need rebuilding. Remove the bolt and insert dry toothpicks into the hole until they bottom out. Mark the depth with a pencil, then cut toothpicks precisely to length. Apply wood glue liberally to each piece before reinserting them tightly into the hole. Wipe excess glue immediately with a damp cloth.
Pro tip: For chair legs, use three toothpicks arranged in a triangle for maximum grip strength. Allow 24 hours curing time before reinstalling the bolt—rushing this step guarantees failure. This method works best for minor stripping in solid wood.
Epoxy-Sawdust Repair for Severe Damage
For completely stripped holes or particleboard construction, mix fine sawdust with 5-minute epoxy to form a thick paste. Remove all loose debris from the hole using a small screwdriver, then pack the mixture tightly with a matchstick. Overfill slightly to compensate for shrinkage during curing. Let cure 48 hours before drilling a new pilot hole 1/16-inch smaller than your bolt.
Critical note: Epoxy creates threads stronger than original wood but requires precise hole sizing. Test fit the bolt before final insertion—forcing it can crack the repair.
Rebuild Failed Chair Joints Completely
Disassembly Strategy for Glue-Joint Failure
When chair backs or legs separate completely, partial fixes won’t last. Use reversed trigger clamps to gently pull joints apart—apply steady pressure until old glue releases. Label each component with masking tape noting orientation (“Front Left Leg”). Clean all glue residue with 120-grit sandpaper followed by sharp chisels for stubborn spots.
Expert move: Photograph each joint during disassembly. This visual guide prevents misalignment during reassembly—a common cause of renewed wobbling.
Select the Right Adhesive for Your Chair Type
Tite Bond Original: Best for modern solid wood chairs. Apply thin coat to both joint surfaces, assemble within 8 minutes, clamp 30 minutes.
Hide Glue: Essential for antiques—reversible with steam for future repairs. Requires heating to 140°F for application.
Chair Doctor Glue: Penetrates existing gaps without disassembly. Inject into joints using included syringe, wait 24 hours.
Epoxy: Use only for severely damaged joints needing maximum strength—mixed batches harden in 5 minutes.
Warning: Never use super glue on chair joints—it creates brittle bonds that fail under stress.
Reinforce Weak Structural Points Permanently
Install Invisible Corner Brackets
Metal L-brackets provide hidden reinforcement for chronically loose joints. Position 1-inch brackets inside leg-to-seat corners where they won’t interfere with seating. Drill 1/8-inch pilot holes through bracket flanges into solid wood (not particleboard), then secure with 3/4-inch screws. For maximum strength, apply construction adhesive to the bracket before installation.
Pro tip: Paint brackets matte black before installation—they’ll disappear against dark wood grain while adding 200% more joint strength.
Apply Strategic Construction Adhesive
PL400 adhesive creates bonds stronger than wood itself. Apply a thin bead along rail-to-leg seams using a popsicle stick, then work it into gaps with finger pressure. Wipe excess immediately with mineral spirits. This method transforms flimsy RTA furniture into rock-solid seating—ideal for chairs with inadequate joinery.
Key insight: Adhesive alone won’t fix existing wobble—it prevents future loosening. Combine with thread repair for existing instability.
Correct Uneven Chair Legs in Minutes
Sanding Method for Precision Leveling
Mark the longest leg with tape, then sand the bottom evenly using 80-grit paper wrapped around a flat 2×4. Check progress every 30 seconds by placing the chair on your counter. Stop when all legs contact the surface simultaneously—typically 1/64-inch removal fixes most wobble.
Critical step: Sand all legs slightly to maintain uniform finish. Never sand more than 1/16-inch—excessive removal weakens structural integrity.
Shimming Technique for Major Height Differences
For legs shorter by 1/8 inch or more, cut a hardwood shim to match the leg’s footprint. Apply wood glue to both surfaces, then secure with a nail-on furniture slider driven through the shim into the leg. Trim excess shim material flush with a utility knife, and add felt pads to all legs for final micro-adjustment.
Pro tip: Use cork shims for chairs on carpet—they compress slightly to maintain stability on uneven surfaces.
Essential Tools for Lasting Repairs
Must-Have Basic Kit
- Deep socket wrench set: Reaches concealed bolts in RTA furniture
- Clamps: Four 6-inch bar clamps for joint reconstruction
- Wood glue syringe: Precise adhesive application in tight spaces
- 1/8-inch drill bit: For pilot holes in repaired threads
- Angle square: Verifies 90-degree joints during reassembly
Advanced Upgrades Worth Investing In
- Nut driver set: Prevents bolt head stripping during tightening
- Belt sander: For rapid leg leveling (use 80-grit only)
- Heat gun: Softens old glue for clean disassembly of antiques
- Thread locker: Blue Loctite formula for permanent bolt security
Prevent Future Wobbling With Smart Habits
Quarterly Maintenance Routine
Set phone reminders to inspect chairs every three months. Flip each chair and tighten all accessible fasteners—this 5-minute habit prevents 80% of major failures. Pay special attention to chairs used daily; kitchen chairs typically loosen three times faster than formal dining pieces.
Pro tip: Keep a small toolkit in your dining room closet—immediate tightening after noticing minor wobble prevents escalation.
Hardware Upgrades That Last
During reassembly, replace standard hardware with vibration-resistant solutions:
– Swap hex nuts for Nylock nuts that lock threads permanently
– Add star washers beneath bolt heads to maintain tension
– Use threaded inserts in particleboard for indestructible threads
Critical insight: Apply wood glue to all dowels and bolt threads during assembly—manufacturers omit this step to allow disassembly, sacrificing long-term stability.
Your dining chairs should provide unwavering support through countless family dinners and holiday feasts. By applying these targeted fixes—starting with simple tightening and progressing to joint reconstruction as needed—you’ll transform wobbly hazards into heirloom-quality seating. Remember that most repairs take under an hour with basic tools, yet extend your chairs’ life by decades. Document your successful fixes with photos and notes; this becomes invaluable when matching chairs develop the same issues. Most importantly, never ignore that first sign of wobble—addressing it immediately prevents dangerous collapses and preserves your investment in quality seating. Start with the leg-length check today, and enjoy rock-solid stability at your table tonight.


