
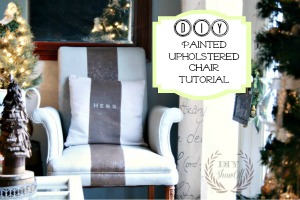
That faded canvas chair in the corner? The one with coffee stains you can’t scrub out or the sun-bleached fabric that clashes with your new decor? Before you write it off as junk, discover how painting canvas chairs can transform tired seating into stunning statement pieces. This budget-friendly technique revives vintage finds and modern chairs alike, giving you professional results without costly reupholstery. Forget temporary fixes like slipcovers—properly painted canvas creates a durable, waterproof finish that feels like soft synthetic leather. By the end of this guide, you’ll know exactly how to achieve long-lasting color that refreshes your space for years.
Canvas chairs are uniquely suited for painting because their tight weave prevents paint from soaking through unevenly. Unlike loose fabrics that become stiff or crunchy, canvas accepts paint smoothly while maintaining flexibility. Always test compatibility first: lightly spray water on a hidden spot—if it absorbs immediately (rather than beading up), your chair is ready for paint. Crucially, the original fabric must be lighter than your chosen color for full coverage. Skip this step and you’ll battle patchy results that require endless coats.
Why Sherwin Williams Emerald Latex Outperforms Other Paints

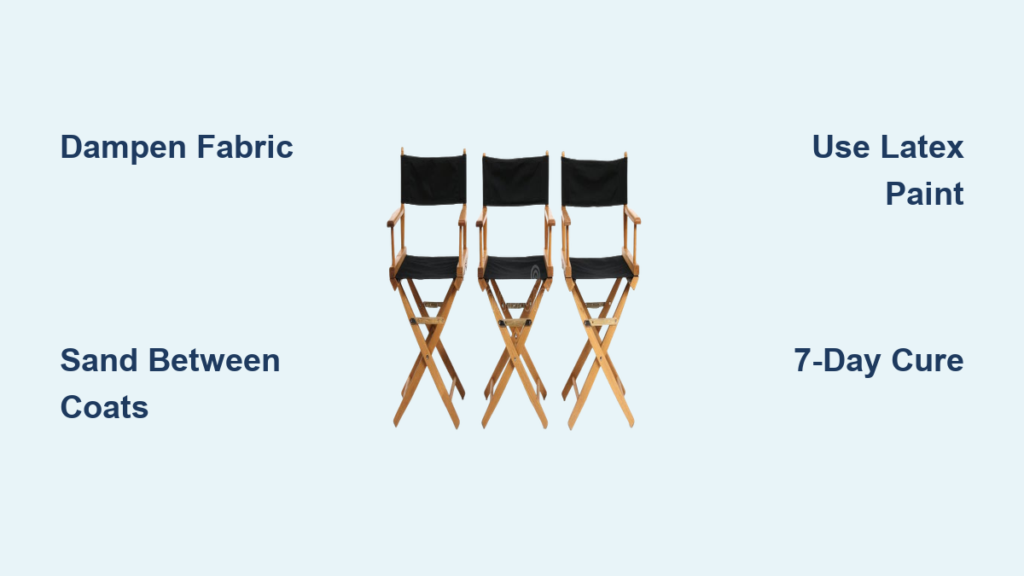
Skip generic fabric paints and reach for Sherwin Williams Emerald Latex in satin finish—the professional secret for flawless canvas chair makeovers. This VOC-compliant paint contains built-in anti-microbial agents that prevent mold and mildew growth, even in humid environments. Its satin formula delivers rich color payoff without unnatural shine, creating that coveted leather-like hand feel. When diluted properly, it penetrates canvas fibers without compromising softness—unlike fabric mediums that promise flexibility but deliver stiff results.
Dilution is non-negotiable: Mix 3 cups paint to 2 cups water until it resembles crepe batter. This precise ratio ensures deep fiber penetration while maintaining opacity. Test alternatives cautiously: chalk paint gives vintage matte finishes ideal for antique chairs, while Fabricoat works for specialized projects. But skip fabric mediums entirely—they don’t improve softness compared to correctly diluted latex, as real-world testing proves.
Safety-First Workspace Setup You Can’t Skip
Paint overspray travels farther than you think—protect your space before opening that first can. Cover floors with layered newspaper or canvas drop cloths; plastic sheeting traps moisture and causes drips. Ventilation is critical: work outdoors or in a garage with cross-breezes, especially when spraying. Your safety gear must include:
- N95 respirator mask (paint fumes penetrate standard dust masks)
- Nitrile gloves (latex won’t protect against paint solvents)
- Old clothing you don’t mind discarding
Create a spray shelter using plastic sheeting taped to walls if working indoors. Even brush painters need containment—those “controlled” strokes create invisible mist that lands on nearby surfaces. Skip this step and you’ll spend hours cleaning paint specks off walls and furniture.
Deep Cleaning and Dampening: The Hidden Keys to Adhesion
Vacuum and Treat Stains Before Wetting Fabric
Start by vacuuming every crevice with a brush attachment—dust trapped under paint causes bubbling later. Spot-treat stains now; once painted, dissolved stains will bleed through your new finish. Never skip the dampening step: lightly mist the entire canvas with water until it’s damp but not dripping. This pre-wetting is critical—it opens fabric fibers to accept paint evenly. Dry canvas repels paint, causing streaks and patchiness.
Protect Non-Fabric Components Immediately
Tape chair legs, metal frames, and decorative hardware with painter’s tape before cleaning. Canvas swells when wet, making it harder to seal edges later. Remove loose cushions and set aside buttons or tufting elements—you’ll paint these separately. Pro tip: Work on chairs upside down to access hidden seams. Missing this step leads to paint seeping under tape, creating messy lines that require tedious scraping.
First Coat Application: Where Most DIYers Fail
Spray vs. Brush: Choosing Your Weapon
For speed and flawless coverage, the HomeRight Finish Max sprayer cuts painting time by 70% while eliminating brush marks. Hold it 12 inches from the fabric and move in smooth, overlapping passes. Brush users must work in 6×6 inch sections with a soft-bristle brush, applying paint in multiple directions (up/down, side/side) to avoid pooling. Whichever method you choose, apply paint while the canvas is still damp from misting—this is the single biggest factor in achieving even adhesion.
Critical mistake to avoid: Don’t let the first coat dry before rubbing it in. While paint is wet, gently rub the surface with a clean rag in circular motions. This forces paint deep into fibers for permanent bonding—skip this and your finish will flake within months. You’ll only do this for the first coat.
Multi-Coat Mastery for Lasting Opacity
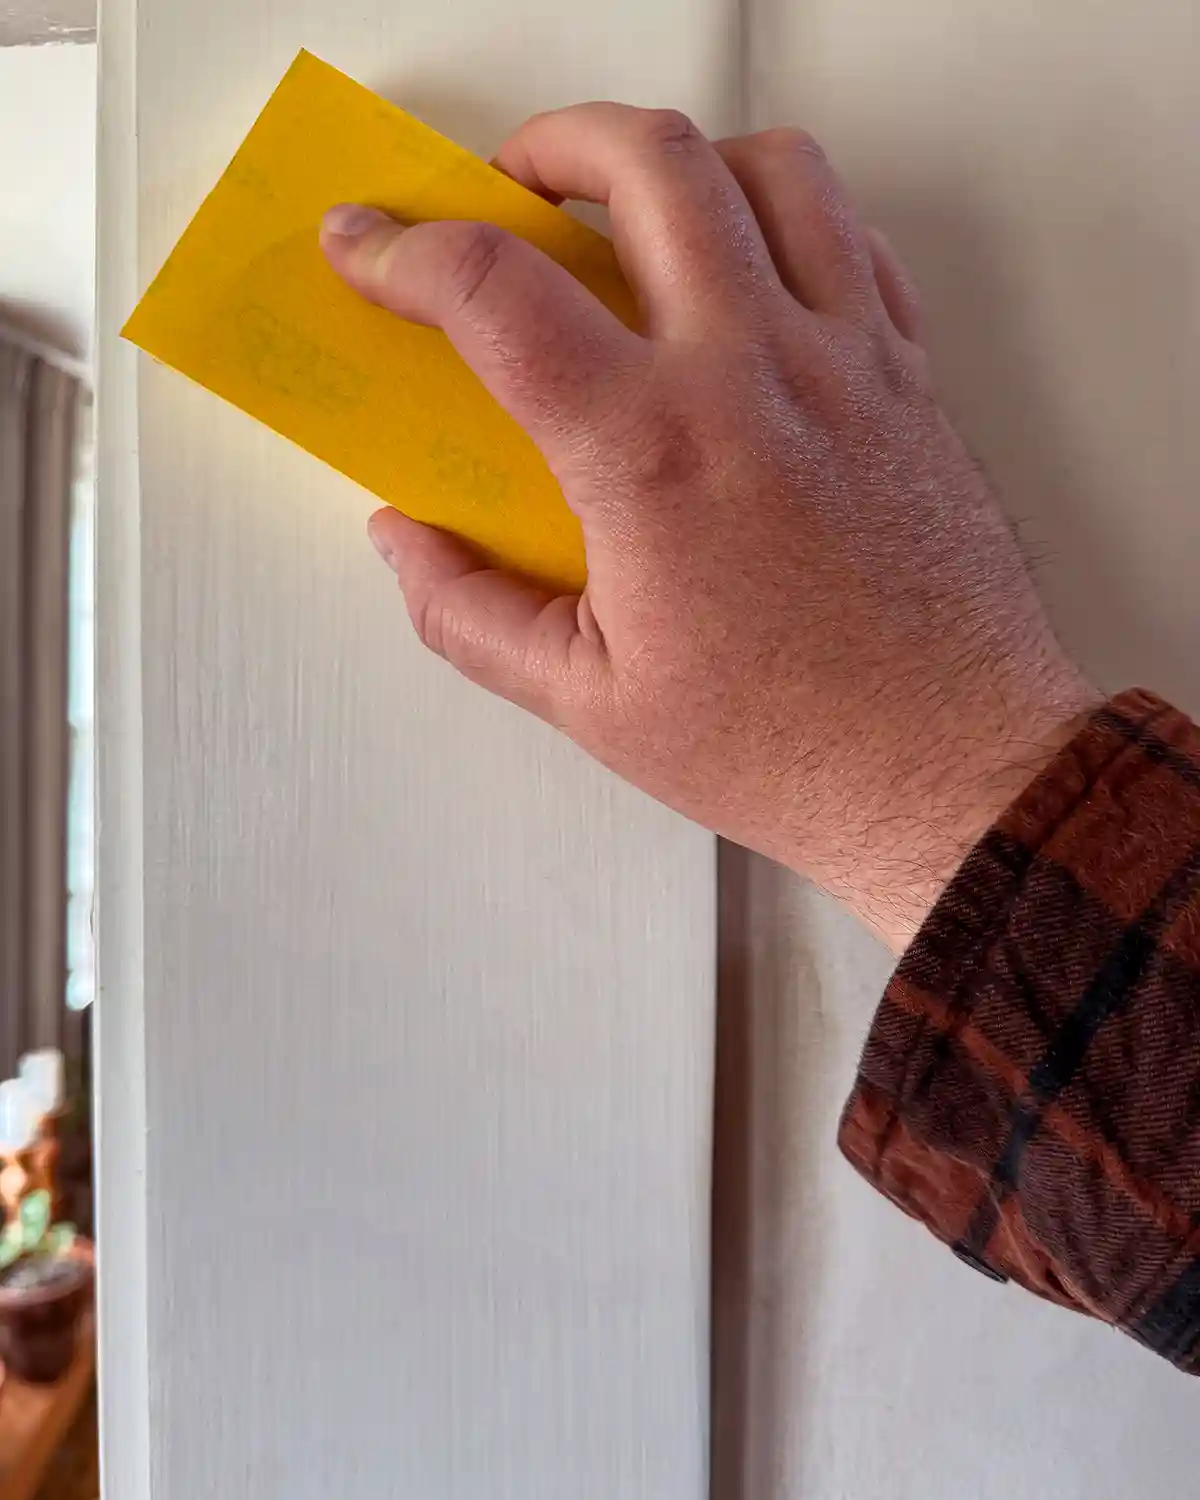
Apply 3-4 thin coats instead of one thick layer—thick paint creates stiff, crack-prone surfaces. After each coat dries completely (overnight in humid climates), sand lightly with 320-400 grit paper. This isn’t optional: sanding breaks down the paint crust that forms on the surface, preserving that supple leather-like feel. Between coats, check for missed spots by holding a flashlight sideways across the fabric—shadows reveal thin areas. Rushing coats causes tackiness; patience delivers durability.
Tackling Armrests, Tufts, and Tight Corners
Precision Painting for Visible Seams
Focus extra attention where seat cushions meet arms—these “social seams” stay visible when chairs are occupied. Use a 1-inch angled brush to cut crisp lines along frame edges. For tufted chairs, apply ultra-thin coats with a small detail brush; thick paint in dimples causes fabric to stick together when dry. Paint seat cushions last since you’ll handle them constantly during the process—starting here guarantees scuffs on freshly painted surfaces.
Texture Preservation Techniques
Maintain canvas’s natural weave by avoiding paint buildup in crevices. After each stroke, lightly brush over the area in the opposite direction to smooth ridges. Never overload your brush—wipe excess paint on the can rim first. If paint pools in a seam, immediately dab it with a dry rag before it sets. These micro-adjustments prevent that dreaded “cardboard feel” beginners get from heavy-handed application.
The 7-Day Cure: Why Rushing Ruins Results
Paint feels dry to the touch in 24 hours, but full chemical curing takes 7 days for maximum water resistance. During this period, avoid sitting on chairs or placing cushions—pressure creates permanent indentations in uncured paint. After the final coat, gently brush the entire surface with a soft-bristled clothes brush once fully dry. This lifts flattened fibers, restoring fabric-like texture that makes painted canvas feel luxurious rather than plasticky.
Creative Transformations Beyond Solid Colors
Ditch basic white—Dover White creates airy modern vibes, but bold colors like navy or emerald make dramatic focal points. For playful spaces, try zebra stripes using painter’s tape or nautical rope motifs hand-painted along armrests. Chalk paint excels for vintage circus chairs, delivering authentic matte finishes that look authentically aged. Pro shortcut: Mix 1 part chalk paint with 2 parts water for canvas—it adheres beautifully without stiffening.
Maintenance That Keeps Chairs Looking New
Wipe spills immediately with a damp microfiber cloth—the waterproof finish repels liquids. For stubborn marks, use mild soap diluted in water; never apply harsh cleaners that strip paint. Save leftover paint in a sealed jar for touch-ups: apply thin coats with a cotton swab to scratches before they expand. With proper care, painted canvas chairs outlast reupholstered versions—high-traffic areas may need touch-ups yearly, but overall maintenance takes minutes versus hours for fabric chairs.
Must-Have Tools Checklist (No Guesswork)
- Canvas chair (lighter than paint color)
- Sherwin Williams Emerald Latex (satin finish)
- Water (for dilution)
- HomeRight sprayer OR 1.5″ and 1″ angled brushes
- 320-400 grit sandpaper
- Painter’s tape (2″ width)
- N95 respirator and nitrile gloves
- Spray bottle for dampening
- Soft-bristled clothes brush (for final texture)
Why Canvas Beats Other Fabrics for Painting
Canvas’s tight weave absorbs paint evenly without the excessive saturation that ruins linen or burlap chairs. Natural cotton canvas accepts paint better than synthetic blends—test absorption first by spraying water. Key nuance: Canvas needs less pre-wetting than thicker fabrics; oversaturating causes paint to bleed. When prepped correctly, it delivers the most durable painted finish of any chair fabric, transforming dated seating into conversation-starting centerpieces.
Revive your neglected canvas chairs with this proven painting method—no professional skills required. Remember the non-negotiables: dampen fabric before painting, sand between coats, and allow the full 7-day cure. The result? Waterproof, stain-resistant seating that looks custom-made for your space. With just $40 in materials and a weekend’s work, you’ll create chairs that feel luxuriously soft yet withstand daily life. Grab that forgotten canvas chair and start painting today—your dream seating is closer than you think.


