
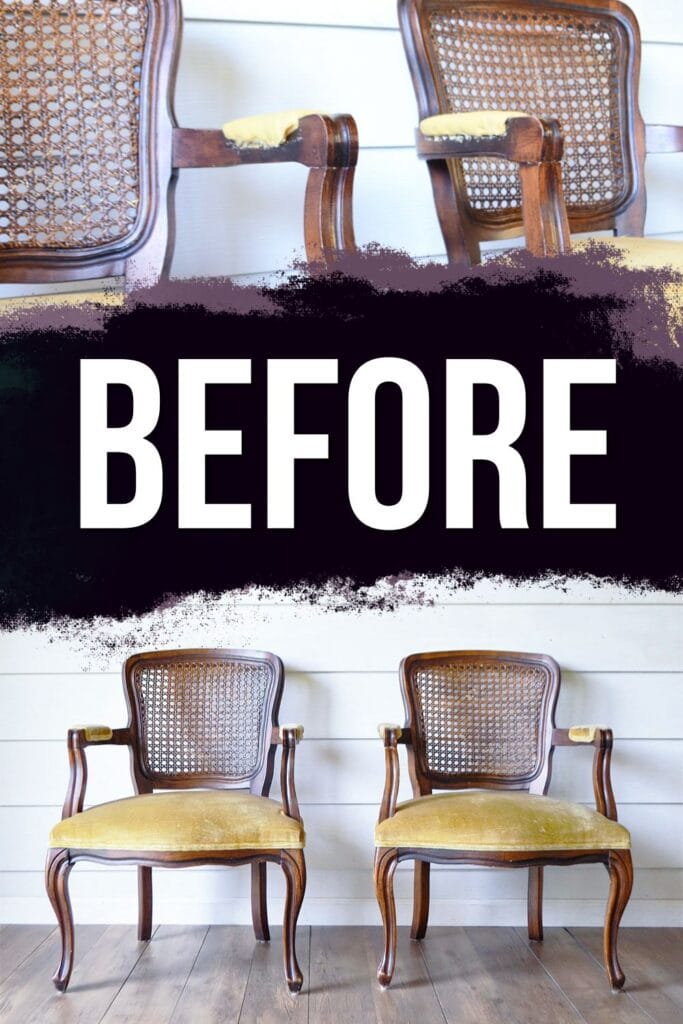
That set of cane back dining chairs gathering dust in your basement or languishing at the thrift store holds untapped potential. With proper painting cane back dining chairs techniques, you can revive these vintage pieces into showstopping focal points that blend old-world craftsmanship with contemporary style. Whether you’re working with mid-century modern designs or traditional Victorian frames, this guide delivers the exact steps to achieve professional results without professional costs. Discover how a weekend project can transform worn-out seating into conversation-starting centerpieces that elevate your entire dining experience.
Most homeowners abandon cane back dining chairs due to outdated finishes or minor wear, not structural issues. The reality? These pieces often feature solid hardwood frames and tightly woven cane that responds beautifully to modern paint treatments. By mastering the painting cane back dining chairs process, you’ll unlock affordable access to designer-quality seating that coordinates perfectly with your existing decor. This guide eliminates the guesswork so you can confidently tackle your project from initial assessment to final protective coating.
Why Your Cane Back Dining Chairs Deserve a Paint Makeover
Cane back dining chairs offer unparalleled texture that modern furniture rarely matches. The intricate webbing creates dynamic light and shadow effects that flat surfaces can’t replicate. When you’re painting cane back dining chairs, this texture becomes your greatest asset—paint catches in the crevices, highlighting the craftsmanship while creating visual depth impossible with solid wood backs.
These chairs frequently appear on Facebook Marketplace for $125 per set or at Habitat for Humanity ReStores as individual pieces, making them budget-friendly restoration targets. Unlike mass-produced furniture, vintage cane back dining chairs feature superior construction that withstands generations of use. Their timeless silhouettes work equally well in farmhouse kitchens, modern lofts, or traditional dining rooms when given the right paint treatment.
Consider how black-painted cane back dining chairs create dramatic contrast against natural wood tables, or how monochromatic white sets deliver Scandinavian simplicity. The versatility of these pieces means you’re not just updating furniture—you’re investing in design elements that adapt as your style evolves. Properly executed painting cane back dining chairs projects yield heirloom-quality results that outlast disposable furniture trends.
Pre-Purchase Assessment Checklist You Can’t Skip
Structural Integrity Test Before Painting
Before committing to painting cane back dining chairs, verify each piece’s stability through hands-on testing. Gently rock each chair while applying downward pressure on all four legs—any wobble indicates loose joints needing reinforcement. Run your fingers along the cane webbing to detect breaks or sagging sections; minor damage won’t compromise painting results, but large gaps require recaning that extends project timelines by months due to cane supply shortages.
Inspect all wood joints for separation or cracks, particularly where legs meet the seat frame. Skip chairs with significant structural damage—these require woodworking expertise beyond basic painting. Remember that while surface flaws can be painted over, compromised structural integrity affects safety and longevity. A thorough pre-purchase assessment prevents wasted effort on pieces that can’t withstand regular use after restoration.
Comfort Evaluation for Daily Use
Sit in each chair for at least five minutes to evaluate comfort levels. While cane back dining chairs create beautiful visual appeal, their rigid construction may lack cushioning for extended meals. Note any pressure points or instability during use. If the frame feels solid but the seat proves uncomfortable, budget for custom cushion inserts in your project plan—this simple addition transforms vintage pieces into practical everyday seating.
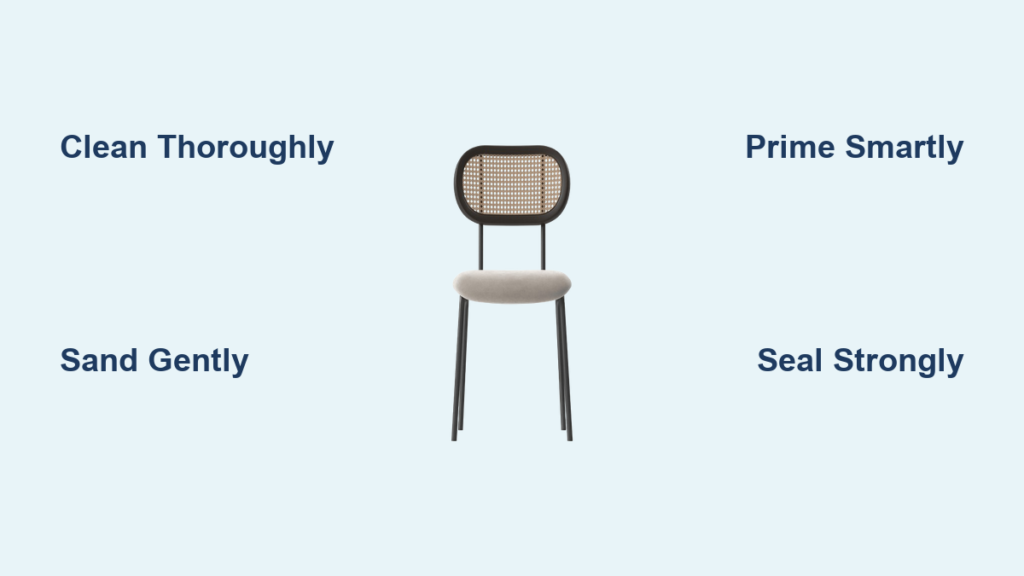
Surface Preparation Protocol for Flawless Results
Initial Cleaning Process Before Painting
Start your painting cane back dining chairs project with meticulous cleaning to ensure proper paint adhesion. First, use a soft-bristled car washing broom to dislodge cobwebs and debris trapped in cane crevices—its flexible bristles reach deep without damaging fibers. Follow with a vacuum cleaner’s brush attachment to extract loosened dirt from cane intersections, paying special attention to the seat area where crumbs accumulate.
For deep cleaning, mix mild Dawn dish soap with warm water and lightly dampen a microfiber cloth—never saturate the cane. Wipe all surfaces using gentle circular motions, then immediately dry with a clean towel. Allow 2-4 hours of complete air drying before sanding; rushing this step traps moisture that causes paint to bubble later. This thorough cleaning removes decades of grime that would otherwise prevent your new paint from bonding properly.
Sanding Strategy for Mixed Materials
Treat cane and wood components differently during sanding. For cane webbing, use a 220-grit sanding sponge with feather-light pressure—aggressive sanding shreds delicate fibers. Focus on smoothing rough spots where previous finishes may be peeling. Wood frames require more aggressive preparation: start with 60-grit sandpaper to remove old finishes, then progress to 120-grit for a smooth painting surface. Hand-sand intricate corners and grooves where power sanders can’t reach.
Critical Warning: Never use power sanders directly on cane webbing. The high speed generates heat that weakens fibers. After sanding, vacuum all dust with a shop vac, then wipe surfaces with a tack cloth to capture microscopic particles that interfere with paint adhesion.
Paint System Selection for Maximum Durability
Primer Requirements for Mixed Surfaces
Choose Bulls Eye 1-2-3 Spray Primer for optimal bonding to both cane and wood surfaces. Spray application covers intricate webbing evenly—brush-on primer risks pooling in intersections. Budget one can per chair for complete coverage. This oil-based primer seals the porous cane while preventing tannin bleed from wood components, creating a uniform base that ensures your topcoat color appears consistent.
Top Coat Protection That Lasts
Protect your painted cane back dining chairs with Deft aerosol lacquer or equivalent spray sealer. Built-in topcoats in some all-in-one paints provide basic protection, but a dedicated sealer dramatically extends longevity. Apply two light coats, allowing complete drying between applications. This final barrier prevents scratches from utensils and protects against moisture damage during cleanup—critical for dining chairs that face daily wear.
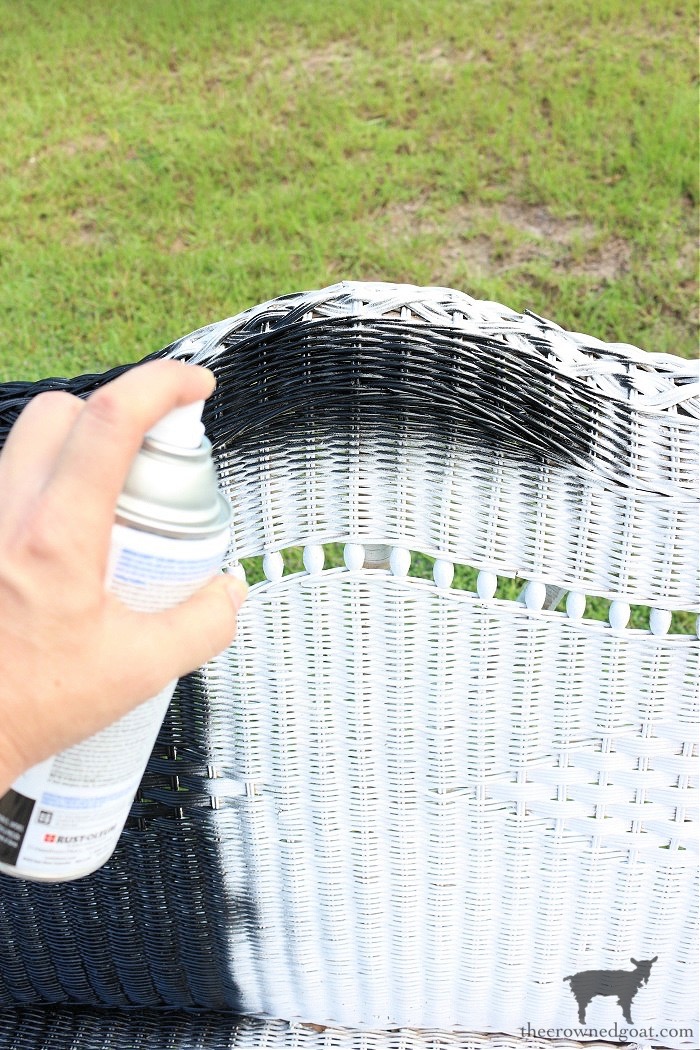
Application Techniques for Professional Finish
Spray Method Mastery for Intricate Webbing
When painting cane back dining chairs with spray paint, flip pieces upside down to ensure full coverage on both sides of the webbing. Apply multiple thin passes rather than one heavy coat—this prevents drips that ruin the delicate texture. Hold the can 10-12 inches from the surface and use long, sweeping motions. Allow overnight drying between coats for maximum durability. Use painter’s tape and newspaper to mask areas where frame meets seat for crisp color separation.
Pro Tip: Start with one chair as a test piece. This lets you perfect your technique before tackling the entire set, ensuring consistent results across all painted cane back dining chairs.
Brush Application Tips for Limited Spaces
When spray painting isn’t feasible, choose self-leveling paints like Silk All-In-One Mineral Paint. Use a high-quality 2-inch brush with synthetic bristles for smooth application. Apply paint in long, even strokes following the wood grain on frame components. For cane areas, use minimal paint and avoid overbrushing—three light coats yield better results than one heavy application. Work in a well-ventilated area and maintain a wet edge to prevent lap marks.
Troubleshooting Common Painting Issues

Paint Flaking Prevention on Vintage Pieces
Previous paint applications on cane back dining chairs often flake due to incompatible materials. Prevent this by ensuring complete surface preparation and using flexible primer systems. Oil-based paints over latex provide better flexibility for movement-prone cane webbing. If flaking occurs, remove loose paint with fine sandpaper, apply flexible primer, then repaint—never paint over flaking surfaces.
Chemical Stripping Warning for Cane Webbing
Never use chemical strippers on cane webbing—they weaken fibers and necessitate complete recaning. When dealing with stubborn finishes, opt for light sanding or paint over existing layers after proper degreasing. This approach preserves the chair’s structural integrity while achieving your desired aesthetic.
Weekend Project Timeline for Success
Day One: Preparation Phase
Dedicate 2-3 hours to thorough cleaning and sanding. Remove seat cushions if applicable, then follow the multi-step cleaning process. Complete all sanding, paying special attention to smooth transitions between cane and wood components. Allow complete drying time before proceeding—rushing this phase compromises all subsequent steps.
Day Two: Painting Process
Allocate 3-4 hours for painting cane back dining chairs. Apply primer first, followed by multiple thin paint coats with proper drying intervals. Complete top coat application in the evening, allowing overnight curing. This phased approach prevents common mistakes like paint runs and poor adhesion.
Your transformed painted cane back dining chairs will become the envy of guests and the centerpiece of memorable meals. With proper preparation and quality materials, these vintage pieces gain new life while preserving their authentic character—proving that thoughtful restoration beats disposable furniture every time. Keep leftover paint for touch-ups, and enjoy decades of beauty from your revitalized seating.


