
That familiar wobble under your dinner guest’s chair isn’t just annoying—it’s a ticking time bomb for your dining set. When chair legs develop play, the constant stress widens joint gaps and accelerates wood compression, potentially turning a simple fix into a costly replacement. The good news? Over 90% of dining chair instability stems from three fixable culprits: loose fasteners, stripped bolt holes, or failing glue joints. You can restore rock-solid stability using tools already in your garage, saving hundreds compared to buying new replacements.
This guide delivers battle-tested techniques to tighten dining room chairs permanently, whether you’re dealing with IKEA flat-packs or heirloom antiques. Forget temporary hacks—these methods address the root causes of wobble while teaching you how to prevent future loosening. In just 30 minutes per chair, you’ll transform shaky seating into foundation-solid furniture that withstands years of family dinners.
Pinpoint Your Chair’s Wobble Source
Visual Fastener Inspection
Flip the chair upside-down on a sturdy table and shine a flashlight across all leg-to-seat joints. Look for critical red flags: visible gaps between wood components, bolts that spin freely when touched, or oval-shaped holes around screw shafts. Gently tug each leg outward—any movement greater than 1/16 inch confirms the loose connection point. Pay special attention to cross-member attachments where stress concentrates, as these joints fail first under regular use.
Level Test for Uneven Legs
Place the inverted chair on a confirmed flat surface like your kitchen countertop. Press down firmly on opposite leg pairs. If the chair rocks, mark the high leg with painter’s tape—this indicates either an uneven floor or a leg that’s shortened due to joint separation. Don’t assume the problem is loose bolts; sometimes the wobble originates from one leg being fractionally shorter than others, requiring sanding rather than tightening.
Joint Sound Check
With the chair upright, grasp the seat and backrest firmly. Gently twist while listening for distinct sounds: sharp cracking noises signal catastrophic glue failure in mortise-and-tenon joints, while rhythmic creaking usually means bolted connections need tightening. If you hear multiple sounds, address bolted joints first before tackling glued connections—loose hardware often accelerates glue joint deterioration.
Gather These Critical Tools and Supplies
Must-Have Toolkit
Skip the guesswork with this precision tightening kit: deep-well sockets (10–13mm covers most chairs), hex keys matching your bolt heads, an adjustable wrench for confined spaces, wood glue with a micro-brush for joint reinforcement, and pipe clamps or heavy books for pressure during curing. Crucially, use deep sockets rather than standard ones—they grip bolt heads securely without slipping during torque application, preventing stripped hardware.
Fastener Upgrade Kit ($10 total)
Prevent future loosening with these vibration-resistant upgrades: nylock nuts ($0.25 each) that lock threads via nylon inserts, star washers that bite into metal surfaces under tension, and flat washers to distribute load across wood surfaces. For chairs under heavy use, add metal corner braces ($3/pair) that reinforce leg-to-seat junctions from within. This $10 investment per chair outperforms temporary fixes by addressing the physics of joint failure.
Execute the Bolt Tightening Method

1. Secure the Chair Properly
Lay the chair sideways on a towel-covered work surface to prevent finish damage. For chairs with severe wobble, isolate each joint—repair one leg connection at a time while keeping other legs supported. Never stand on the seat for leverage; this concentrates force incorrectly and risks catastrophic failure. Instead, brace the seat rail against your hip for controlled pressure during tightening.
2. Apply Correct Tightening Technique
Insert your hex key into the bolt head while positioning a socket wrench on the nut. Turn only the nut clockwise—holding the bolt stationary prevents wood fibers from tearing. Stop immediately when resistance sharply increases; overtightening splits hardwood rails within seconds. Test tension by attempting to rotate the bolt head with your fingers—if it moves, the wood is compromised and requires hole repair.
3. Validate Stability Before Use
After tightening all joints, perform the “press test”: stand the chair upright and press down firmly on each seat corner. Any residual rocking means revisit the loosest connection. Then sit gently while shifting weight side-to-side—zero creaking confirms success. If wobble persists, move to stripped hole repair before proceeding.
Repair Stripped Bolt Holes Permanently
Toothpick Shim Method (5-min repair)
For slightly enlarged holes, remove the bolt completely. Coat 3–4 standard toothpicks in wood glue and hammer them flush into the hole. Snap off excess with pliers and let cure 2 hours. Reinstall the bolt—it will now grip solid wood instead of compressed fibers. Pro tip: Dip toothpicks in instant glue first for faster curing, but avoid contact with bolt threads.
Dowel Reinforcement (Permanent fix)
For severely stripped holes, drill out the damage to ⅜-inch diameter using a brad-point bit. Apply wood glue inside the hole and tap in a hardwood dowel. After 24-hour curing, drill a new 3/16-inch pilot hole through the dowel’s center. This recreates factory-fresh wood density, making the joint stronger than original. Use this method on chairs subjected to daily heavy use.
Reinforce Failing Glue Joints

Glue Injection Technique
Warm wood glue in hot water for 2 minutes to improve flow. Load it into a syringe with a 1/16-inch tip, then insert the tip into joint gaps. Apply steady pressure while gently flexing the joint to draw glue deep inside. Clamp the joint for 24 hours using padded jaws to prevent marring. Wipe excess glue immediately with a damp cloth—dried glue creates weak spots when sanded.
Adding Metal Corner Braces
For chairs used by active families, install L-shaped steel brackets inside rear leg-to-seat joints. Pre-drill 1/8-inch pilot holes to prevent splitting, then secure with ¾-inch screws that won’t penetrate the seat surface. Position brackets so they’re invisible when seated—this adds structural triangulation that counters twisting forces during use.
Fix Special Chair Types Properly
Ready-to-Assemble Chairs
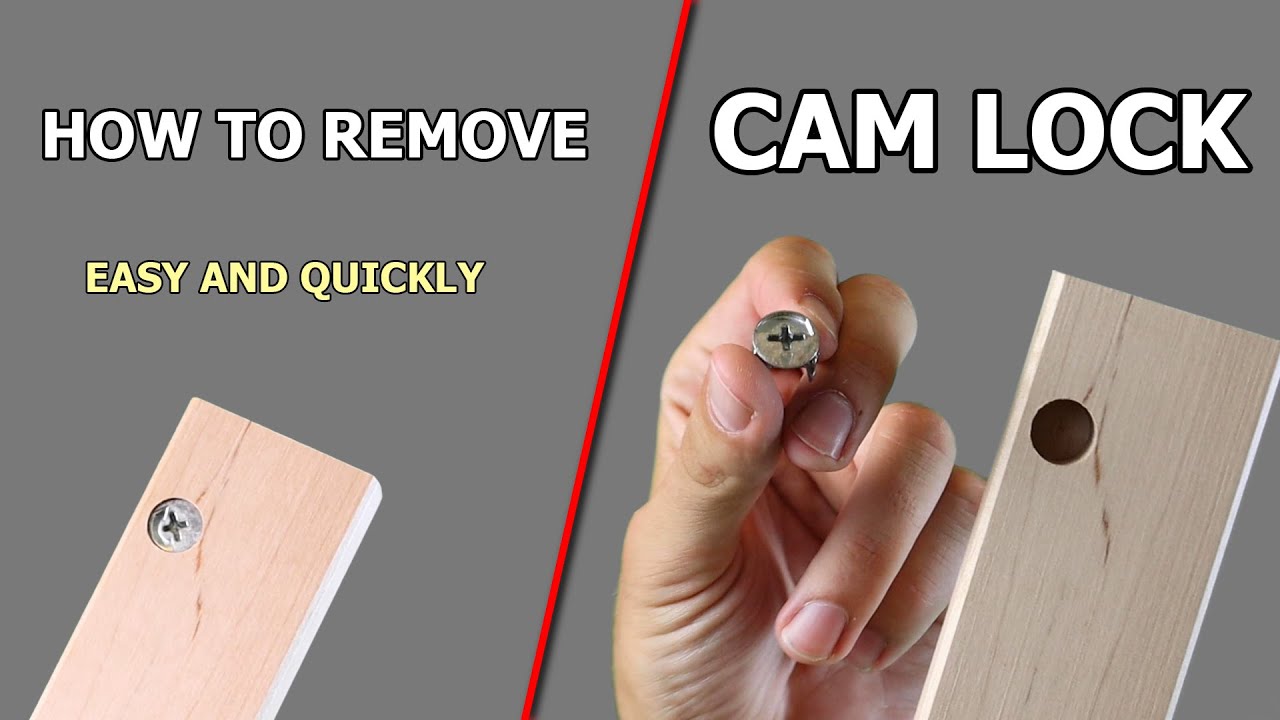
Flat-pack chairs fail fastest due to undersized hardware. During initial assembly (or repair), replace factory nuts with nylock versions and apply wood glue to all dowel joints—skip this step, and bolts loosen within months. For chairs with cam locks, disassemble completely, apply thread locker to cam screws, and reinstall with star washers. This transforms flimsy furniture into long-term seating.
Antique Wedged Tenon Backs
Never overtighten these delicate joints. Invert the chair and support the seat on blocks. Lightly tap loose wedges inward with a rawhide mallet—excessive force cracks tenons. If wedges are loose, apply a drop of thin-consistency wood glue before resetting. For severe gaps, drill a 1/32-inch hole through the wedge and inject glue under pressure.
Prevent Future Loosening Proactively
Quarterly 5-Minute Check
Every season, flip chairs and hand-tighten all visible bolts using a hex key. Catching minor play early prevents wood damage that requires shimming. Focus on front legs where stress concentrates during leaning. If bolts turn freely, apply thread locker immediately before compression worsens.
Annual Deep Maintenance
Once yearly, remove all hardware and clean threads with a brass brush. Apply medium-strength thread locker (blue Loctite) to bolts before reinstallation. Replace worn washers and inspect for hairline cracks—addressing micro-damage now prevents catastrophic failure later. This 20-minute ritual doubles chair lifespan.
Decide: Repair or Replace?
Cost Analysis
– Basic tightening: $0 (your time only)
– Hardware upgrade: $10–$20 per chair
– Major reconstruction: $20–$50
– New mid-range chair: $120–$300
– Professional restoration: $75–$200
Repair makes economic sense for chairs costing over $100 new, especially antiques or designer pieces. For budget chairs with cracked frames (not just loose joints), replacement becomes cost-effective. Always factor in sentimental value—restoring your grandmother’s chairs takes 2 hours but preserves decades of memories.
Final Stability Test Protocol
After repairs, validate safety with progressive loading: First press down firmly on all four seat corners. Then sit while shifting weight 10 times side-to-side. Finally, lean back gently to test rear leg integrity. Zero movement or noise is mandatory—any wobble means revisit joints systematically. A properly tightened chair feels unnaturally solid, like it’s bolted to the floor. With quarterly maintenance, these fixes deliver 5+ years of wobble-free dining, proving that learning how to tighten dining room chairs is the smartest furniture investment you’ll make this year.


