
Are you tired of looking at your old, worn-out table and chairs? Refinishing them can be a great way to give your dining area a fresh new look without breaking the bank. In this comprehensive guide, we’ll walk you through the step-by-step process of refinishing a table and chairs, from preparation to completion.
Introduction to Refinishing
Refinishing a table and chairs can seem like a daunting task, but with the right tools and a little patience, you can achieve professional-looking results. The key to a successful refinishing project is proper preparation, attention to detail, and a clear understanding of the process. In this guide, we’ll cover everything you need to know to refinish your table and chairs, including how to strip old finishes, sand, stain, and apply a new finish.
Common Causes of Wear and Tear
Before we dive into the refinishing process, let’s take a look at some common causes of wear and tear on tables and chairs:
- Scratches and scuffs: These can be caused by everyday use, such as moving chairs or placing items on the table.
- Fading and discoloration: Exposure to sunlight, heat, and moisture can cause the finish to fade or discolor over time.
- Water damage: Spills and water rings can damage the finish and underlying wood.
- General wear: Years of use can cause the finish to wear off, revealing the underlying wood.
Materials and Tools Needed
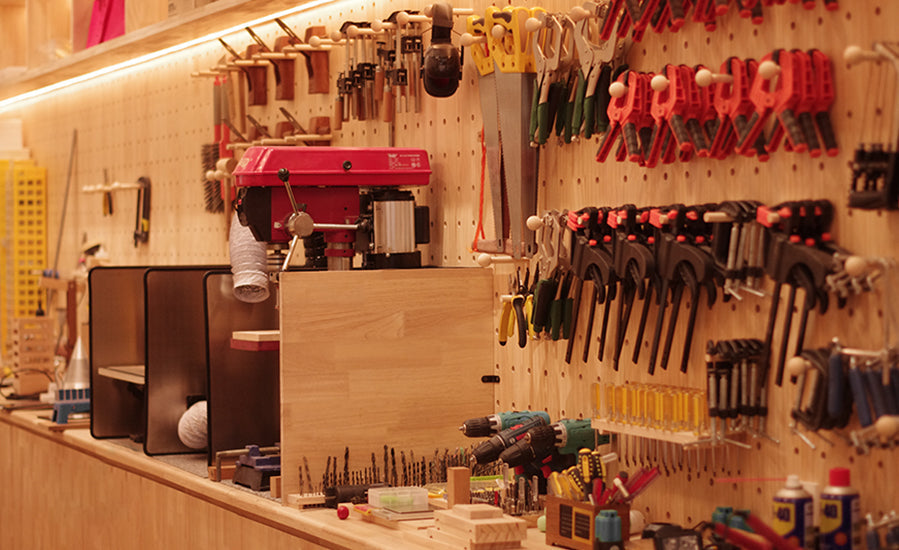
To refinish a table and chairs, you’ll need the following materials and tools:
| Item | Quantity | Specifications |
|---|---|---|
| Sandpaper | Various grits | 80-120-220 |
| Paint stripper | 1 can | Suitable for your finish type |
| Steel wool | 1 pack | Fine-grade |
| Wood stain | 1 can | Your chosen color |
| Polyurethane | 1 can | Clear, water-based or oil-based |
| Brushes | Various sizes | Natural or synthetic |
| Rags | Several | Lint-free |
| Safety gear | 1 set | Gloves, goggles, mask |
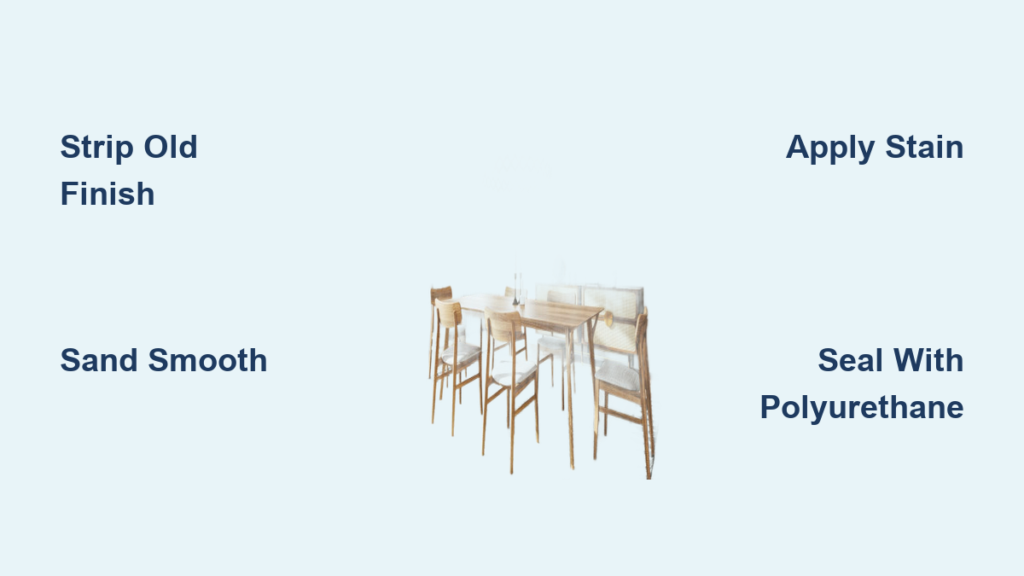
Step-by-Step Refinishing Process
Step 1: Prepare the Area
Before you start refinishing, make sure the area is well-ventilated and clear of any debris or dust. Cover the floor and surrounding surfaces with drop cloths or plastic sheets to protect them from stains and spills.
Step 2: Remove Hardware and Disassemble
Remove any hardware, such as chair legs or table leaves, and disassemble the table and chairs as much as possible. This will make it easier to work on each piece individually.
Step 3: Strip Old Finish
Apply paint stripper to the surface of the table and chairs, following the manufacturer’s instructions. Let it sit for the recommended amount of time, then scrape off the old finish using a putty knife or steel wool. Repeat this process until all the old finish is removed.
Step 4: Sand

Use sandpaper to smooth out the surface of the table and chairs, starting with a coarse grit (80) and working your way up to a fine grit (220). Sand in the direction of the wood grain to avoid scratches.
Step 5: Stain
Apply wood stain to the table and chairs, following the manufacturer’s instructions. Use a clean, lint-free rag to wipe away any excess stain and achieve an even finish.
Step 6: Apply Polyurethane
Apply a clear coat of polyurethane to the table and chairs, following the manufacturer’s instructions. This will protect the finish and give it a glossy sheen.
Step 7: Reassemble and Replace Hardware
Once the polyurethane is dry, reassemble the table and chairs and replace any hardware you removed.
Tips and Tricks
- Work in a well-ventilated area to avoid inhaling fumes from paint stripper and polyurethane.
- Use a dust mask when sanding to avoid inhaling dust particles.
- Apply stain and polyurethane in thin coats, allowing each coat to dry before applying the next.
- Use a clean, lint-free rag to wipe away excess stain and polyurethane.
Prevention and Maintenance
To keep your refinished table and chairs looking their best, follow these prevention and maintenance tips:
- Avoid placing hot or cold items directly on the surface of the table.
- Use coasters and placemats to protect the finish from water rings and spills.
- Dust regularly to prevent dust from building up and damaging the finish.
- Avoid using harsh chemicals or abrasive cleaners, which can damage the finish.
FAQ
Q: What type of paint stripper should I use?
A: Choose a paint stripper suitable for your finish type, such as oil-based or water-based.
Q: How long does it take to refinish a table and chairs?
A: The time it takes to refinish a table and chairs depends on the size of the project and the number of coats you apply. Plan for at least a few days to a week to complete the project.
Q: Can I refinish a table and chairs without stripping the old finish?
A: While it’s possible to refinish a table and chairs without stripping the old finish, it’s not recommended. Stripping the old finish ensures a smooth, even surface for the new finish to adhere to.
Conclusion
Refinishing a table and chairs can be a rewarding DIY project that gives your dining area a fresh new look. By following the steps outlined in this guide, you can achieve professional-looking results and enjoy your refinished table and chairs for years to come. Remember to work in a well-ventilated area, use proper safety gear, and follow the manufacturer’s instructions for any products you use. Happy refinishing!
Have you refinished a table and chairs before? Share your experience and tips in the comments below!


