
Recovering dining chairs with backs can be a daunting task, especially if you’re new to upholstery. However, with the right tools and a step-by-step guide, you can give your old chairs a fresh new look. In this article, we’ll walk you through the process of recovering dining chairs with backs, from preparation to completion.
Introduction to Recovering Dining Chairs
Recovering dining chairs with backs requires patience, attention to detail, and some basic upholstery skills. Before you start, make sure you have the necessary tools and materials, including a staple gun, upholstery fabric, foam cushioning, and a measuring tape. If you’re not comfortable with the process, consider seeking help from a professional upholsterer.
Preparation is Key
Before you begin recovering your dining chairs, prepare the workspace and the chairs themselves. Remove any loose cushions, armrests, or other detachable parts. Inspect the chairs for any damage or wear and tear, and make repairs as needed. Cover your work surface with a drop cloth or old sheets to protect it from stains and debris.
Materials Needed
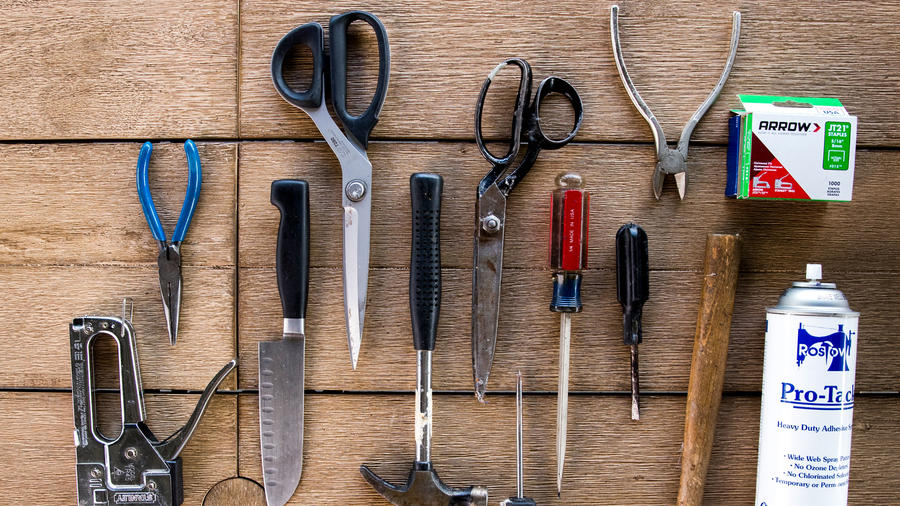
To recover your dining chairs with backs, you’ll need the following materials:
| Material | Quantity | Description |
|---|---|---|
| Upholstery fabric | Enough to cover the chair | Choose a durable, stain-resistant fabric |
| Foam cushioning | Enough to replace the old cushioning | High-density foam for comfort and support |
| Staple gun | 1 | Heavy-duty staple gun for upholstery |
| Measuring tape | 1 | For measuring the chair and fabric |
| Scissors | 1 | For cutting the fabric and foam |
| Upholstery glue | 1 | For attaching the fabric to the chair frame |
| Webbing | Enough to support the seat and back | For added stability and support |
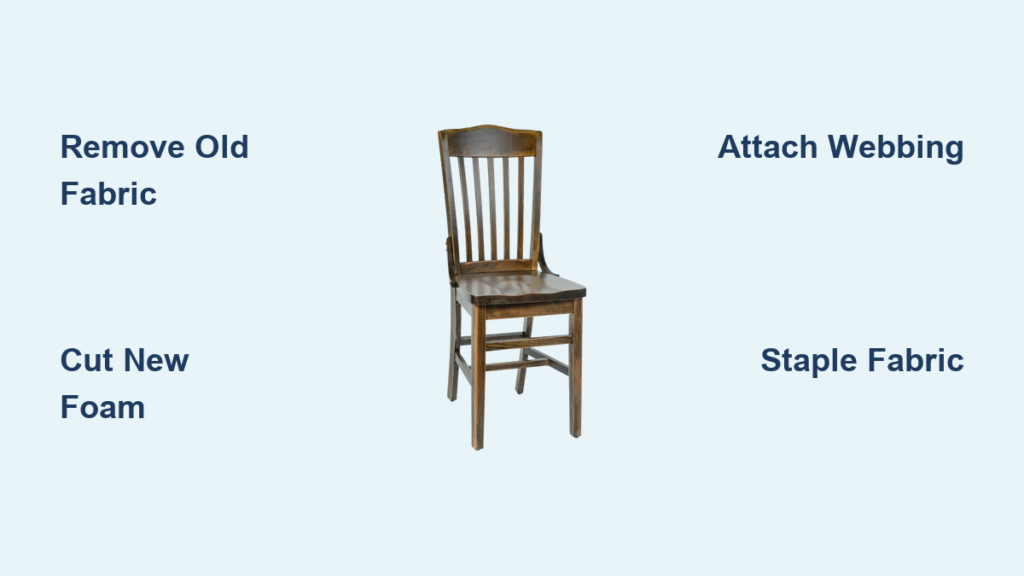
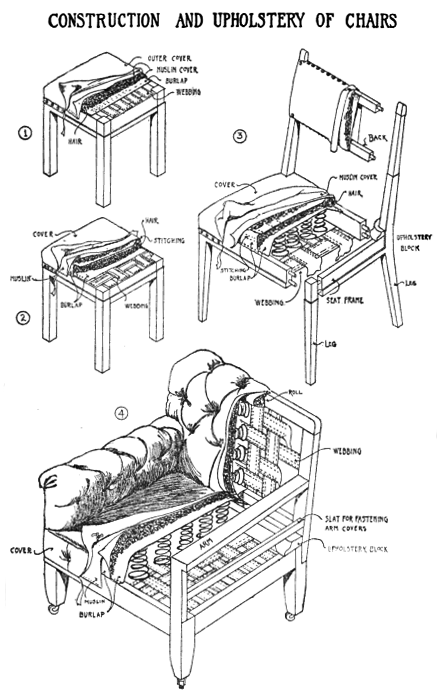
Step-by-Step Guide to Recovering Dining Chairs with Backs
Step 1: Remove the Old Upholstery
Use a staple remover or a flathead screwdriver to remove the old upholstery from the chair frame. Be careful not to damage the underlying structure. Remove any old foam, webbing, or other materials.
Step 2: Inspect and Repair the Chair Frame
Inspect the chair frame for any damage or wear and tear. Make repairs as needed, using wood glue, nails, or screws to secure any loose joints.
Step 3: Cut the New Foam
Cut the new foam to size, using a foam cutter or a serrated knife. Make sure the foam is the correct thickness and density for your chair.
Step 4: Attach the Webbing
Attach the webbing to the chair frame, using a staple gun to secure it in place. Make sure the webbing is tight and evenly spaced.
Step 5: Cut the Fabric
Cut the fabric to size, using a rotary cutter or scissors. Make sure the fabric is large enough to cover the chair, with a few inches of extra material around the edges.
Step 6: Attach the Fabric
Attach the fabric to the chair frame, using a staple gun to secure it in place. Start at the center of the chair and work your way outwards, making sure the fabric is smooth and evenly spaced.
Step 7: Add the Back Cushion
Cut a piece of foam to size for the back cushion, and attach it to the chair frame using upholstery glue. Cover the foam with fabric, and attach it to the chair frame using a staple gun.
Step 8: Add the Seat Cushion
Cut a piece of foam to size for the seat cushion, and attach it to the chair frame using upholstery glue. Cover the foam with fabric, and attach it to the chair frame using a staple gun.
Step 9: Add the Armrests (Optional)
If your chair has armrests, attach them to the chair frame using screws or nails. Cover the armrests with fabric, and attach it to the chair frame using a staple gun.
Tips and Tricks
- Use a high-quality upholstery fabric that is durable and stain-resistant.
- Choose a foam cushioning that is high-density and comfortable.
- Use a staple gun with a long nose to reach into tight spaces.
- Make sure the fabric is smooth and evenly spaced, with no wrinkles or creases.
- Use upholstery glue to attach the fabric to the chair frame, for added stability and support.
Common Mistakes to Avoid
- Not removing the old upholstery carefully, which can damage the underlying structure.
- Not inspecting the chair frame for damage or wear and tear, which can lead to further damage.
- Not using the correct type of foam or fabric, which can affect the comfort and durability of the chair.
- Not attaching the fabric or foam correctly, which can lead to a sloppy or uneven finish.
Conclusion
Recovering dining chairs with backs can be a fun and rewarding DIY project, but it requires patience, attention to detail, and some basic upholstery skills. By following these steps and tips, you can give your old chairs a fresh new look and extend their lifespan. Remember to use high-quality materials, and don’t be afraid to seek help if you’re unsure about any part of the process.
FAQ
Q: What type of fabric is best for recovering dining chairs?
A: Choose a durable, stain-resistant fabric that is easy to clean and maintain.
Q: How do I remove the old upholstery from the chair frame?
A: Use a staple remover or a flathead screwdriver to carefully remove the old upholstery.
Q: What type of foam is best for seat and back cushions?
A: Choose a high-density foam that is comfortable and supportive.
Q: How do I attach the fabric to the chair frame?
A: Use a staple gun to secure the fabric in place, starting at the center of the chair and working your way outwards.
Q: Can I recover my dining chairs myself, or do I need to hire a professional?
A: If you have basic upholstery skills and the right tools, you can recover your dining chairs yourself. However, if you’re unsure or uncomfortable with the process, consider hiring a professional upholsterer.


