
Are you tired of uncomfortable outdoor chairs? Making your own cushions can be a cost-effective and creative solution to enhance your outdoor seating experience. In this comprehensive guide, we will walk you through the process of creating comfortable and durable cushions for your outdoor chairs.
Introduction to Making Outdoor Chair Cushions
Making cushions for outdoor chairs is a fun and rewarding DIY project that can add a personal touch to your outdoor space. With a few simple materials and some basic sewing skills, you can create cushions that are both comfortable and stylish. In this article, we will cover the materials needed, the step-by-step process, and some valuable tips to ensure your cushions withstand the elements.
Materials Needed for Outdoor Chair Cushions
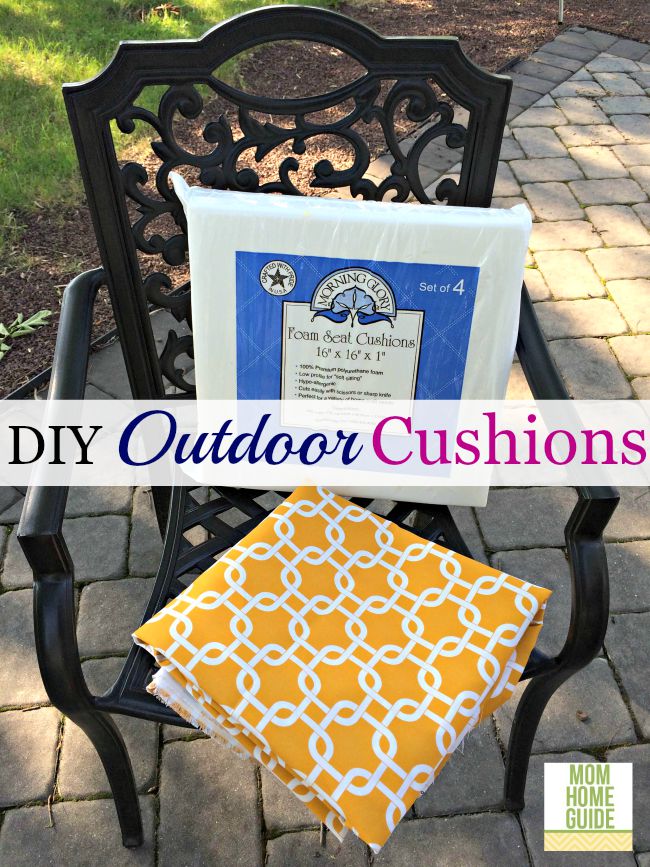
Before you start, gather the following materials:
| Material | Quantity | Specifications |
|---|---|---|
| Outdoor fabric | 2-3 yards | Water-resistant, UV-stable |
| Foam cushioning | 2-3 inches thick | High-density, outdoor-grade |
| Thread | 1 spool | Waterproof, matching fabric color |
| Zipper or Velcro | 1 | Waterproof, heavy-duty |
| Measuring tape | 1 | |
| Sewing machine | 1 | |
| Scissors | 1 | Heavy-duty, sharp |
| Sewing needles | 2-3 | Heavy-duty, sharp |
Step-by-Step Process for Making Outdoor Chair Cushions
Step 1: Measure Your Chair
Measure the width, depth, and thickness of your outdoor chair seat and backrest. Add 1-2 inches to each dimension to ensure a snug fit.
Step 2: Cut the Fabric
Cut two pieces of fabric to the measured dimensions using scissors or a rotary cutter. Make sure to cut the fabric on the bias to prevent fraying.
Step 3: Cut the Foam
Cut the foam cushioning to the measured dimensions using a serrated knife or a foam cutter.
Step 4: Assemble the Cushion
Place the foam cushioning on one piece of fabric, ensuring it is centered. Place the second piece of fabric on top, right side facing down. Pin the edges together, leaving a small opening for turning the cushion right side out.
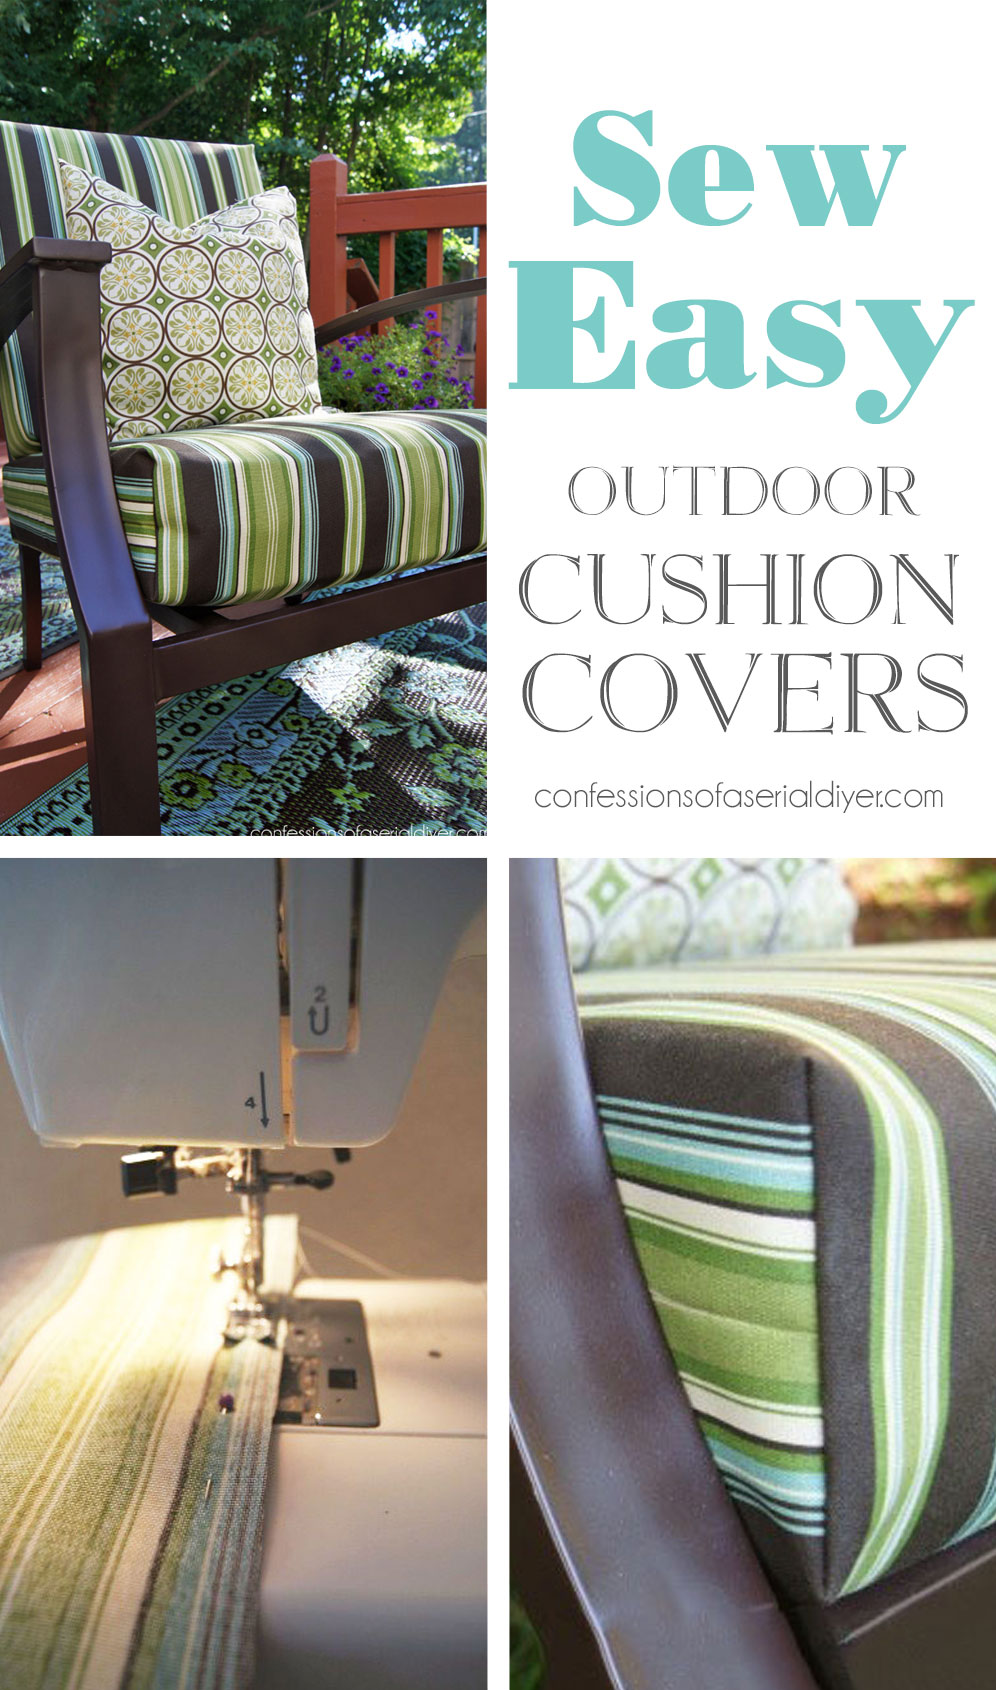
Step 5: Sew the Cushion
Sew the edges of the cushion using a 1/2-inch seam allowance. Make sure to backstitch at the beginning and end of the seam to secure it.
Step 6: Turn the Cushion Right Side Out
Carefully turn the cushion right side out through the small opening. Use a blunt object like a chopstick or pencil to push out the corners.
Step 7: Press the Cushion
Press the cushion with a hot iron to create a crisp fold. Make sure to use a pressing cloth to prevent scorching the fabric.
Step 8: Topstitch the Cushion
Topstitch the edges of the cushion using a contrasting thread color. This will add a decorative touch and reinforce the seam.
Step 9: Add a Zipper or Velcro
Add a zipper or Velcro to the opening to secure the cushion in place. Make sure to use a waterproof zipper or Velcro to prevent water from entering the cushion.
Tips and Variations for Outdoor Chair Cushions

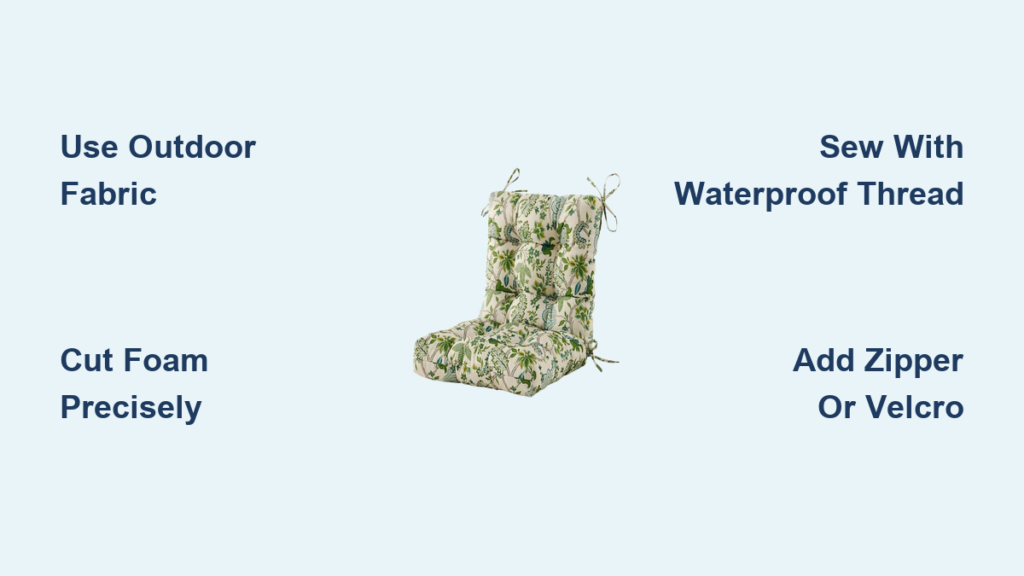
- Use a waterproof fabric treatment to protect the fabric from water and stains.
- Add a layer of batting or insulating material to the cushion for extra comfort and warmth.
- Use a decorative trim or piping to add a decorative touch to the cushion.
- Consider using a solar-resistant thread to prevent fading and discoloration.
Maintenance and Care for Outdoor Chair Cushions
- Clean the cushion regularly with a mild soap and water solution.
- Allow the cushion to air dry completely before using it again.
- Store the cushion in a dry, protected area during the off-season to prevent mold and mildew.
Conclusion
Making cushions for outdoor chairs is a fun and rewarding DIY project that can add a personal touch to your outdoor space. With the right materials and some basic sewing skills, you can create comfortable and durable cushions that will withstand the elements. Remember to follow the steps carefully, and don’t hesitate to experiment with different fabrics and designs to create a unique look. Happy sewing!
Pro Tips for Outdoor Chair Cushions
- Use a high-quality outdoor fabric that is water-resistant and UV-stable.
- Consider using a foam cushioning with a built-in waterproof layer for extra protection.
- Use a heavy-duty thread and sewing needles to ensure a strong and durable seam.
- Add a layer of Scotchgard or fabric protector to the fabric to prevent stains and water spots.
FAQ for Outdoor Chair Cushions
Q: What type of fabric is best for outdoor chair cushions?
A: A water-resistant and UV-stable fabric is best for outdoor chair cushions. Consider using a fabric with a waterproof coating or treatment.
Q: How often should I clean my outdoor chair cushions?
A: Clean your outdoor chair cushions regularly with a mild soap and water solution. Allow the cushion to air dry completely before using it again.
Q: Can I use indoor fabric for outdoor chair cushions?
A: No, indoor fabric is not suitable for outdoor chair cushions. Indoor fabric is not designed to withstand the elements and may fade, discolor, or deteriorate quickly.
Q: How do I store my outdoor chair cushions during the off-season?
A: Store your outdoor chair cushions in a dry, protected area during the off-season. Consider using a breathable storage bag or cover to prevent mold and mildew.
Q: Can I make outdoor chair cushions without sewing?
A: Yes, you can make outdoor chair cushions without sewing using a no-sew method. Consider using a hot glue gun or a strong adhesive to attach the fabric to the foam cushioning. However, sewing is recommended for a more durable and long-lasting cushion.


