
That brand-new chair you just bought looks too perfect for your farmhouse kitchen. You’ve spent weeks searching for the right vintage aesthetic, but every authentic piece either costs a fortune or feels fake. The solution? Learn how to distress wood chairs yourself to create character-rich focal points that look like they’ve been passed down for generations.
Distressing wood chairs isn’t just about making furniture look old—it’s about telling a believable story through intentional wear patterns, authentic color variations, and textures that feel genuinely lived-in. This guide walks you through proven techniques that master furniture restorers use to create pieces indistinguishable from true antiques. By the end, you’ll know exactly how to distress wood chairs to achieve your desired vintage look.
Assess Your Chair Before Starting
Wood Type Determines Your Distressing Strategy
Oak and maple demand respect—their dense grain patterns enhance distressing but resist heavy-handed techniques. Run your fingers along the grain; tight, oily grains like teak need specialized approaches, while open grains like oak absorb aging solutions beautifully. Pine and fir welcome aggressive methods yet require careful control to prevent structural damage. Understanding your chair’s wood type prevents costly mistakes during the distressing process.
Identify Natural Wear Zones for Authentic Results
Flip your chair upside down and examine construction details. Mortise-and-tenon joints indicate quality construction that handles vigorous distressing. Modern screws or staples suggest lighter techniques. Focus on high-contact areas like front stretchers, armrest ends, seat edges, and leg bottoms—these are where natural wear concentrates over decades. Your chair’s original design dictates where to apply distressing for believable aging effects.
Choose Your Vintage Style Direction
Farmhouse: Heavy paint loss revealing wood beneath, concentrated on seat edges and leg bottoms. Shabby Chic: Delicate white layers with gentle rounding on corners. Industrial: Weathered wood paired with metal, showing authentic wear from factory life. Coastal: Sun-bleached effects with salt-air texture. Your chosen style dictates every subsequent decision in how to distress wood chairs properly—select one direction before beginning.
Prepare Surfaces Properly Before Distressing
Clean Years of Grime Without Damaging Wood
Mix mild dish soap with warm water and focus on armrests where hands rest, seat edges catching clothing, and backrest tops touched daily. Rinse twice—residue prevents proper aging. Let dry 48 hours. Existing flaky finish? You’ve hit the jackpot—it enhances authentic appearance. Proper cleaning creates the foundation for realistic distressing that won’t peel or chip later.
Strip or Sand Strategically for Best Results
For ornate carvings, apply citrus-based stripper with an old toothbrush. Let it work 20 minutes, then scrape gently. Flat seat surfaces? Start with 80-grit sandpaper, progressing to 150-grit. Pro tip: You’re not creating a perfect surface—you’re preparing for believable wear patterns. Leave minor imperfections that will enhance the aged appearance after distressing.
Fix Structural Weaknesses Before Distressing
Tighten loose rungs with wood glue and bar clamps. Fill major cracks with stainable wood filler, but leave minor dings—they become character. Replace missing screws with period-appropriate alternatives. Test stability by sitting firmly; genuine wear never compromises function. Addressing structural issues first ensures your distressed chair remains functional for years.
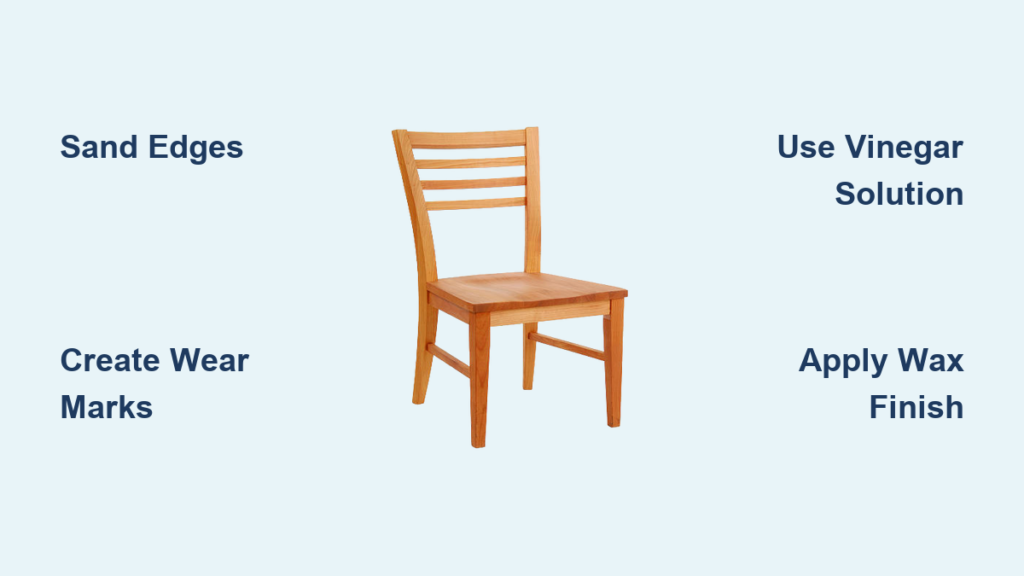
Master Physical Distressing Techniques
Recreate Natural Wear Patterns on Key Areas
Seat edges: Sand front lip heavily where jeans rub daily. Leg bottoms: Focus 6-8 inches up—this mimics decades of vacuum bumps. Armrest ends: Round these dramatically; they’re grabbed constantly. Use 60-grit paper for heavy wear, 150-grit for subtle aging. Work with the grain direction to create authentic-looking wear that doesn’t appear forced or artificial.
Create Authentic Impact Marks with Household Items
Fill a canvas bag with mixed nuts and bolts. Drop it randomly from 8 inches onto seat tops and leg sides. Drag a heavy chain across armrests for linear scratches resembling years of use. Tap corners gently with a hammer’s rounded edge—real furniture shows these accidental encounters. Warning: Step back every 10 minutes to avoid over-distressing—authentic wear is random, not uniform.
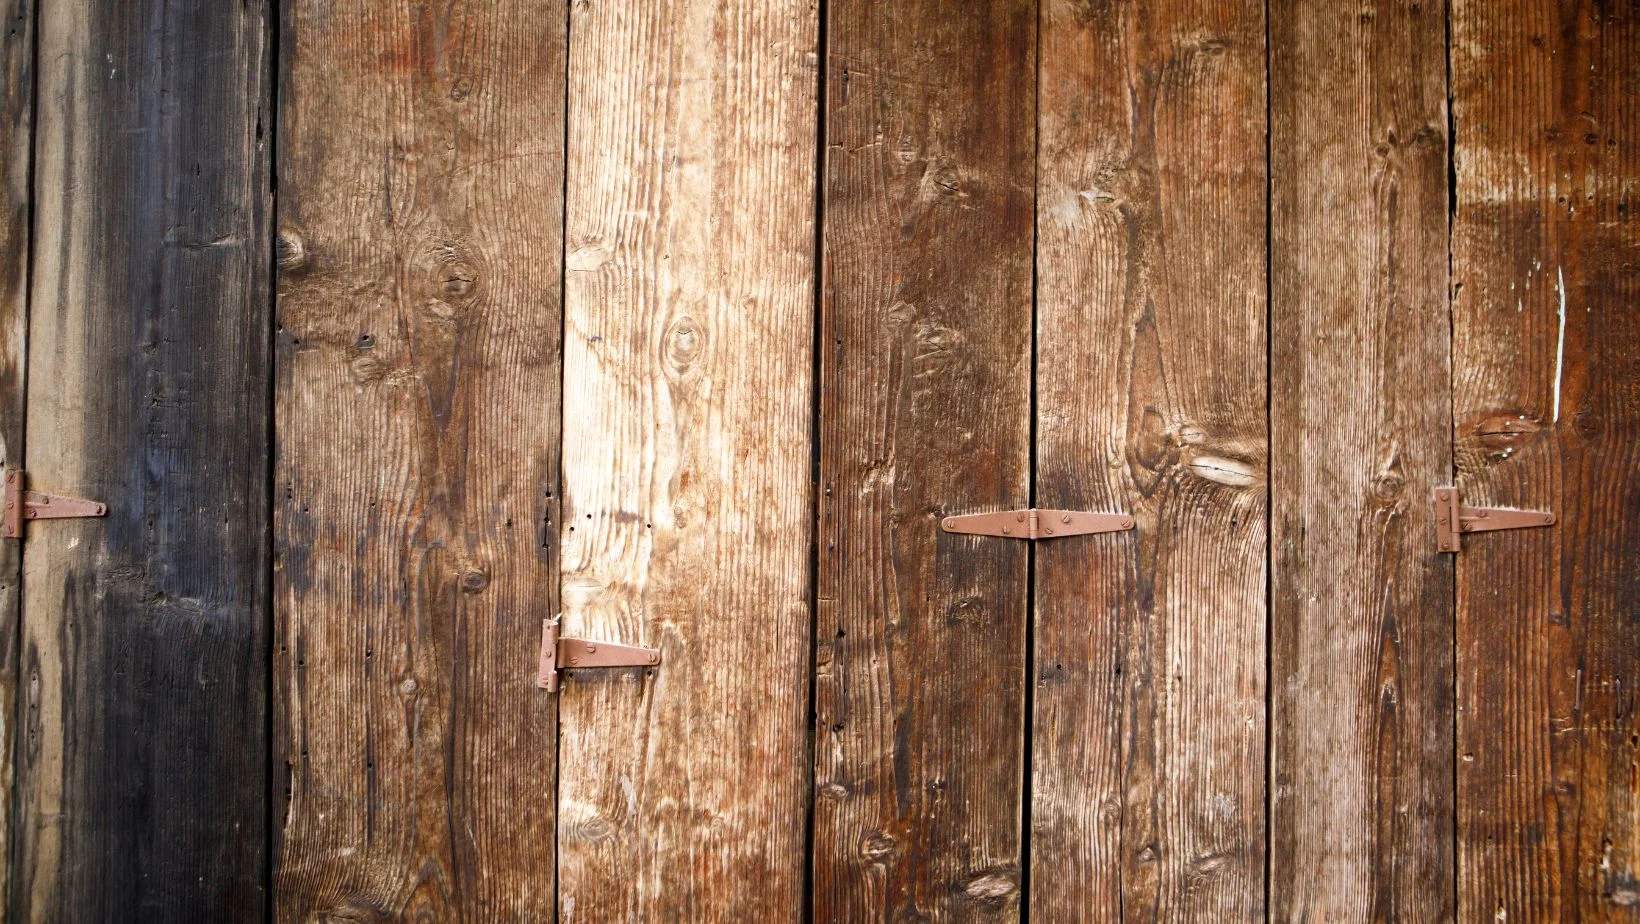
Texture Like Time Would Through Grain Enhancement
Wire brushes raise grain authentically. Work with the grain on seat tops where dust cloths polished surfaces for decades. Cross-grain brushing on leg backs mimics storage against rough walls. Steel wool (0000 grade) creates soft, hand-worn smoothness on armrests and seat edges. These subtle textures make the difference between a convincingly aged chair and one that looks artificially distressed.
Chemical Aging Solutions for Authentic Patina
Vinegar-Steel Wool Magic for Weathered Effects
Stuff 0000 steel wool into a jar of white vinegar. Wait 48 hours until the solution turns amber. Test on the chair’s underside first—oak turns gray, pine reacts dramatically different. Apply with a rag, wait 20 minutes, then wipe. Multiple coats deepen the century-old patina effect. This simple solution creates authentic weathering that paint alone cannot replicate.
Tea Enhancement Trick for Complex Color Variations
Brew concentrated black tea (6 bags, one cup water). Cool completely, brush onto wood before vinegar solution. The tannins supercharge aging, especially on oak and cherry. Let each coat dry 4 hours. This creates complex color variations impossible to achieve with stain alone, mimicking decades of natural aging.
Bleach for Sun-Bleached Coastal Effects
Two-part wood bleach creates driftwood appearances. Apply part one, wait 15 minutes, apply part two. Neutralize with vinegar-water rinse. This technique transforms dark walnut into weathered beach-chair gray. Pro tip: Use sparingly—over-bleaching looks artificial and can weaken the wood structure.
Paint Layer Distressing Mastery
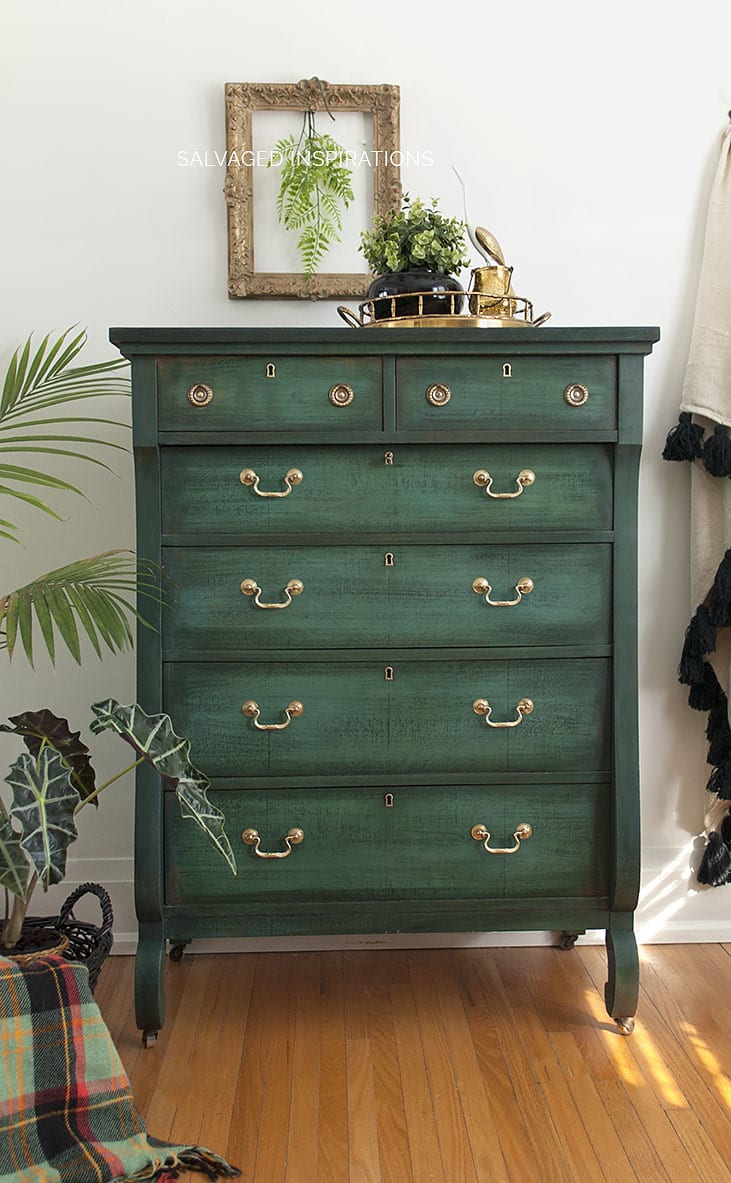
Build Authentic Base Layers with Multiple Colors
Apply chalk paint in three colors: deep red undercoat, sage green middle, cream top. These replicate common historical paint sequences. Use foam rollers for smooth finishes. Let each coat cure 24 hours. Lightly sand between coats with 220-grit—perfect surfaces age unnaturally. Layering creates depth that shines through when you distress wood chairs properly.
Crackle Finish Reality for Natural Aging
Apply crackle medium unevenly—thick areas create larger cracks. Your top coat will separate revealing base colors through authentic-looking fissures. Control crack size: thin medium plus light top coat equals hairline cracks; heavy applications create dramatic weathering. This technique mimics how paint naturally separates over time.
Wax Resist for Selective Wear Patterns
Rub clear wax on areas that stay protected—chair undersides, carved recesses. Paint over everything, then sand away paint from waxed areas. This creates realistic paint loss patterns where natural wear wouldn’t reach. Dark wax over cream paint adds decades of accumulated patina with minimal effort.
Seal Without Losing Character
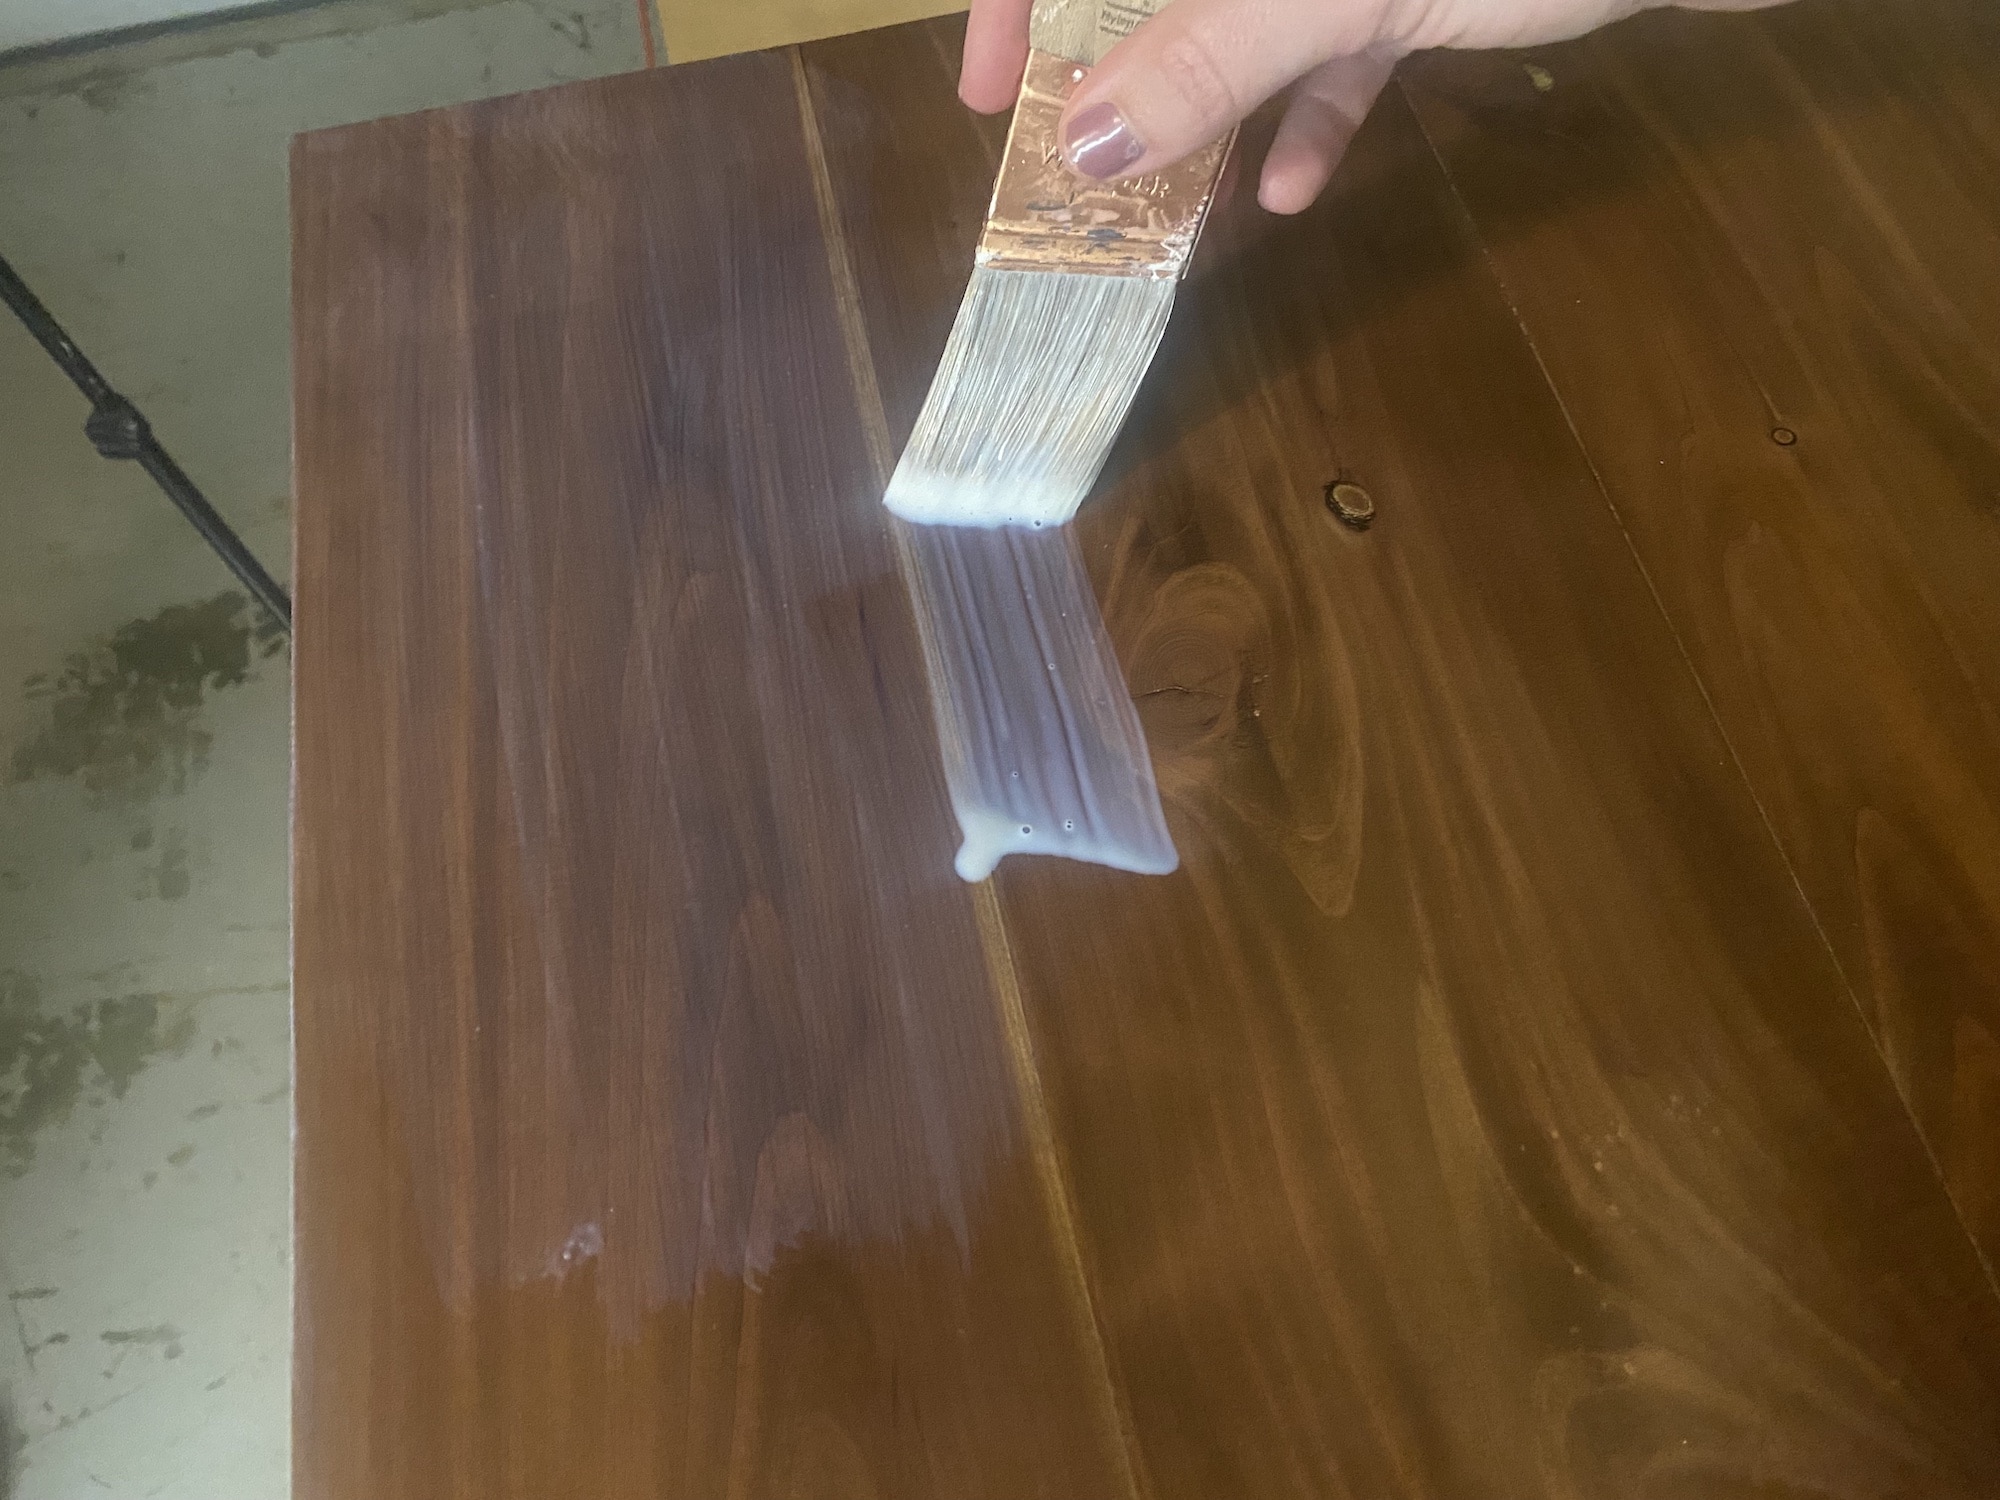
Color Enhancement Strategy for Final Integration
Apply dark glaze sparingly to carved details—wipe immediately from raised areas. This emphasizes depth without overwhelming your careful aging. Use wax over chalk paint for authentic period protection. Oil finishes enhance grain while maintaining the weathered appearance you’ve created. These finishing touches integrate all your distressing work into a cohesive whole.
Protect Your Distressed Masterpiece Properly
For kitchen chairs: two thin coats of matte polyurethane resist daily wear. For display pieces: paste wax provides authentic protection requiring annual renewal. Apply with 0000 steel wool for final integration of all effects—this step makes your work indistinguishable from genuine antiques. Proper sealing ensures your distressed chair maintains its character without deteriorating.
Avoid Common Distressing Mistakes
Prevent Over-Distressing with Strategic Breaks
Step back every 30 minutes. Natural wear varies dramatically—concentrated rounding on front seat corners, subtle aging on protected areas. If you’ve gone too far, add selective paint layers to reduce harsh effects. Remember: authentic wear tells a story, not a pattern. Most beginners over-distress; less is often more when creating believable vintage furniture.
Maintain Structural Integrity During Distressing
Periodically sit firmly on your chair throughout distressing. Genuine wear enhances furniture; your techniques shouldn’t weaken joints. Address any wobbles immediately—real antiques remain functional despite their character. Your distressed chair should feel as solid as a true antique, not like damaged furniture.
Your distressed wood chair now tells a compelling story—one of generations gathered around dinner tables, children climbing to reach cookies, countless moves and memories. Each dent, scratch, and worn edge contributes to a narrative more authentic than any store-bought antique reproduction. The techniques you’ve mastered here apply to any wooden furniture, transforming your entire home into a collection of perfectly imperfect, genuinely loved pieces. With proper maintenance—dusting with soft cloths, avoiding harsh chemicals, and reapplying protective finishes annually—your distressed chair will continue telling its story for years to come.


