
White chairs instantly elevate any room’s aesthetic but come with a frustrating truth: they highlight every fingerprint, food splash, and scuff mark. Whether you’re dealing with coffee spills on dining chairs or grass stains on patio seating, improper cleaning methods can leave yellowed patches or permanent discoloration. This guide delivers material-specific techniques that safely restore brilliant white finishes without damaging delicate surfaces. You’ll discover how to identify your chair’s exact material composition and apply targeted cleaning solutions that actually work—plus simple prevention strategies to minimize future cleaning headaches.
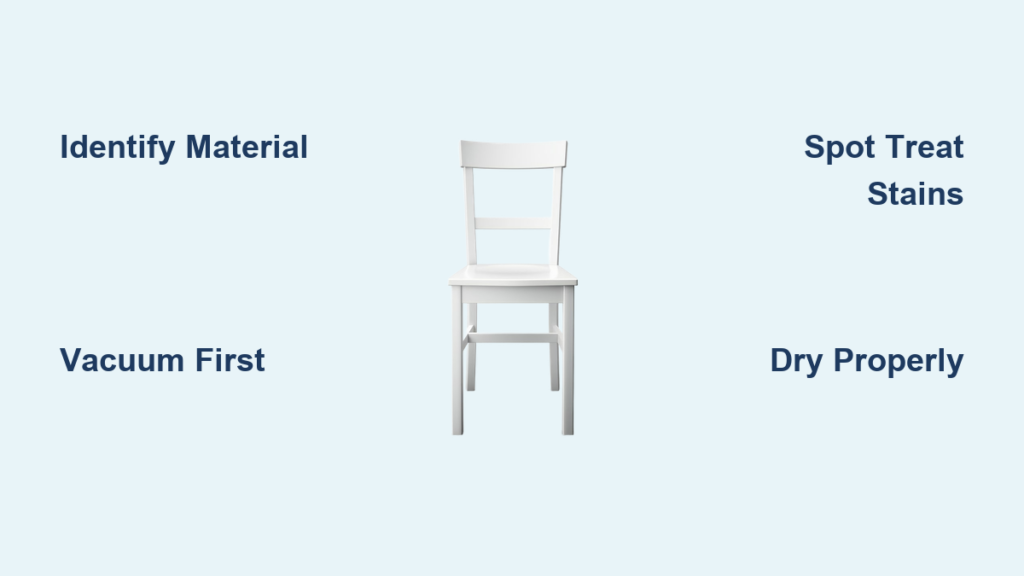
Identify Your Chair Material Before Cleaning
Choosing the wrong cleaning method for your chair material can cause irreversible damage—yellowed leather, stiffened fabric, or scratched plastic surfaces. Always verify your chair’s exact composition before applying any solution, as cleaning techniques vary dramatically across materials.
Fabric Upholstery Chairs
Cotton and linen dining chairs require gentle hand cleaning to prevent shrinkage, while polyester blends withstand slightly more vigorous treatment. Microfiber chairs need special attention—water initially beads on the surface but can leave rings if not properly dried. Velvet chairs demand the most caution; improper cleaning crushes the delicate pile, creating permanent shine spots that ruin the luxurious texture.
Leather and Faux Leather
Genuine leather chairs develop a beautiful patina over time but can dry out and crack when exposed to harsh cleaners. Vegan leather (polyurethane-based) easily develops white streaks if cleaned with alcohol-based products. Bonded leather chairs—the most fragile type—can delaminate when exposed to excessive moisture, so minimal dampening is essential during cleaning.
Hard Surface Materials
Plastic and resin chairs often develop microscopic scratches that trap dirt, making them appear dingy despite regular cleaning. Painted wood chairs require special care to avoid removing the finish along with the dirt. Laminate chairs with white surfaces can develop water spots that etch into the surface if not dried properly after cleaning.
Essential Cleaning Supplies Checklist
Universal Must-Haves
Gather five to six color-safe microfiber cloths to prevent color transfer onto white surfaces. Keep a soft-bristed brush (an old toothbrush works perfectly) for gentle agitation without scratching. Prepare two spray bottles—one for cleaning solution and one for plain water. Have several white absorbent towels ready for blotting, as colored towels might bleed onto damp white fabric. Ensure your vacuum has a brush attachment to safely remove surface dirt before wet cleaning begins.
Material-Specific Solutions
For fabric chairs, prepare a gentle cleaning solution using Dawn dish soap (known for its grease-cutting ability without harsh chemicals), white vinegar (a natural disinfectant and deodorizer), and baking soda (for lifting stubborn stains). For leather chairs, have saddle soap or a dedicated leather cleaner ready, along with white vinegar diluted for spot treatment and olive oil for conditioning. Plastic and wood chairs benefit from melamine foam (Magic Erasers), baking soda paste for gentle abrasion, and rubbing alcohol for disinfecting without residue.
Deep Clean Fabric White Chairs
Step 1: Vacuum Thoroughly Before Wet Cleaning
Begin by vacuuming your fabric chair with the brush attachment on low suction. Pay special attention to seams, crevices, and underneath cushions where crumbs and debris accumulate. Work in slow, overlapping strokes to lift embedded dirt without damaging delicate fibers. This dry cleaning step removes 80% of surface soil before you introduce moisture, preventing mud-like paste from forming when dirt mixes with water.
Step 2: Pre-Treat Stains Based on Age and Type
For fresh spills like juice or wine, immediately blot (never rub) with a clean white cloth to absorb maximum liquid. Apply an enzyme cleaner directly to protein-based stains like milk or blood, allowing it to penetrate for 5-10 minutes before blotting. For set-in stains, mix one tablespoon of dish soap with two cups of cool water. Dip a soft brush in the solution and work it into the stain using gentle circular motions, then blot repeatedly with a clean, dry cloth. Always test any solution on an inconspicuous area first—white fabric can yellow if exposed to overly harsh ingredients.
Step 3: Overall Cleaning Method for Uniform Results
Create a gentle cleaning solution of two cups warm water, one teaspoon dish soap, and one tablespoon white vinegar. Spray lightly over the entire chair surface—never saturate the fabric. Use your soft brush to work the solution into the fabric, following the direction of the grain to avoid damaging fibers. Rinse your cleaning cloth frequently in clean water to prevent redistributing dirt. Focus extra attention on armrests and seat fronts where body oils accumulate.
Step 4: Rinse and Dry Properly to Prevent Water Stains
Use a clean, damp cloth with plain water to remove all soap residue, which can attract more dirt if left behind. Press dry white towels against the fabric to absorb excess moisture—never rub, as this can damage fibers. Place the chair in a well-ventilated area away from direct sunlight, which can yellow white fabric. Speed drying with a fan placed three feet away helps prevent mildew growth. Never use heat sources like hairdryers, as they can set remaining stains permanently.
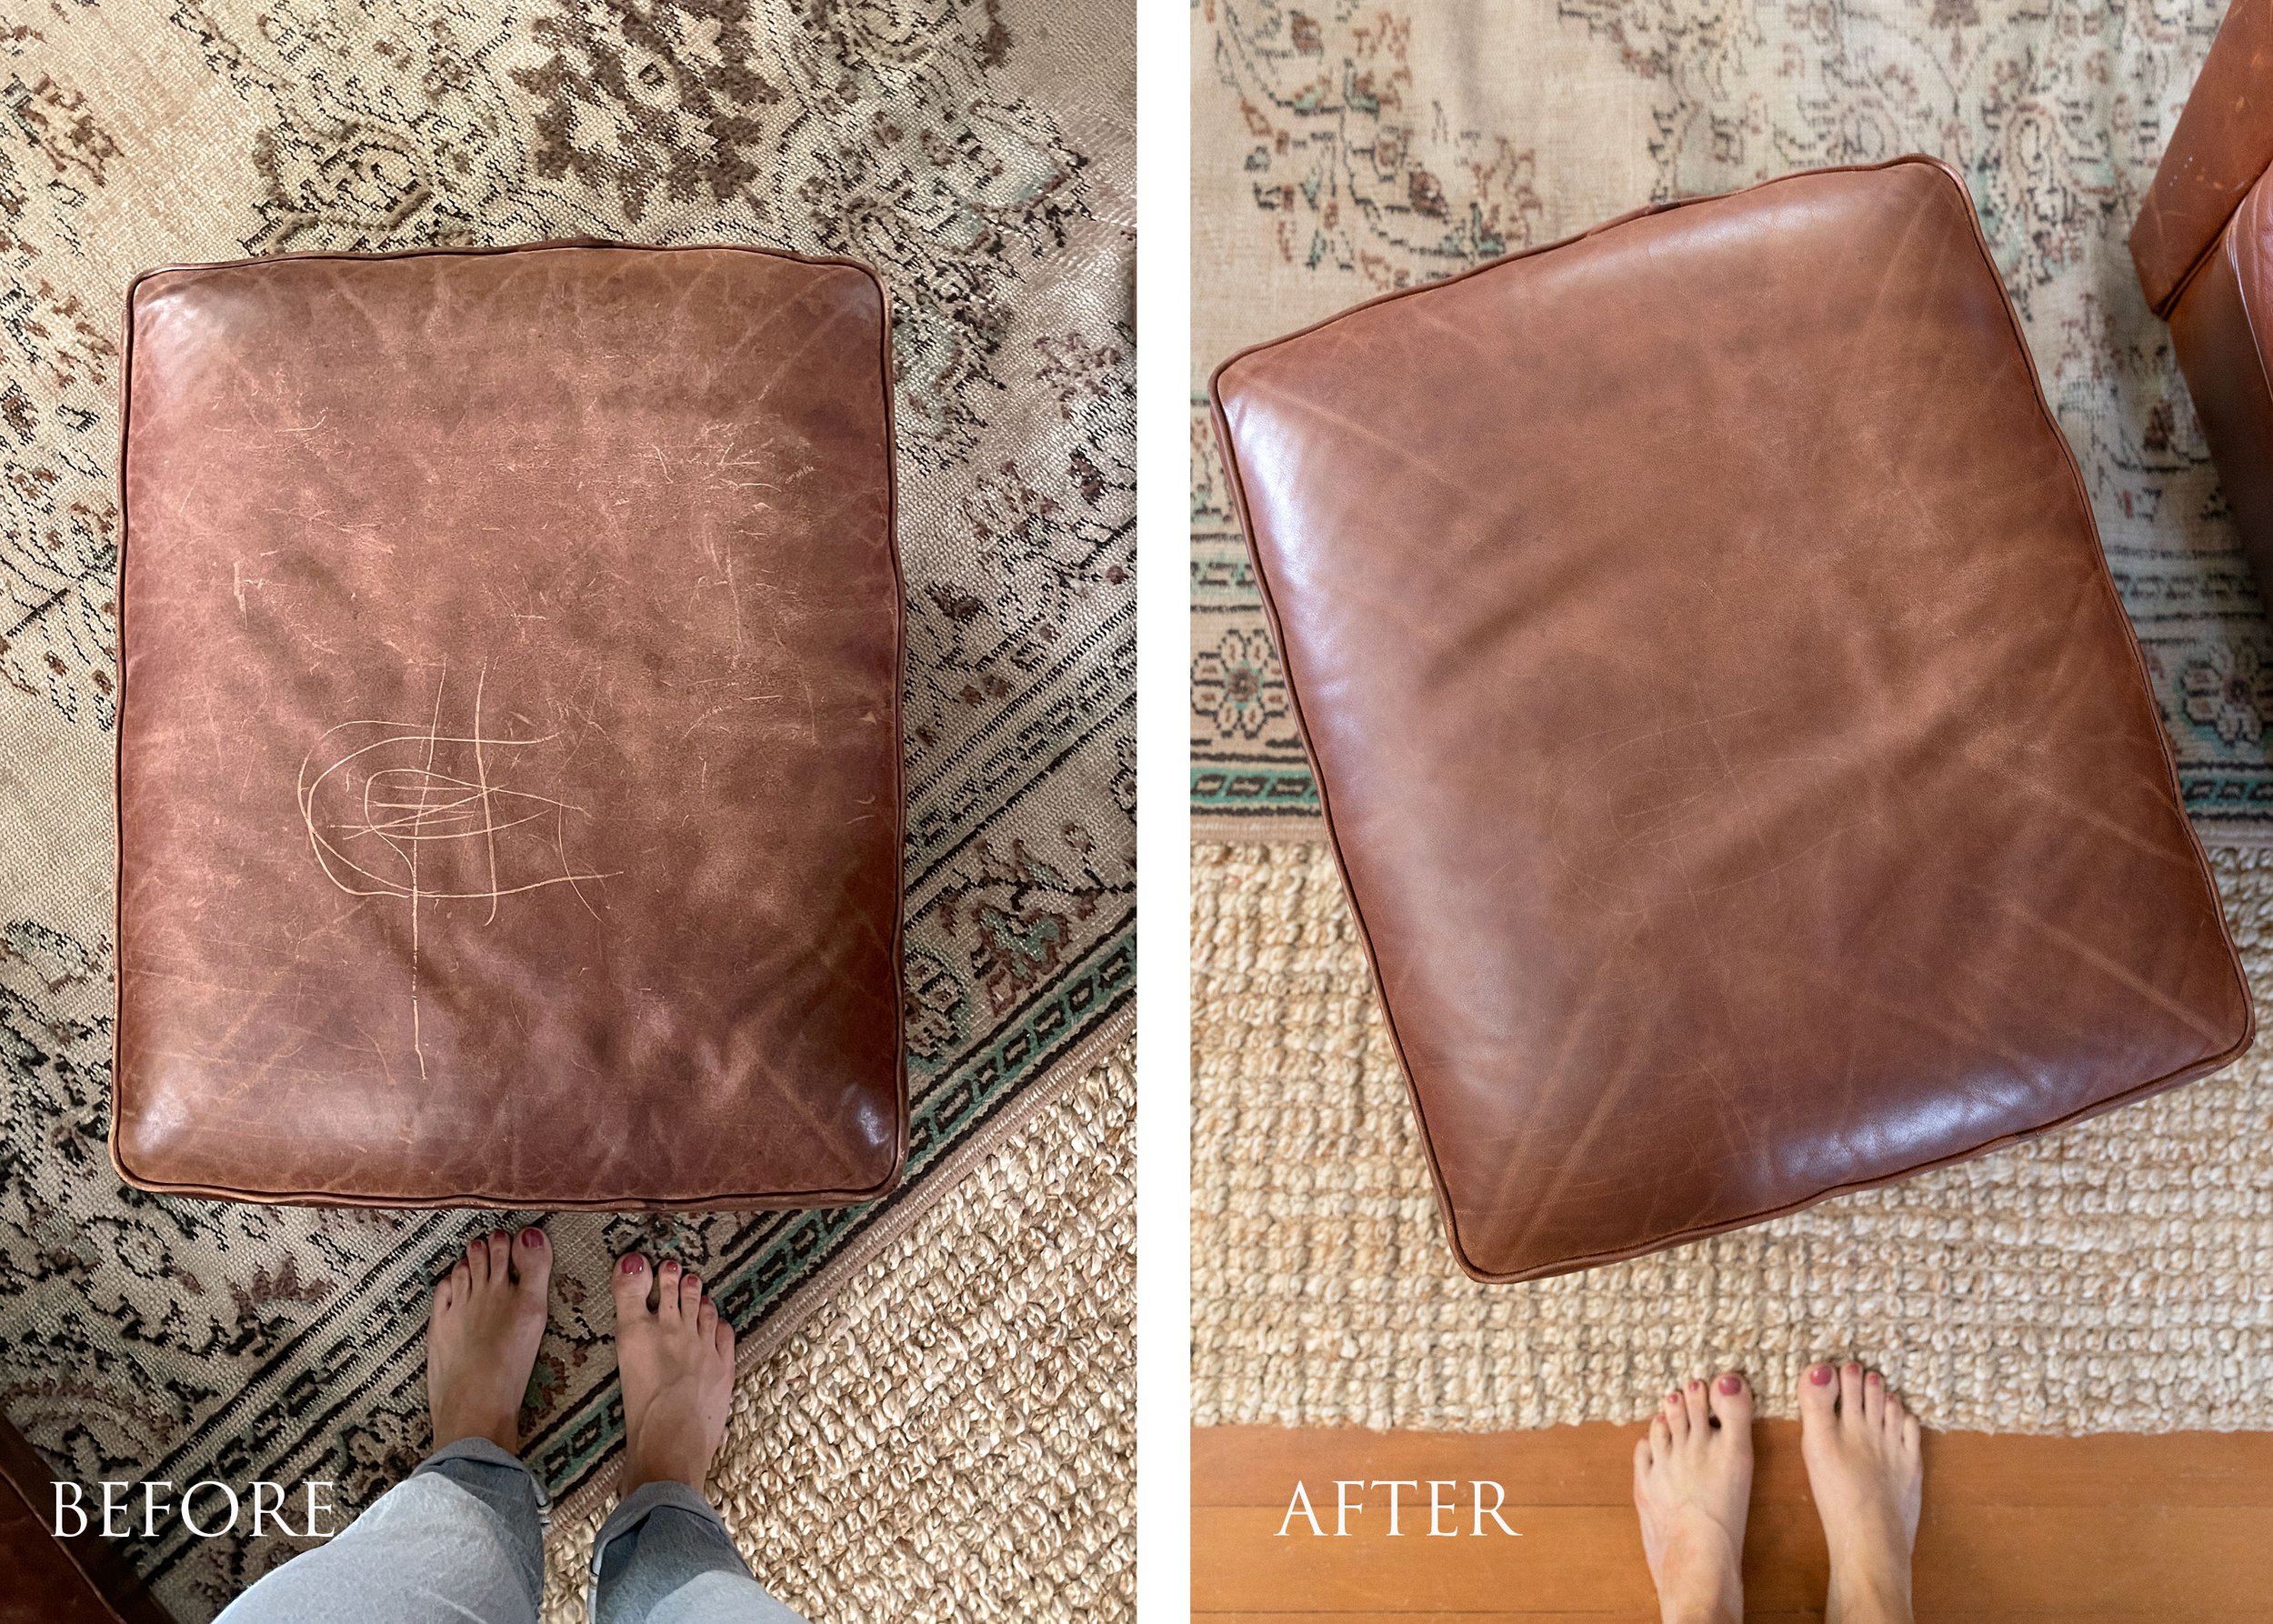
Restore White Leather Chairs
Daily Dusting Routine to Maintain Brightness
Wipe down leather chairs weekly with a microfiber cloth barely dampened with distilled water. Follow immediately with a dry cloth to prevent water spots that can etch into the leather surface. This simple routine prevents dirt from settling into the leather’s pores, which causes gradual yellowing over time. Pay special attention to creases and folds where dirt accumulates unnoticed.
Deep Cleaning Process Without Drying Out Leather
Mix ½ cup distilled water with a few drops of gentle soap specifically formulated for leather. Dip your microfiber cloth in the solution and wring until just damp—leather needs minimal moisture during cleaning. Wipe the entire surface using gentle, circular motions, applying even pressure. Buff dry immediately with a clean, dry cloth to prevent water spots. For stubborn marks like pen ink, dampen a cotton swab with diluted rubbing alcohol (1:10 ratio with water), test on a hidden area first, then gently rub the mark using tiny circles. Immediately follow with leather conditioner to replace natural oils removed during cleaning.
Condition After Every Deep Clean to Prevent Cracking
Apply a pea-sized amount of leather conditioner to a soft cloth, not directly onto the chair. Work the conditioner into the leather using small circular motions, covering the entire surface evenly. Allow it to absorb for 30 minutes, then buff off any excess with a clean cloth. This crucial step prevents the leather from drying out and developing cracks, which trap dirt and accelerate yellowing. Condition leather chairs every two months to maintain their bright white appearance and supple feel.
Refresh Plastic and Resin Chairs

Tackle Tough Outdoor Grime Without Scratching
For general dirt accumulation on plastic chairs, mix one gallon of warm water with ¼ cup baking soda to create a gentle abrasive solution. Use a soft brush to scrub the entire surface, paying extra attention to textured areas where dirt hides. Rinse thoroughly with clean water and air dry completely. For mold or mildew growth (common on chairs stored in damp areas), create a diluted bleach solution of one tablespoon bleach per cup of water. Apply only to affected areas, wait exactly 10 minutes, then gently scrub and rinse completely—any bleach residue left behind will damage plastic over time.
Remove Scuffs and Scratches with Household Items
For scuff marks on plastic chair legs or backs, dampen a melamine foam sponge (Magic Eraser) and squeeze out excess water. Rub the scuffed area using light, even pressure—these sponges work through micro-abrasion, not chemicals. Wipe away any residue with a damp cloth. For deeper scratches that trap dirt, create a paste of three parts baking soda to one part water. Apply to the scratched area using a soft cloth and rub gently in circular motions until marks fade. Rinse thoroughly and dry to prevent water spots on the white surface.
Quick Spot Cleaning Hacks for Common Stains
Coffee and Tea Stains on White Surfaces
For fabric chairs, immediately blot excess liquid, then cover the stain with baking soda to absorb remaining moisture. After 15 minutes, vacuum away the baking soda, then spray with a diluted vinegar solution (one part vinegar to ten parts water). Blot until the stain lifts, repeating as needed. On leather chairs, blot coffee spills immediately, then dab with a highly diluted vinegar solution. Dry thoroughly and apply leather conditioner to prevent drying.
Ink Marks That Appear Permanent
For plastic chairs, apply a small amount of alcohol-based hand sanitizer directly to the ink mark. Let it sit for exactly two minutes to break down the ink, then wipe clean with a damp cloth. Repeat if necessary, but avoid excessive application that might damage the plastic surface. On fabric chairs, spray the ink spot with unscented hairspray, wait 30 seconds for the alcohol to break down the ink, then blot with a clean cloth. Rinse thoroughly with water to remove any hairspray residue.
Prevent Future Staining With Smart Habits
Fabric Protection Strategy Worth the Effort
Apply a fabric protector spray to clean, dry chairs after deep cleaning. Hold the can 6-8 inches away and apply an even, light coat—never saturate the fabric. Allow 24 hours for complete drying before using the chairs. Reapply annually or after each deep cleaning session. Always test the protector in an inconspicuous area first to ensure it doesn’t alter the fabric’s appearance or texture.
Weekly Maintenance Routine That Saves Hours
Spend just five minutes daily wiping down white chairs with a dry microfiber cloth to catch spills before they set. Conduct a more thorough weekly inspection, checking crevices for debris buildup and addressing small spots immediately. Stains removed within 24 hours rarely become permanent, saving you from intensive deep cleaning sessions later. This consistent maintenance prevents the gradual yellowing that occurs when dirt accumulates over time.
Common Cleaning Mistakes That Ruin White Chairs
Never use hot water on protein-based stains like milk or blood—it essentially “cooks” the proteins into the fabric, making them impossible to remove. Avoid mixing ammonia and bleach for any cleaning purpose, as this creates toxic chlorine gas. Never scrub delicate fabrics vigorously, as this damages fibers and creates shine spots. Don’t let chairs air-dry in direct sunlight, which can yellow white surfaces. Avoid using colored cloths that might bleed onto damp white fabric. If any cleaning solution changes your chair’s texture or color, stop immediately, rinse with cool water, and consult a professional cleaner.
Your white chairs can maintain their bright, fresh appearance with consistent care and these targeted techniques. Start with the gentlest method appropriate for your chair’s material, escalating only if necessary, and always test cleaning solutions in an inconspicuous area first. The 15 minutes you invest in weekly maintenance prevents hours of intensive deep cleaning later and significantly extends the life of your white chairs.


