
That first coffee spill on your new white chair hits like a gut punch. Suddenly, the crisp upholstery that made your living room feel airy now screams “lived-in” with stubborn brown rings. Dust and body oils silently yellow armrests where you lean, while pet paws leave muddy trails across seat cushions. But here’s the relief: restoring showroom brightness is possible without bleach disasters or fabric damage—if you follow the exact sequence professionals use. This guide reveals how to clean white fabric chairs safely, decode hidden care labels, and prevent future stains from setting in. You’ll learn why vinegar alone ruins whites, how UV light boosts whitening, and the one drying mistake that creates permanent water marks.
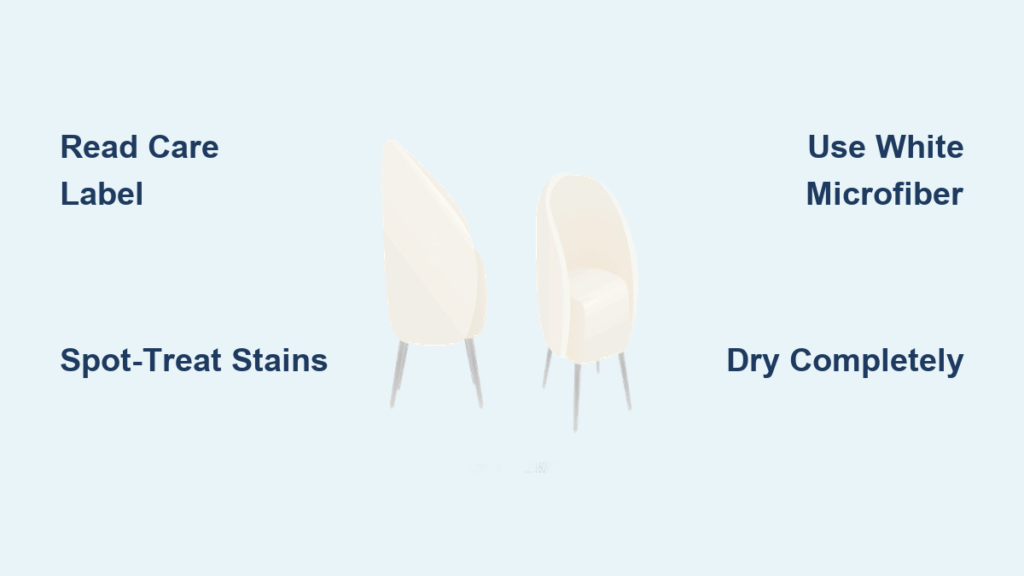
Decode Your Chair’s Secret Care Label First
Manufacturers embed critical cleaning instructions in hidden tags under seat cushions or along back seams. Ignoring these codes risks fading, shrinkage, or permanent water rings. Find the label before touching any cleaner—it’s your chair’s rulebook.
Spot the One-Letter Cleaning Codes Instantly
- W = Water-based cleaners only (safe for most DIY mixes)
- S = Solvent cleaners only (requires dry-cleaning products)
- WS/SW = Water or solvent cleaners work
- X = Vacuum only—no liquids ever
Photograph Hidden Areas Before Testing
Choose an invisible spot like the seat deck underside. Snap a phone pic before applying any solution. If the fabric darkens or lightens after testing, compare to your photo—you’ll spot damage early. For code “S” chairs, skip water entirely; even a damp cloth can dissolve dyes.
Assemble Your White Fabric Cleaning Arsenal

Generic upholstery cleaners often yellow whites. Precision tools prevent color transfer and fiber damage. Gather these before starting to avoid mid-clean store runs that let stains set deeper.
Non-Negotiable Tools for Spotless Results
- Soft-bristle nylon brush (stiff bristles fray delicate threads)
- Pure white microfiber cloths (colored fabrics bleed dye onto whites)
- Handheld vacuum with crevice tool (standard vacuums miss seam grit)
- Two spray bottles (one for cleaner, one for plain water rinsing)
- Bucket of lukewarm water (hot water sets protein stains)
Pro Upgrades for Tough Jobs
- Portable steam cleaner (extracts deep grime without soaking)
- Enzyme spray (breaks down pet urine odors invisible to the eye)
- Small wet/dry vac (pulls moisture faster than air-drying)
Eliminate Dry Debris Before Wet Cleaning
Loose dirt acts like sandpaper when wet, grinding into fibers and causing premature wear. Skipping this step guarantees dull, matted fabric after cleaning.
Vacuum Every Hidden Nook Thoroughly
Move the crevice tool slowly along piping, tufted buttons, and seat seams. Overlap passes by 50%—dust hides in shadowed corners. For velvet chairs, vacuum with the pile direction to avoid crushing fibers.
Remove Pet Hair Without Pushing It Deeper
Standard vacuums blow short hairs into fabric. Press a lint roller firmly against the chair, peel, and repeat until sheets come up clean. For long-haired pets, use rubber gloves—dampen hands and wipe to lift embedded fur.
Mix Fabric-Safe DIY Solutions That Actually Work
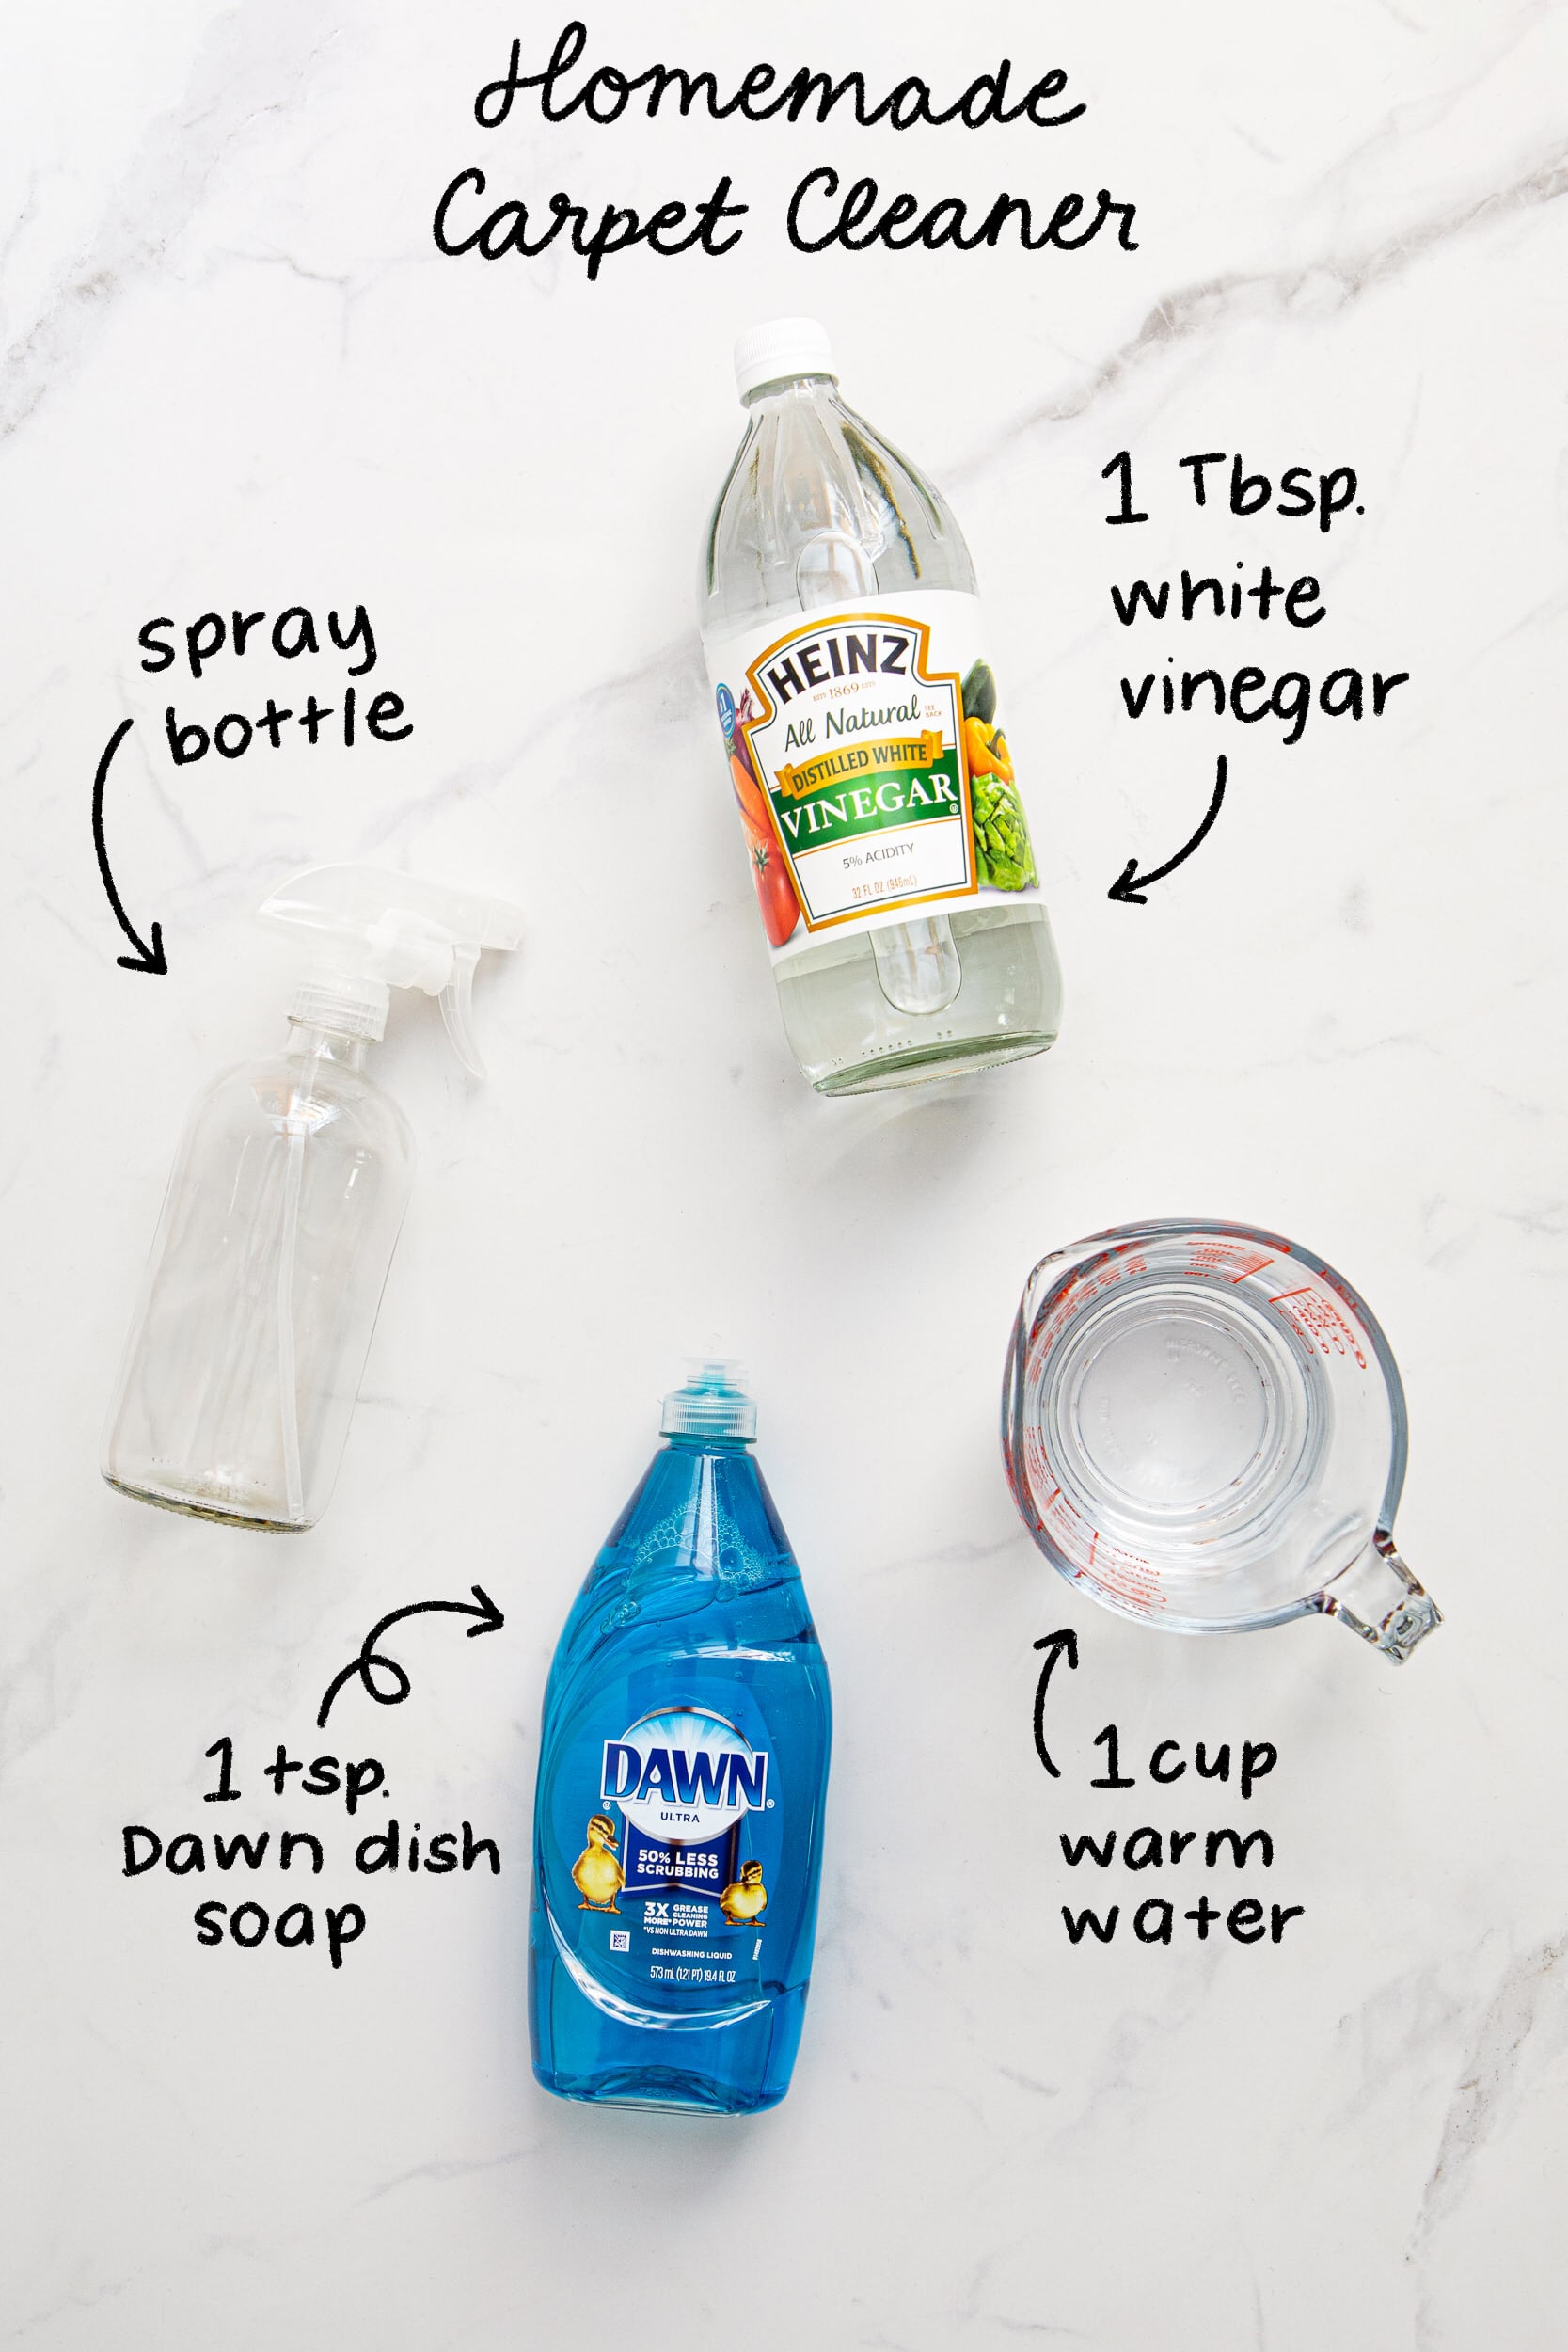
Commercial shampoos often contain optical brighteners that yellow over time. These pantry-based formulas lift stains without residue buildup that attracts new dirt.
The Only All-Purpose Mix You Need
- 1 cup lukewarm water
- 1 tsp clear dish soap (colored soaps stain)
- ½ tsp white vinegar (neutralizes odors)
Shake gently in a spray bottle—suds force dirt deeper.
Brightening Boost for Yellowed Whites
- 2 cups warm water
- 1 tbsp hydrogen peroxide (3% only—higher concentrations bleach)
- 1 tbsp baking soda
Mix immediately before use; fizzing fades in 5 minutes. Never store this blend—it degrades rapidly.
Spot-Treat Stains Before They Bond Permanently
Stains penetrate deeper every minute. Act within 15 minutes for 90% removal success. Delayed treatment turns minor spills into permanent discoloration.
Blot Downward—Never Rub Sideways
Press a clean microfiber cloth straight onto the stain. Lift, rotate to a dry section, and repeat. Rubbing spreads liquids and frays fibers, creating “halos” of discoloration around the original spot.
Work From the Stain’s Edge Inward
Start cleaning at the outer ring and spiral toward the center. This traps the stain inward for easier removal instead of pushing it outward into clean fabric.
Rinse Immediately to Prevent Residue
Lightly mist treated areas with plain water. Blot until cloths come up clear—soapy residue yellows rapidly in sunlight. Finish by pressing a dry towel firmly over the spot for 2 minutes.
Deep-Clean the Entire Chair Every 3–6 Months
Even “clean” white fabric holds invisible body oils and smoke particles that cause gradual yellowing. Full cleaning every season maintains brightness without harsh chemicals.
Test Solutions on Hidden Fabric First
Dampen a concealed corner with your mix. Wait 10 minutes. Blot with a white cloth—if color transfers, stop. For code “S” chairs, use only dry-cleaning solvents like carbon tetrachloride.
Clean in Small Sections to Avoid Over-Wetting
Treat one seat panel at a time. Mist cleaner lightly—fabric should feel damp, not soaked. Brush in 2-inch circles for 30 seconds, then blot aggressively with microfiber. Move to the next section before the previous dries.
Extract Moisture Within 15 Minutes
Pass a handheld steam cleaner or wet vac over damp areas immediately after cleaning. Lingering moisture causes mildew and water rings. For code “X” chairs, skip this—use dry foam cleaners only.
Erase Stubborn Discoloration Without Bleach Damage
Yellowed headrests or coffee rings need targeted treatment. Escalate carefully—aggressive methods cause more harm than stains.
Banish Yellow Sweat Stains from Armrests
Sprinkle dry baking soda over the area. Wait 30 minutes (it draws out oils), then vacuum. Apply the peroxide-baking soda mix, then place the chair in indirect sunlight for 2 hours—UV accelerates whitening without fiber damage.
Lift Red Wine or Coffee Rings in 10 Minutes
Blot excess liquid. Cover the stain with a paste of baking soda and 1 tsp hydrogen peroxide. Let bubble for 5 minutes—do not scrub. Lift residue with a spoon, then rinse with plain water.
Remove Ink Without Spreading
Dab 70% isopropyl alcohol on a cotton swab (not the bottle—flooding stiffens fabric). Work from the stain’s edge inward. Ink should transfer to the swab. Rinse immediately with water to prevent alcohol residue from attracting dirt.
Dry Properly to Avoid Water Rings and Mildew

Rushing drying creates darker edges where moisture evaporates slowest. Improper drying causes 70% of “cleaning gone wrong” disasters.
Accelerate Drying Without Heat Damage
Point an oscillating fan 3 feet from the chair. Rotate the chair every 30 minutes for even airflow. Never use hairdryers—direct heat yellows synthetic fibers.
Prevent Fiber Matting During Drying
Every 10 minutes, fluff damp areas with your hand or a soft brush. This maintains the fabric’s nap and prevents stiff, flattened patches where you sit.
Verify Dryness Before Use
Press a white tissue against the fabric for 10 seconds. If it stays dry with no color transfer, the chair is ready. Sitting too soon transfers body oils into damp fibers.
Protect Against Future Stains With Smart Habits
Fabric guard buys you time between spills and cleaning. Consistent maintenance prevents the “sudden dinginess” that catches owners off guard.
Apply Fabric Protector Correctly
Hold fluorocarbon spray 6–8 inches from fabric. Spray in light, even coats with 50% overlap. Let cure 24 hours—using the chair too soon transfers chemicals to clothing. Reapply after every deep clean.
Rotate Cushions Monthly
Flip seat cushions and swap backrest positions monthly. This evens out sun exposure and body-oil transfer, delaying yellowing in high-contact zones.
Implement a 5-Minute Weekly Routine
Keep a lint roller and alcohol-free baby wipes beside the chair. After dinner, roll seats and wipe armrests. This prevents buildup that requires aggressive cleaning later.
Stick to a Proven Cleaning Schedule
White fabric chairs stay bright with consistent care—not heroic cleanings after years of neglect. Follow this timeline to avoid marathon scrubbing sessions.
- Daily: Fluff cushions and quick-roll for pet hair
- Weekly: Vacuum crevices and wipe armrests with damp microfiber
- Monthly: Spot-check for new stains and rotate cushions
- Seasonally: Full deep-clean + reapply fabric protector
White fabric chairs aren’t high-maintenance when you know their secrets. Read care labels religiously, treat spills within minutes, and dry fabric completely. Within 90 days of consistent care, you’ll notice how much brighter your chairs stay between deep cleans. Bookmark this guide—it’s your insurance against the panic of the next spill. Because with white upholstery, the real trick isn’t cleaning after accidents—it’s preventing them from becoming permanent.


